Explore Approval Roles
Learning Objectives
After completing this unit, you’ll be able to:
- Send approvals using your designated approval routes.
- Explain the approval process for different roles in Salesforce Spiff.
Send Approvals
You can use Salesforce Spiff to send approvals automatically or manually. In this unit, you explore both options, use cases, and approvals by different user roles. Start with sending approvals.
Send Approvals Automatically
You can send automatic statement approvals on the Salesforce Spiff home page. In the Default Approvals section, select Settings under Admin. The default setting for automatic statement approvals is Off. Turn on Send Approvals Automatically to use this feature. Using automatic statement approvals doesn't reset completed approvals or override what has already been sent.
When using automatic statement approvals, set the default approval route first, because all the approvals follow this route. This process works great when you use a standard approval process for all reps. If you need multiple routes, manual approvals is a better choice.
Send Approvals Manually
Access the Approvals page by clicking Admin and then selecting Approvals. This page lists various statement periods. Click a period to send statement approvals, review statement approval progress, or approve a statement.
Within the chosen statement period, select one or more users to send, reset, or approve their statement approval. Use the plan or team dropdowns to filter the visible users. You can only send approvals to selected, visible users. After you click Send, an approval route is selected. This image shows several users selected before sending for approval.

Sending a statement approval freezes the corresponding statements for the period. After selecting the approval route, an alert pops up requiring you to verify this action. If statements are ever unfrozen, the approval is reset. This preserves the integrity of the approval. If you unfreeze a statement, calculations or commission totals on the statement can change. So, only unfreeze and recalculate commission statements if it’s absolutely necessary.
On the main Approvals page, you can reset all approvals for a statement period by clicking  next to the period name. Be careful when resetting approvals because you can't undo this step and you lose all progress. You can also reset individual statements within the approval table. Just select the rep and click Reset.
Click Details on any listed statement to bring up the statement approval details. As each approval completes, the responsible party’s name appears with a timestamp. When an admin approves for someone else, the admin’s name appears. This image shows an approval notification.

Statement Approval Process for Reps
Many approval workflows require reps to approve their statement at some stage in the process. Explore how that process looks from the rep's perspective.
Email Notification
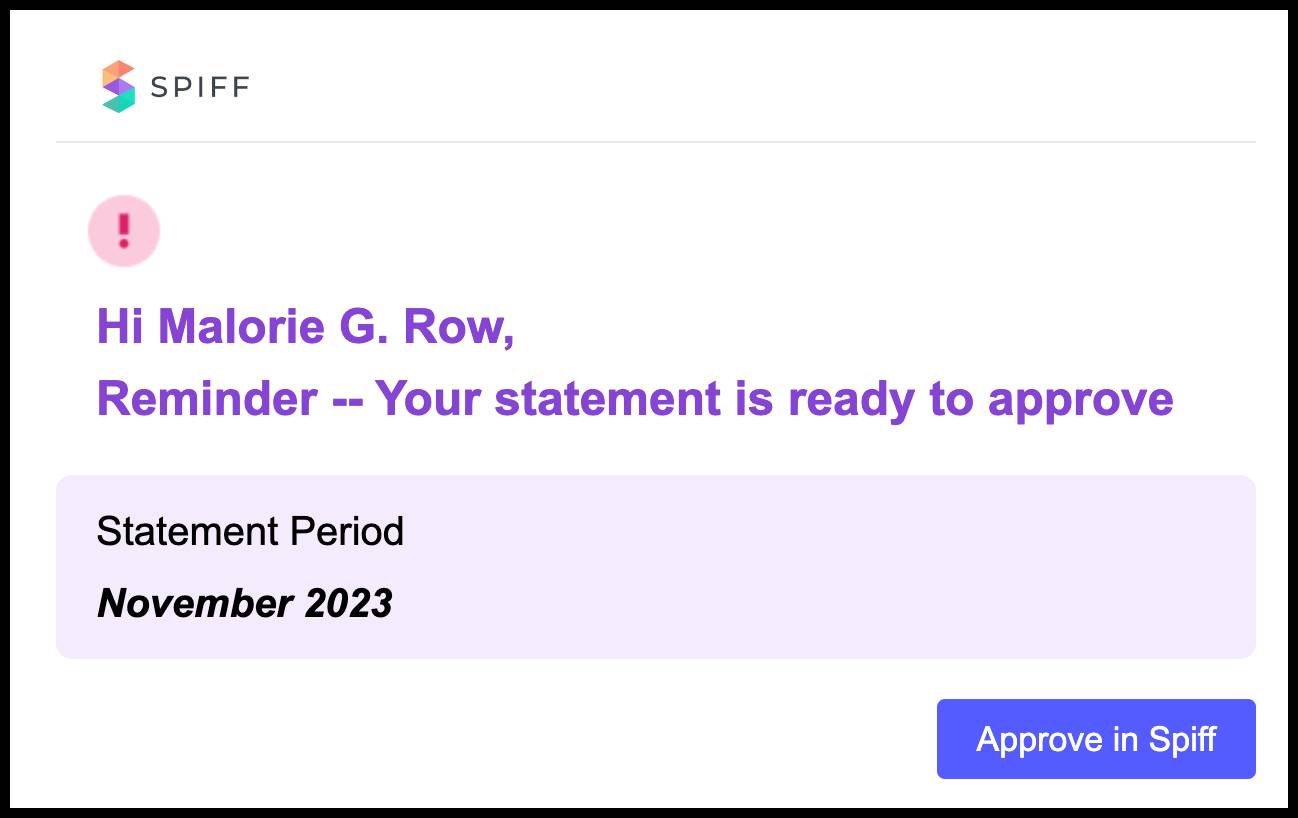
Email notifications are on by default for the rep role. When an approval is sent, reps receive at least one email prompting them to log in to Salesforce Spiff to review and approve their statement.
In-App Notifications
In-app notifications are on by default for the rep role. Reps receive at least one message in the Notification Center on the Salesforce Spiff home page, prompting them to review and approve their statement.
Reps can turn on or off their email and in-app notifications by clicking on their user icon and notification settings from the Salesforce Spiff home page. Encourage your reps to keep their notifications on.
Statement Approval
Clicking the link in the email or on the in-app notification directs a rep to the statement that needs approval. There's a banner with an Approve button, which the rep clicks to complete their step in the workflow. If other approvers are required in the approval process, the rep gets a message for the same. After admins and others in the approval chain have finished all the steps in the workflow, the rep sees a banner on their statement informing them that it's approved.
Statement Approval Process for Team Leads, Finance, Admin, and Users
Many approval workflows require team leads, finance, or specific users to approve statements of their team members at some stage in the process. Explore how that flow looks for them, starting with notifications.
Approve Statements in the Approval Table
On the Salesforce Spiff home page, team leads can navigate to the approval table using the approvals link. Finance, admin, or users can navigate to the table by clicking Admin, then selecting Approvals. From here, they click a statement period to review the approval progress or approve statements.
After a reviewer selects a period, they see all the approvals under their purview, along with the commission total, plan, the status of each approval, and the progress of approval steps. Clicking on details gives a more detailed view of the approval progress. When it’s time to approve, they click Approve. This image shows an approval table in the Team Lead step with the Admin approval complete.

You can select and approve multiple approvals simultaneously.
Approve Statements Directly on the Statement
The option to directly access and complete approvals from a rep’s commission statement is always available. Click Approve on the statement page to complete the workflow. After all the approvers have finished all the steps in the workflow, a banner on the statement appears to confirm approval.
Remember that you can send approvals automatically or manually. Use the automatic option if you have the same approval routing for all reps, and the manual option to send approvals through multiple routes.
In this module, you learned how to set up and use approvals in Salesforce Spiff. Which approval process will you use in your workflow?
