Create Document Templates and Contract Documents
Learning Objectives
After completing this unit, you’ll be able to:
- Create document templates using Microsoft 365 editor.
- Add clauses and sections to the template.
- Create a contract document in Microsoft 365.
- Update clauses in a contract document.
- Describe collaborative redlining.
Create Document Templates in Microsoft 365
With the powerful Salesforce Contracts Connector for Word add-in, Candace and her team at Cloud Kicks can effortlessly create document templates and contract documents. And they can search for elements such as clauses from within templates.
In this unit, find out how to create a document template, add clauses and sections to it, generate a contract document based on the template, and update the clauses in the contract document.

To create a document template, navigate to Document Template Designer from Salesforce Contracts home page, and click New. Enter the template name and choose Microsoft 365 Word as the Template Type. Add details such as token mapping, Data Mapper bundle names, and usage type. To add clauses and sections to the template, click Open in Microsoft 365.
Add Clauses to Document Templates
In the last unit, you learned all about clauses. Now it’s time to use them in document templates and contract documents. Use clauses like building blocks to quickly assemble them into templates. The add-in optimizes the workflow in several crucial areas. For example, it:
- Makes it easier to find and incorporate the ready-to-use clauses in contract documents
- Minimizes errors in contract language and layout
- Simplifies editing and saving documents back to Salesforce
- Creates sections to segregate content for optimal contract design
- Tracks updates effectively for change control
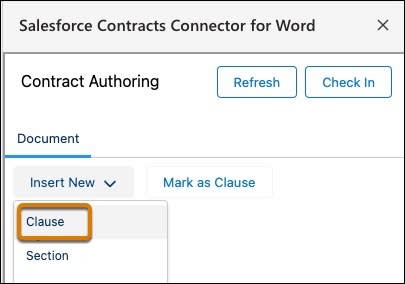
Using the Salesforce Contracts Connector for Word add-in, select Clause from the Insert New dropdown menu.
Use the search filter to find the clause you want from the Clause Library, and click Insert Clause to add it to your document. After you’re done, save your changes. This uploads the document to the Template Designer and creates the new template.
Create Sections in a Document Template
Working with contracts can be overwhelming, like sorting through a huge pile of unrelated documents. Sections make it easier for others to find and understand the content, so here’s where section management comes to the rescue. You can break down the content into different sections based on specific data or the business context.
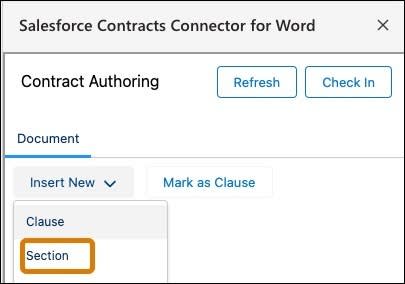
To add a section, go to the Insert New dropdown menu in the Salesforce Contracts Connector for Word panel and select Section. Add sections to organize the clauses, tables, and contract text, or turn content already in the document into a new section. If you need to change something, you can edit or delete a section. Candace creates sections for General Terms, Payment Terms, and Termination Conditions in the template. The sections help her team quickly locate and understand specific parts of the contract.
After you’re done, save your changes. Activate the template to start generating contract documents.
Generate a Contract Document with Clauses
You can also create a contract document directly in Microsoft 365 and then add clauses. Candace uses the feature to generate a new contract for a specific supplier. She then inserts a specific clause related to delivery schedules, ensuring that the contract is tailored to the supplier's requirements.
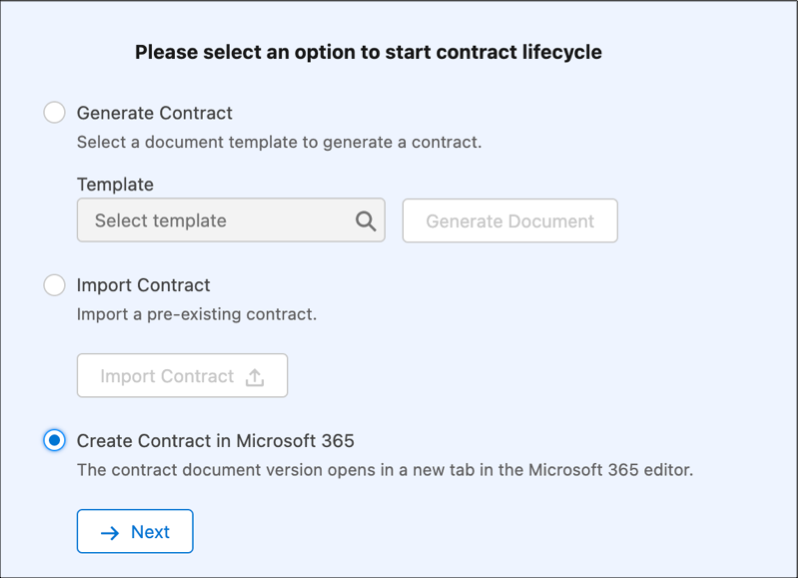
Here’s how she does this. From the contract page, select Create Contract in Microsoft 365 to open the new document in the Microsoft 365 editor.
Using the Salesforce Contracts Connector for Word add-in, select Clause from the Insert New dropdown menu. Use the search filter to find the clause you want from the Clause Library, and then click Insert Clause to add it to your document. After you’re done, click Check In to update the contract document.
Update Clauses in a Contract Document
Candace needs to update the payment terms in an existing contract due to a change in company policy. You can update a contract document to ensure it meets current business needs and reflects any new agreements or changes in circumstances. Updating a contract document can involve adding new clauses, removing outdated ones, and replacing or modifying existing content.
First, check out the document version, and select Modify Contract in Microsoft 365 editor. This opens a new version of the contract document in Microsoft 365 editor.

Next, select the Salesforce Contracts Connector for Word add-in on the Home tab, which gives you several options for updating a clause.
-
Edit: Revise the text in a clause.
-
Replace: Substitute an existing clause with a new one.
-
Delete: Remove a clause that’s no longer relevant or necessary.
After you’ve made the changes, click Check In to update the contract document to the latest version.
So far, you have explored reusable clause sets for standardization, and the use of Microsoft 365 Word for document generation. In the next unit, you explore how to finalize contracts using reviews.
Wrap Up
Thanks to the add-in, Candace creates a contract document and finalizes the agreement with the new supplier, ensuring Cloud Kicks operates smoothly and maintains its excellent reputation. In this module, you explored reusable clause sets for standardization, and the use of Microsoft 365 Word for document generation and edits. With this knowledge, you’re ready to manage even the most complex contracts.
Resources
- Salesforce Help: Contract Authoring in Microsoft 365 Editor
- Salesforce Help: Create Templates by Using Microsoft 365 Word in Document Template Designer
- Salesforce Help: Create a Document Template by Using Clauses
- Salesforce Help: Section Management
- Salesforce Help: Contract Review