Create Price Books to Track Your Products
Learning Objectives
- Explain how products and price books work together.
- Set up a price book.

Get Reps Selling the Right Products
- Name
- Code
- Description
- Indication of whether it’s active
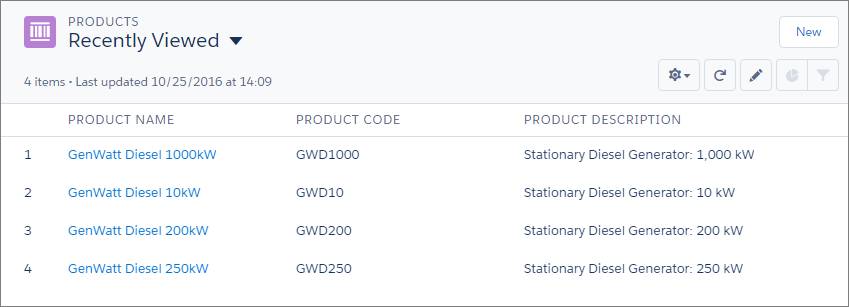
Each of those products has a standard price. When you create products in Salesforce, you add a standard price to each one. Then those products appear in the standard price book, which is accessible from each product or from the App Launcher.
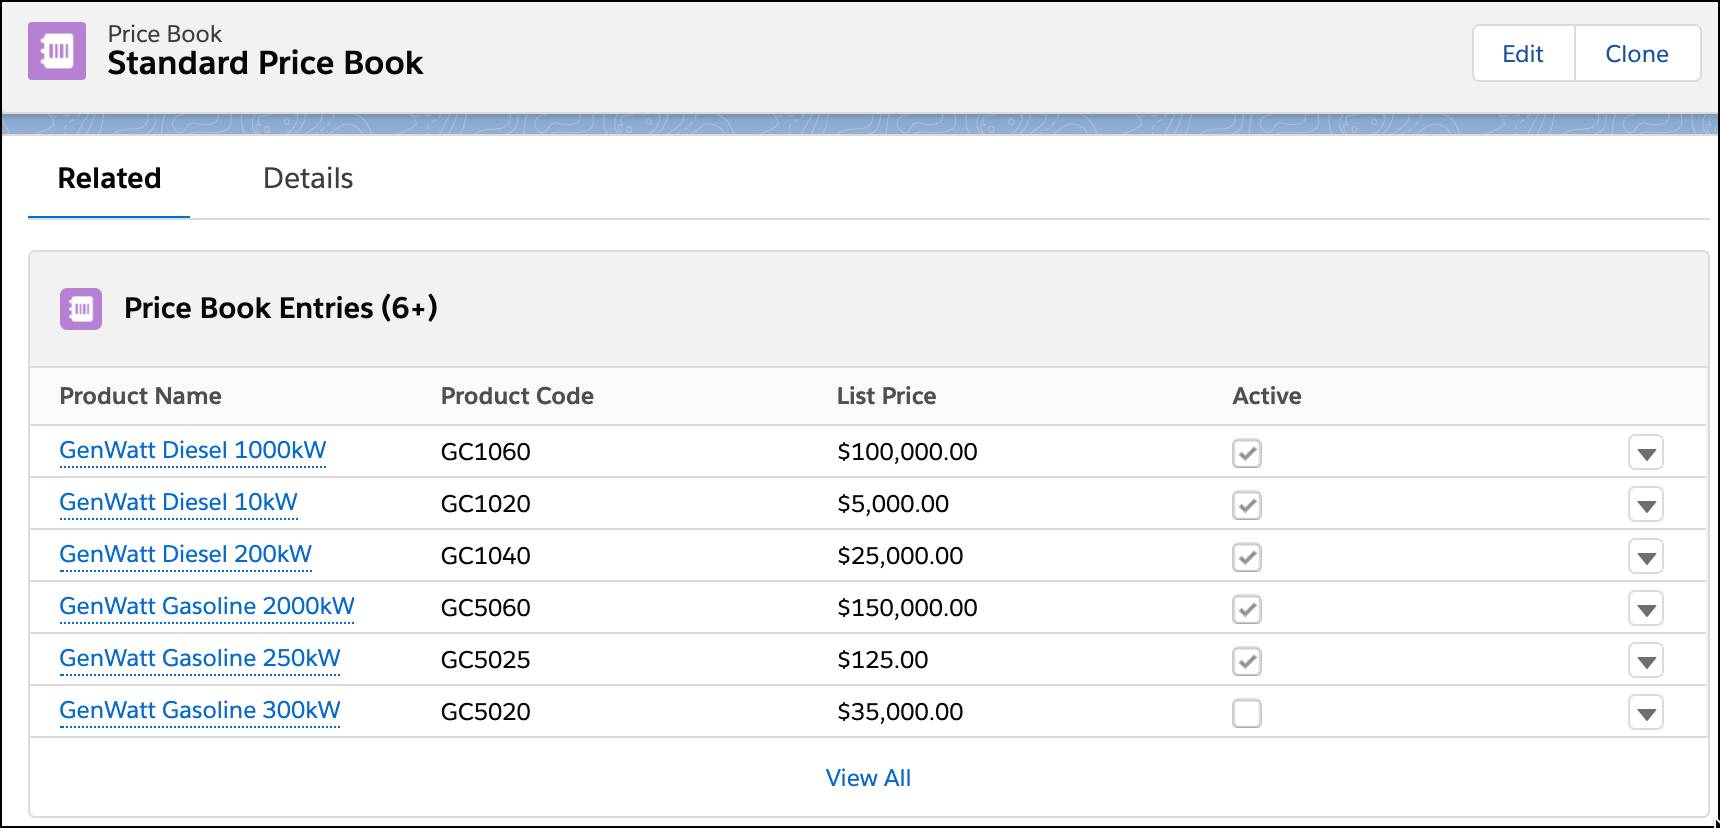
Think of the standard price book as a master book of all your products.
Sometimes, though, you want to track a product that has more than one price. That’s when you create multiple price books. Say, for example, you sell coffee grinders at different prices depending on whether you’re selling to domestic or non-domestic customers.
Track Multiple Prices for the Same Product
Ursa Major’s Salesforce admin, Maria Jimenez, works with multiple sales teams. One of those teams sells to manufacturing industry customers on the West Coast of the United States. That sales team asked Maria to help them track products that have slightly discounted prices. The discount offsets a tax incentive that isn’t available to customers in that region of the country.
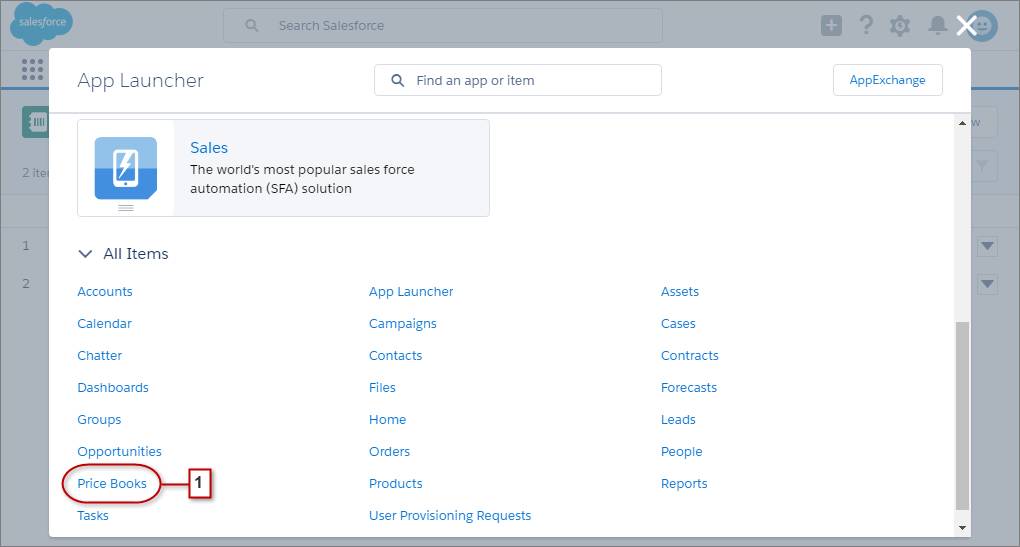
- From the App Launcher, Maria searches for Price Books, and selects it from the Items list.
- To create a price book, Maria clicks New, and then adds the specifics.

After Maria saves her work, the new price book appears.
- On the Related tab, she clicks Add Product, selects one of the products, and clicks Next.
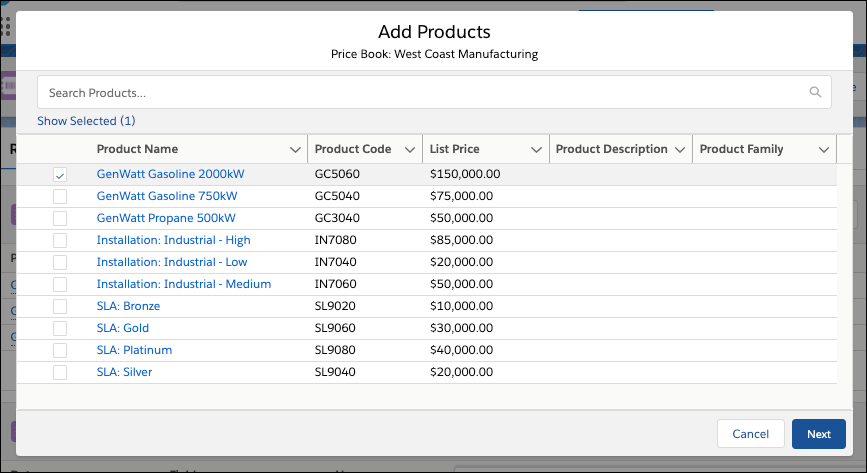
- Here's where Maria adds the list price specific to this new price book. Maria's list price is lower than the standard price of $150,000, as shown in the products list. The discounted price offsets the tax incentive not offered to West Coast customers.

And notice that she marked the entry as Active? That’s because her reps want to sell these products right away. After Maria saves her work, she’s ready to add more products to the new price book.
How Sales Reps Sell Products in Salesforce
Maria’s sales reps are ready to sell to their West Coast customers. One of the newer sales reps, Lance, works an opportunity in the Qualification stage. He called Ritu, a key decision-maker at Dickenson PLC. Ritu gave Lance enough details to determine that a 1,000 kW diesel generator is the best option to meet his customer’s needs.
Add a Product to an Opportunity
- From the Products related list on the opportunity that Lance is working, he selects Add Product.
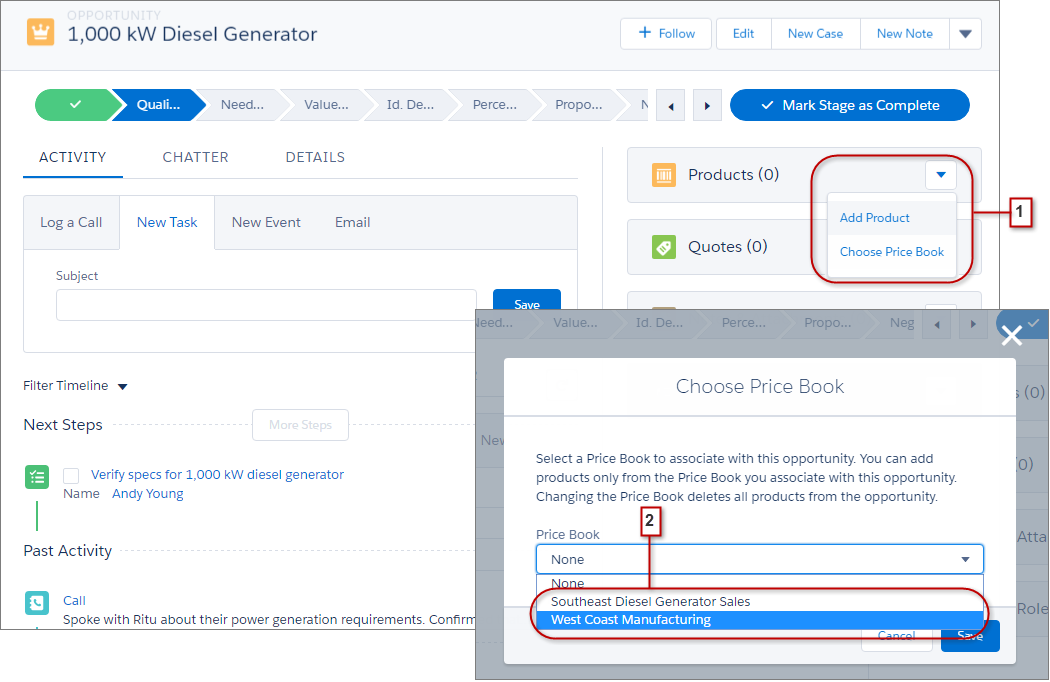
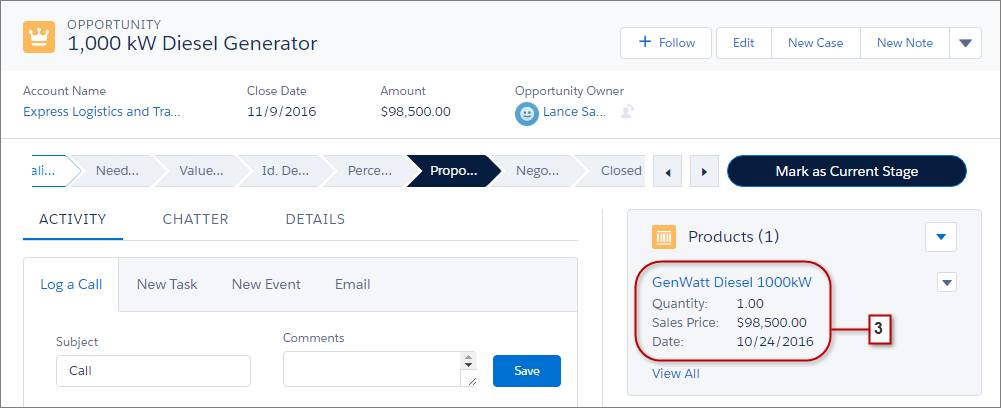
- He then chooses the price book West Coast Manufacturing, and adds the product GenWatt Diesel 1000kW and sets the quantity to 1. In that price book, the product price reflects the discount Ursa Major offers.
- Lance confirms the product appears as he expects—with the discounted price.
See how easy it is to track and sell products using multiple prices?
Resources
- Salesforce Help: Manage Products
- Salesforce Help: Prices and Price Books