Get Started with Quote Templates in Salesforce CPQ
Learning Objectives
After completing this unit, you’ll be able to:
- Describe how quote templates help complete sales.
- Sign up for a CPQ-enabled developer org.
- Generate quote PDFs that are accessible to all team members.
Give Quote Details to Customers Fast
Salesforce CPQ does a lot to help sales reps close deals with speed and accuracy. The C in CPQ is for configuration, making it easy to choose just the right products for what a customer needs. The P is for pricing, ensuring that prices are calculated perfectly with the click of a button. And the Q is for quote, which means giving customers their quote details in a proposal document such as a PDF. At this step, Salesforce CPQ keeps up its reputation for speed and accuracy by making proposals easy for you to create and keep error-free.
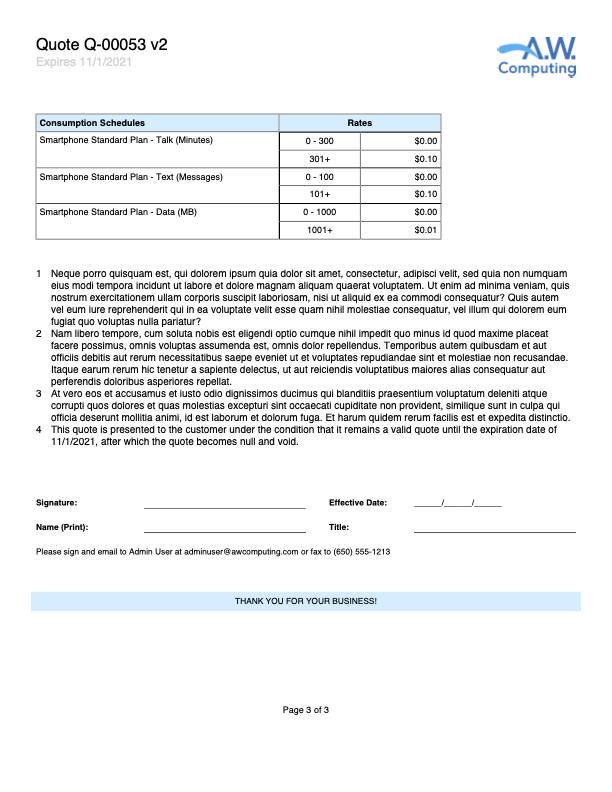
Gone are the days of opening a template in a word processor and painstakingly replacing bits of information to custom-tailor a proposal for each sale. Salesforce CPQ already knows customer details, just like it knows what products and prices are part of the sale. And with just a few clicks, you can merge all that data into one of your own customized templates to create a professional-looking proposal in seconds. No typos, no forgotten details, no unapproved prices. Here's an example of a simple 3-page proposal.


Not only do proposals look good, they’re dynamic too. For example, a proposal for one customer might need to include a special section because they bought subscription products. But a different customer without subscriptions doesn’t need to see that. Salesforce CPQ uses what it knows about the sale to control what appears in the proposal. So instead of creating and maintaining two templates, admins can make just one that handles both cases.
Finally, it’s possible to integrate eSignature solutions such as DocuSign so that customers can return signed documents faster than ever. Integrating eSignatures is outside the scope of this badge, but we’ve included a resource below that can help if you need it.
In this badge you learn how sales reps use Salesforce CPQ to send proposals to their customers and their colleagues. You also learn to create the templates that CPQ uses to generate output documents.
Sign Up for a Developer Edition Org with Salesforce CPQ
To complete this module, you need a special Developer Edition org that contains Salesforce CPQ and our sample data. Get the free Developer Edition and connect it to Trailhead now so you can complete the challenges in this module. Note that this Developer Edition is designed to work with the challenges in this badge, and may not work for other badges. Always check that you’re using the Trailhead Playground or special Developer Edition org that we recommend.
- Sign up for a free Developer Edition org with Salesforce CPQ.
- Fill out the form.
- For Email, enter an active email address.
- For Username, enter a username that looks like an email address and is unique, but it doesn't need to be a valid email account (for example, yourname@cpq4ever.com).
- After you fill out the form, click Sign me up. A confirmation message appears.
- When you receive the activation email (this might take a few minutes), open it and click Verify Account.
- Complete your registration by setting your password and challenge question. Tip: Write down your username, password, and login URL for easy access later.
- You are logged in to your Developer Edition.
Now connect your new Developer Edition org to Trailhead.
- Make sure you’re logged in to your Trailhead account.
- In the Challenge section at the bottom of this page, click the playground name and then click Connect Org.
- On the login screen, enter the username and password for the Developer Edition you just set up.
- On the Allow Access? screen, click Allow.
- On the Want to connect this org for hands-on challenges? screen, click Yes! Save it. You are redirected back to the challenge page and ready to use your new Developer Edition to earn this badge.
Great, your Salesforce CPQ-enabled org is ready to go. But wait! There's one more thing you need to do. The activities in this badge only work if your browser allows popups from force.com (your training org). Each browser has its own way of allowing popups, but if you search for "pop" in the settings you'll probably find the right place to make the change.
Generate Your First Quote Document
Although it’s easy for sales reps to generate proposals with Salesforce CPQ, there are still a few things to learn about the process. Like, where do you go to access a proposal that was generated yesterday?
Also, as an admin you can change the process with package-level settings, as we note in the steps below. To access package-level settings, navigate to Setup > Installed Packages > Configure (for Salesforce CPQ).
Let’s begin by taking a look at what a sales rep experiences when it’s time to send a quote to a customer. You start by navigating to a premade quote that Team Trailhead made specifically for this badge.
- If you don’t already have your CPQ-enabled org open, scroll down to the Challenge section and click Launch to open it.
- Click the App Launcher (
 ), and click the Salesforce CPQ tile.
- In the navigation bar, click Quotes, then choose the All list view.
- Click Q-00053.
This quote has many quote lines, their quantities and discounts adjusted to show a little variety. You will use this quote repeatedly throughout this badge to test your work, so leave the products and prices unchanged.
- Click Generate Document.
At this point the document hasn’t been generated because the sales rep is first given an opportunity to choose a different template, among a few other things. Businesses use templates for different types of documents, such as a quick listing of products versus a full Statement of Work. Let’s preview what the Training Sample template looks like before making any changes.
- Click Preview.
After a few moments a window appears with a preview of the generated document. You don’t need to preview the proposal before sending it to your customer, but it’s nice to scan it first for any possible issues. By default the preview window shows the fit-to-page view, which is small. If you want to expand the preview window to use the full browser size, check Full Page Preview in the package-level settings.
- Click the X to close the preview window.
Now that you’ve seen what the proposal looks like, let’s take steps to make a record of the quote in its current form, and send a copy to your customer.
- In the Document Name field, add
-Trailheadto the end of the existing text.
The document name is a combination of the quote number and the time the document is generated. By default, sales reps can edit the name as needed, but if you don’t want it editable just check Hide Document Name in the package-level settings.
- Click Save & Email.
Many things just happened with this one click. If your browser allows popups from force.com you should see a send email tab or a Send an Email window that pre-populates the To field based on the Primary Contact field from the quote. If you scroll to the bottom of the window you’ll see an attachment for the proposal PDF.
- In the Subject field, enter
Quote for laptops.
If this were a real sale you would enter a message for the body of the email, but you can skip that for now.
- Click Send.
The email address you used to sign up for your CPQ-enabled org is automatically put into the BCC field, so you should receive the same email your customer would (this might take a few minutes).
- Close the tab or window that popped up after clicking Save & Email.
The original CPQ tab you started with should now show a Quote Document record, which CPQ created the moment you clicked Save & Email. The Quote Document is a recordkeeping tool that shows exactly when the proposal was generated and a version number. This is especially useful when reviewing proposals you sent to the customer throughout the sales process. Notice that the Version field shows “1” since it’s the first time anyone has generated a document for this quote. If you ever need to view this version of the proposal, just click View.
- Click Q-00053.
- Click the Related tab.
The Quote Documents related list shows every version of the document generated throughout the course of the sale.
- Click the Details tab.
- Click the Tech for teaching staff opportunity.
Notice that the Quote Documents related list is here on the opportunity too, however it can only be accessed by users with a CPQ license. For everyone else there’s the Notes & Attachments related list, which shows files for each version generated. Files are shown here because the package-level setting Attachment Target is set to Opportunity for your CPQ-enabled org. Attachment Target can be set to Quote to add it to the quote’s Notes & Attachments list. Or, set it to Document Only to keep the PDF accessible only through the Quote Document record.
- Click the Chatter tab.
A link to the PDF appears in a new Chatter post because the package-level setting Post to Feed? is checked in your CPQ-enabled org.
In this example you created a quote document record (and attached the files to the opportunity and Chatter post) by using the Save & Email button. You can do all that without emailing a copy to the customer by just clicking Save on the Generate Document page. Finally, a quick way to see the proposal in fewer clicks is to use the Preview Document button on the Quote record.

Now that you know how sales reps use CPQ to generate documents, it’s time to go behind the scenes as an admin, and set up a new quote template for reps to choose from.
Resources