Get Started in Quip
Learning Objectives
After completing this unit, you’ll be able to:
- Explain how Quip can help improve team collaboration and reduce bottlenecks.
- Understand how permissions create a streamlined sharing experience.
Managing Notifications
Now that we’ve talked about all of these @mentions and notifications, you might be wondering, How do I manage them?
To select the types of notifications you’d like to receive, click your picture or email in the bottom left of the screen. You’ll see three options: desktop, mobile, and email notifications.
Typically, we recommend you choose only desktop or mobile, whichever you work with more frequently. Email notifications can be a good way to get started, as you train yourself to work directly in Quip. Once you’re comfortable working in Quip, we recommend that you use desktop and mobile notifications, as well as the email daily digest. You and your team should get in the habit of watching for notifications and addressing them directly in your documents.
Organization and Sharing
By now, you understand how great of a tool Quip is for productivity and collaboration. But to really get the most out of this powerful tool, you have to know how to use it. And that starts with organization and sharing.
When using Quip, you typically create a new document of your own (like we did in Unit 2) or edit a document that someone else on your team created. One way to share your document is to click the blue Share button in the upper-right corner. You can add people or folders, and this is also where you have the option to add permissions (more on that later).
Folders
Let’s say you created your own document—a project plan—and are ready to share it with your team. In this case, you likely want to add it to a folder, maybe the folder for that particular account. This automatically shares it with everyone on your team who has access to that folder. This is also why one of the most efficient ways to share a document is by adding it to a folder.
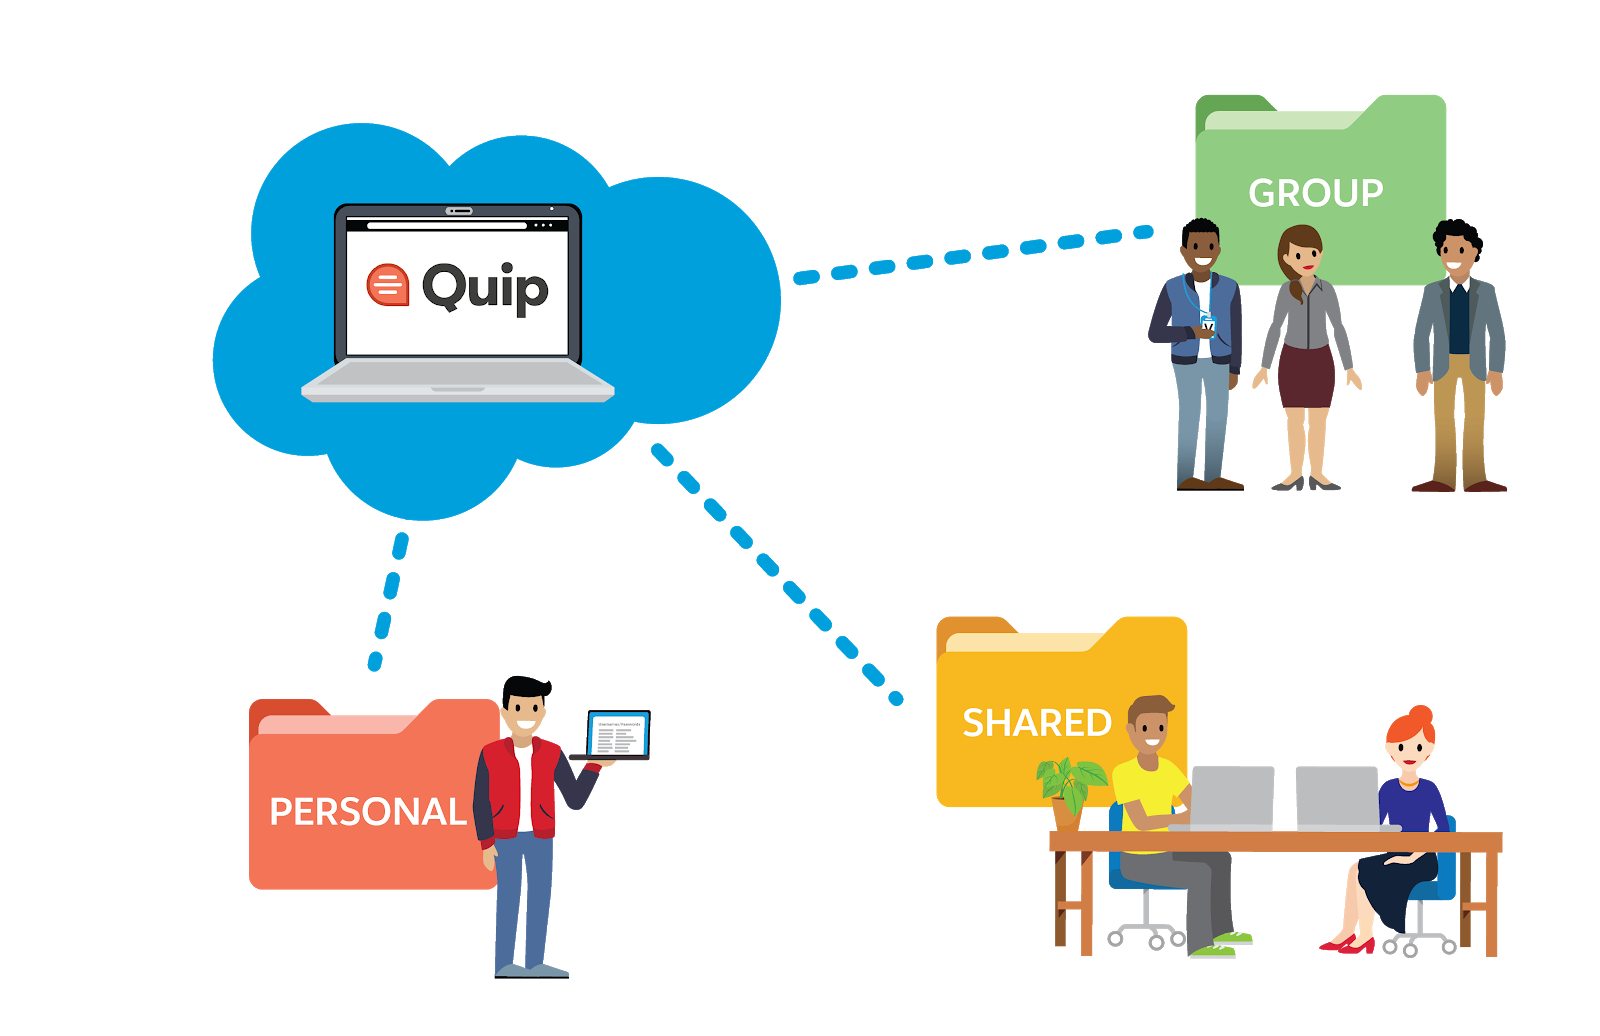
Unlike other cloud-based file-sharing solutions, Quip lets your document live in multiple folders. Think of it as a link to the same document, stored wherever you and your team need to stay organized.
Let’s say you’re collaborating on a project plan document, which you created and saved in your team’s shared Project Plan folder, within your Marketing group folder. If you send it to your colleague Amir for review, Amir can easily save the document to his own personal folder, based on however he works best. But it will still be the same document, live in your Marketing group folder and Amir’s personal folder. It’s not a copy of the document, but the same document living in two different spots. Kind of amazing to think about, right? This keeps everyone on the same page while also allowing your team to organize projects and work the way that they work best.
Search
To quickly find a document or surface something you were using years ago, search is the tool for you.
By searching the title and content of the document, and also using filters like “date” and “modified by,” you can quickly surface any document. That built-in functionality makes your documents easy to find, and you can use the advanced filtering options to whatever degree you’re comfortable. Advanced search can even leverage comments and conversations, so if you remember a specific comment or unique word from the document, that’s really all you need to find it.
Favorites and Collections
A way to quickly navigate to your current projects. Basically the things you’re currently working on and the things you go to every single day. Your own to-do list or one-on-one document. That way, you don’t have to dig through folders to find those documents. To add a document to your favorites, just Star it, by selecting the ⭐️ icon in the upper-right corner.
Who’s Allowed In?
Let’s say you share an account plan with your team for review, and you eventually want to share that document with a customer. Chances are, you want the different parties viewing that document to have different permissions. What do we mean by that?
With granular permissions, you can choose if you want people to be able to view, comment, or edit your document. So, for example, with your account plan, you can share a first draft with your immediate team and give all of them editing rights, so you can all prepare a tightened draft to share with your manager
Then, to help with version control, you give your manager commenting rights. That way, they can add feedback as comments, so you can incorporate it separately and make sure it doesn’t conflict with important pieces you and your team have already ironed out.
Finally, when your account plan is ready to share with your customer, you give them viewing rights. They cannot comment on or change the plan, but they’re able to view the final version.
No matter how you’re using your document, granular permissions help you control who can view, comment, and edit. So, how do you choose and assign granular permissions? We’re glad you asked.
A Streamlined Sharing Experience
When you click Share, you see an option to share the current doc with both individuals and shared folders. You can search people and folders by their name or email address, and view a list of all the shared individuals, folders, and permissions associated with each.
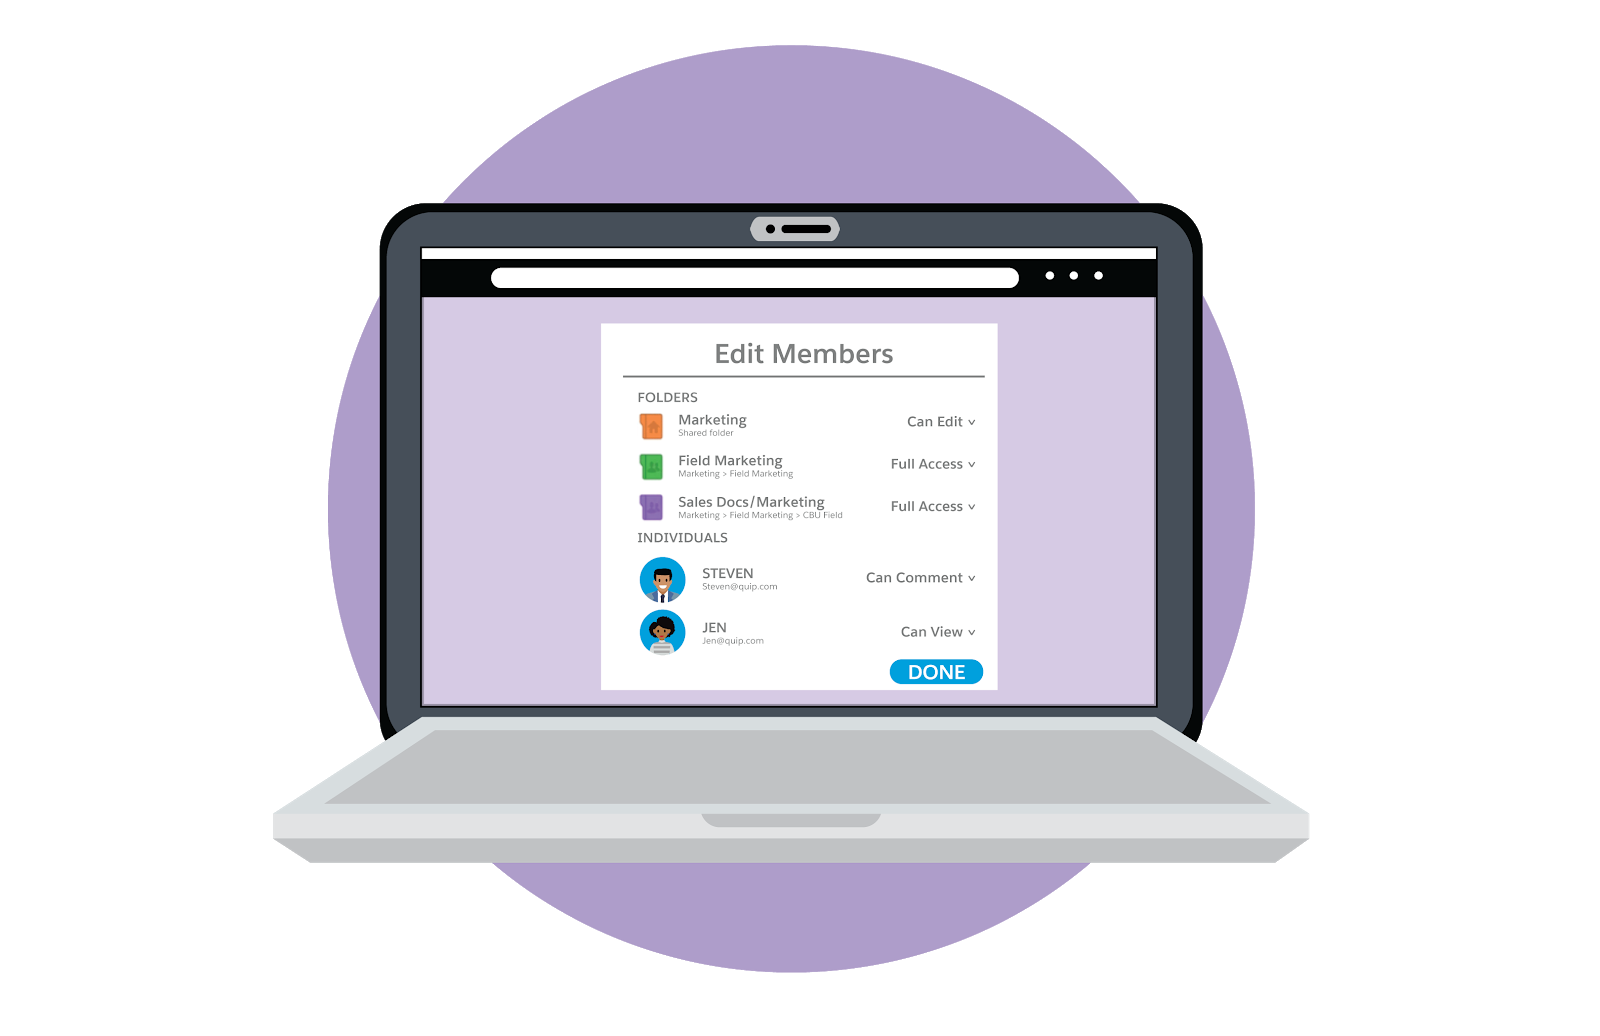
Rather than navigating to every individual shared folder in order to manage access, you can track and modify all shared permissions from one centralized view.
There are four new ways to define permissions at the individual user and folder level.
- Full Access: Can share and edit.
- Can Edit: Can edit, but not share.
- Can Comment: Can only view and comment.
- Can View: Cannot share, edit, or comment.
With granular permissions in Quip, it’s easier than ever to get fast, high-value work done with your team.
It’s Your Turn
Now that you know all the tools and resources Quip can provide, how will you use it with your team? Below are a few ideas to get you started.
- Create a project plan for each project you’re assigned to next quarter.
- Set up your team’s Out of Office or Work Remotely calendar.
- Plan events from brainstorm to execution across multiple departments.
- Create a task list with reminders to keep track of your projects.
With Quip, there are endless ways your team can streamline processes, stay out of your inboxes, and maintain real-time feedback that makes collaboration and communication a cinch. For even more collaboration power, learn about Quip for Sales, which integrates Quip directly into your Salesforce instance.