Create a Type Ahead Block Element
Learning Objectives
After completing this unit, you’ll be able to:
- Describe how a Type Ahead Block works in Omnistudio for Managed Packages.
- Configure a Type Ahead Block.
- Enhance the Type Ahead UI and UX.
How Does a Type Ahead Block Work?
If you’ve ever started typing in an input field and selected a record from the list of results that appears, you’ve experienced type-ahead functionality.
In an Omniscript, you can add this functionality with a Type Ahead Block. So what does this function look like in your Omniscript? In our example Omniscript, when a user enters letters in a contact name search field, the Type Ahead Block shows a list of contacts linked to the account. This speeds up the change to a new main contact.

The Type Ahead Block element works with a data element inside the Block and its data source. In that data element, you define which search parameters the Type Ahead Block uses and also what information is sent to the data source.
With a Type Ahead Block, you can show more than simply the results of the search term. It’s easy to add related fields to the Block and configure the data source to pull in additional data that can be helpful for the user. This means that when people search for and select a contact by name, your Omniscript can show them not only the contact’s name, but also their email address and phone number. Pretty neat!
You have multiple data choices for Type Ahead data elements.
- Omnistudio Data Mapper Turbo Action
- Omnistudio Data Mapper Extract Action
- HTTP Action
- Remote Action
- Integration Procedure
- JSON Data
- Google Maps Auto Complete
In our example, you're getting contact information from Salesforce, so you can use an Omnistudio Data Mapper Extract Action element to work with your Type Ahead Block. How do you make the magic happen? Start by getting the properties right.
Configure Your Type Ahead Block
To make sure your Type Ahead Block works seamlessly, add two input parameters to the Block’s Omnistudio Data Mapper Extract Action element. Input parameters consist of a data source and a filter value.
If you want the Omnistudio Data Mapper to only look for contacts associated with an account, you limit the context to a particular account.

The best way to identify an account is with the AccountId (1). You also must add a second parameter to define what's being used to conduct the search. The data source is what the end user types into the Type Ahead field and the filter value is LookupKey (2).
The Omnistudio Data Mapper is your data source, and searches for matches to the parameter. Make sure it links the LookupKey to the appropriate field on the Object. Here, you're using Contact Name (3). It’s also important to specify in the Output JSON Path how to identify the key in the JSON the Omnistudio Data Mapper sends back to the Omniscript. Here, you're using ChangeContactNameKey (4) to accomplish this.
After you set up the Omnistudio Data Mapper, configure the Type Ahead Block properties to link back to the Omnistudio Data Mapper. This ties all of the parts together! In the Type Ahead Block's properties panel, fill in the Typeahead Key field with the key's name. This should match what was set in the Omnistudio Data Mapper Output JSON Path (4). To prevent typos, copy the name from the JSON in the Response node from the Action Debugger.
Now you’ve configured your Type Ahead Block with the properties it needs to operate without a hitch. Next, you have some decisions to make that greatly enhance the UI and UX for the end user. The first decision is a question of UX.
Use Element Properties to Enhance Type Ahead UI and UX
By default, the Type Ahead Block only displays the search field. What does this have to do with UX? If you add fields to the Block, these don't automatically show unless the end user clicks Edit, which shows as a pencil icon.

Clicking Edit activates edit mode, which displays all of the fields—no more additional clicks to view data!
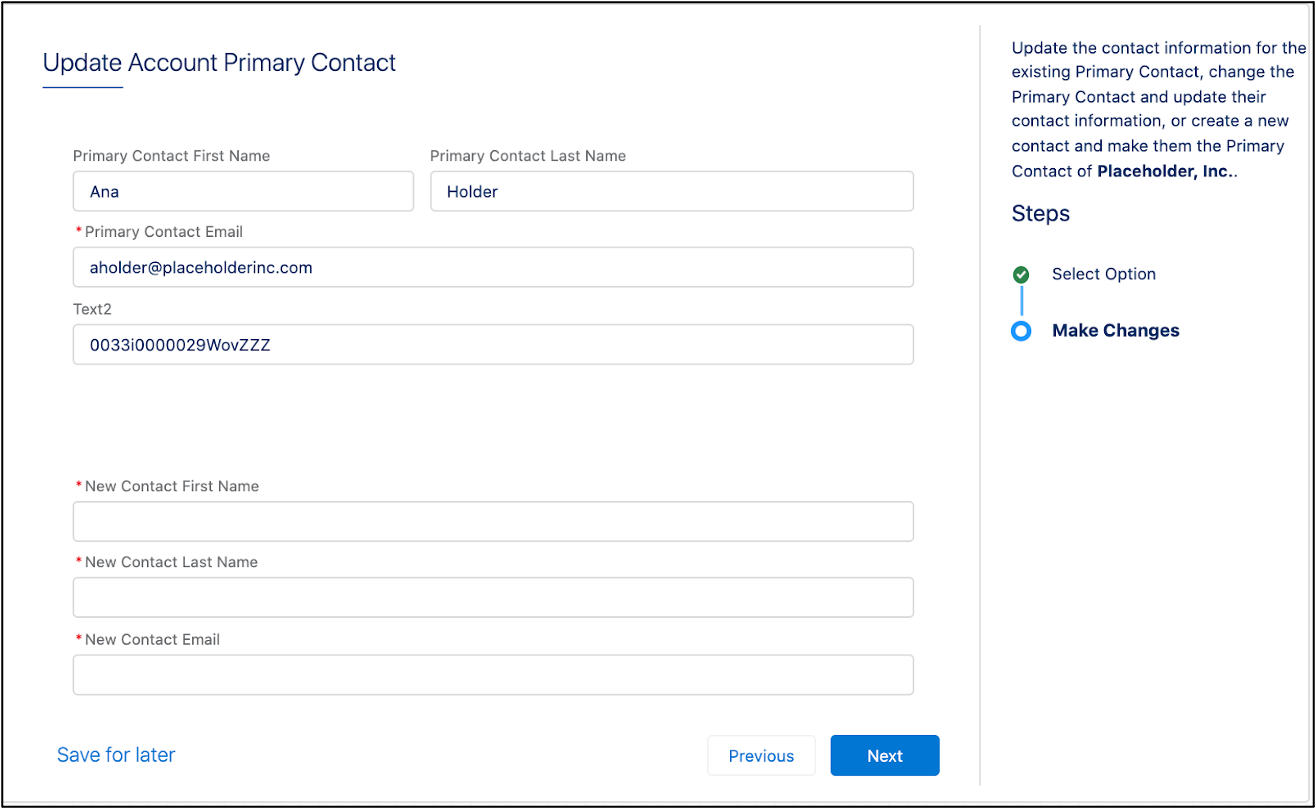
The second decision to make is whether you want end users to create new contacts from the Type Ahead search field. By default, you can create new contacts. However, because your Omniscript has a separate branch to create a new primary contact, it makes sense to turn this option off.
All of your Blocks are now ready to go! In the next unit, you’ll learn what it takes to make sure your Omniscripts are error-free.