Automate GUI Navigation Using an RPA Process
Learning Objectives
After completing this unit, you’ll be able to:
- Use an Image Search action step to locate a link.
- Use a Mouse Actions action step to click a link on a webpage.
Configure Commonly Used Action Steps
There are several commonly used action steps in the MuleSoft RPA Builder toolbox, which are used in nearly every RPA process implementation. This unit introduces you to four action steps: Search Pattern, Image Search, Keystrokes, and Mouse Actions. The Image Search and Mouse Actions action steps are reinforced in this unit’s walkthrough, while the remaining action steps are addressed in other modules.
Use Image Search and Search Pattern Action Steps
To search for text or an image within a website or application, you have a choice to use Image Search or Search Pattern action steps. Both take an input image and search for it. However, Search Pattern typically works best for simple patterns. Image Search is designed to search for complex images. Additionally, Image Search can perform some auto-adjustments, such as attempting to account for color variation and differences in screen resolution.
While searching for text seems like the ideal use case for Search Pattern, it turns out that many computers have font smoothing enabled by default. Font smoothing occurs when your computer smooths the pixels in a font to make the appearance of text more appealing to the human eye.
Unfortunately, this causes issues for the Search Pattern action step. To create stable solutions, it’s recommended you use Image Search when searching for text. When running an Image Search, the search starts in the top-left corner and proceeds from left to right and from top to bottom. It returns the first positive result of the search.
Use Unique Images
When searching for an image, ensure it’s unique. Uniqueness ensures that you select the correct instance of the image. To maximize your process success rate, choose the smallest identifiable image. The smaller the image, the less likely information may change. This is especially important for text because the size of spaces and other characteristics can potentially change slightly under different conditions. With that in mind, avoid searching for multiple words.
Let’s look at an example. If you’re searching for the text “Find a Meetup near you,” the word “Find” appears to be unique, as shown in the following screenshot.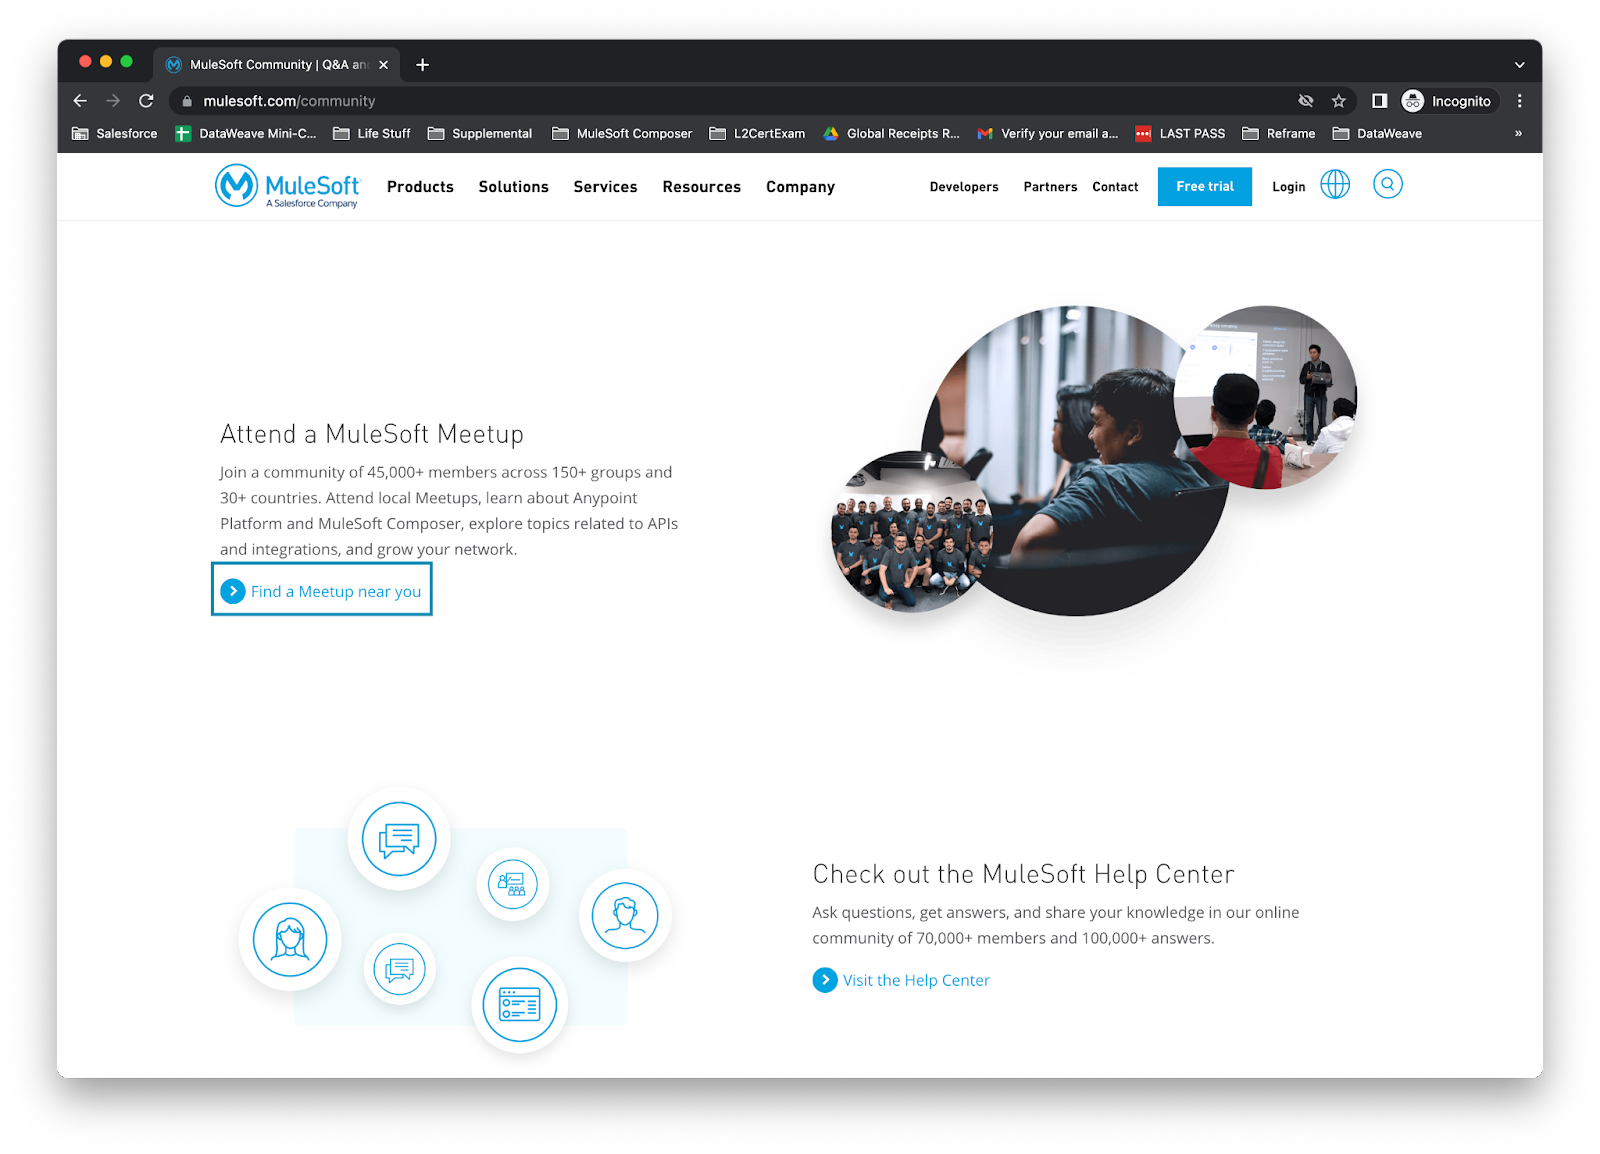
Here’s More on Precision
Next, you need to select the search area. This specifies the portion of the screen where the MuleSoft RPA bot searches for the image. If you’re concerned that the page layoutmay change over time, specify a larger portion of the screen. However, if the layout is stable and you need to increase performance, then shrinking the search area decreases the load on the bot. For our use case, we want to capture the button in our search area, so we search the full screen.
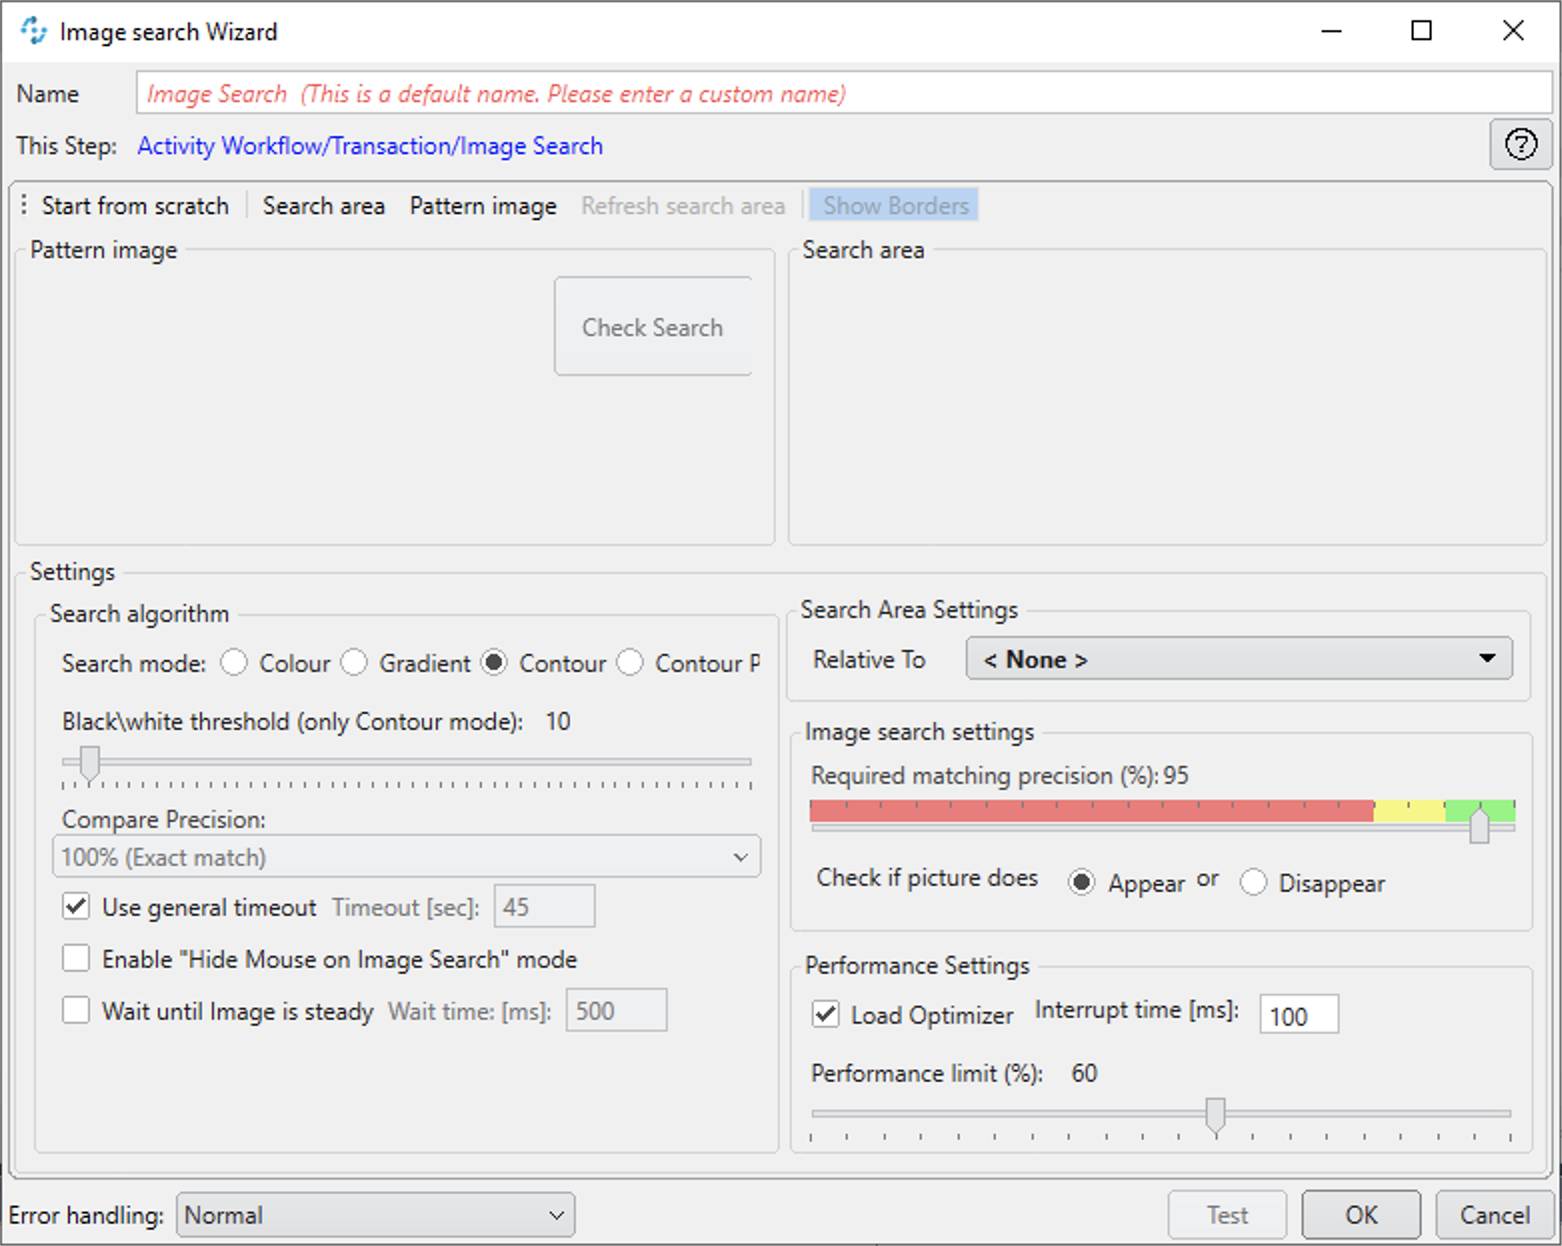
Adjust Image Search Algorithms
You can change the search algorithm used for image search. The available algorithms are Color, Gradient, Contour, or Contour Plus. Generally, Contour is recommended because it’s stable with color variations and accounts for different desktop resolutions. For Contour modes, you can adjust the black/white threshold. The lower the number, the better the algorithm is at locating high-contrast images or text. The default of 10 generally works well, though you may need to increase it for more complex images.
You can also adjust the required matching precision. This is a percentage, and it specifies how much of an exact match the located image should be to the one you defined during development. The lower the value, the more likely you receive a false positive. However, requiring a perfect match makes it more likely that when running your process on a different machine, minor differences in settings may prevent the process from executing successfully. Through trial and error, MuleSoft Services RPA developers have found that 88 percent is a good precision threshold in many real-world implementations.
It's also a best practice to select the Wait until Image is steady checkbox and to adjust the wait time to be sure the screen stabilizes before performing the image search. For example, if you are searching a webpage that was just loaded after a previous Mouse Actions action step clicked a link, you need to account for how long it takes for the webpage to completely load.
Use the Mouse Actions Action Step
A human user uses a mouse to point, drag, drop, and select new items on a screen. Mulesoft RPA Builder provides you with the Mouse Actions action step to simulate Mouse Actions in your MuleSoft RPA bot.
There are two options for specifying the location of the mouse action to be performed. You can click Start to record the mouse action and then press F10 to stop recording. Or you can click the + symbol to manually input the mouse action.
Reduce Mouse Speed and Add an Initial Action Delay
Sometimes, a MuleSoft RPA bot may start its click just before the pointer is in place, which makes the bot attempt to drag the link instead of click it. To avoid this, double-click the Mouse Click action in the Mouse Actions wizard. This action opens the Mouse Actions Edit Window where you can select the checkbox for Enable initial action delay. The default value of 500 ms is fine. This causes the bot to wait 500 milliseconds after the pointer is in the correct position before the click executes. If issues arise, you can also try adjusting the mouse speed up or down in the Mouse Actions wizard.
Use the Keystrokes Action Step
The Keystrokes action step captures all keys a user presses. Additionally, it records any modification keys, such as Alt, Shift, or Ctrl.
Walkthrough
Take a look at this video demonstration showing how to search for text on a webpage and click it. If you wish to follow along, check out the walkthrough instructions.
In this unit, you combined an Image Search action step with a Mouse Actions action step to navigate around a webpage, find a text string, and click a link.