Discover How to Build RPA Process Implementations
Learning Objectives
After completing this unit, you’ll be able to:
- Assign MuleSoft RPA Builder user permissions.
- Explain how RPA processes are implemented in RPA Builder.
- Describe RPA Builder views and components used to build RPA process implementations.
Before You Start
This module builds on the Get Started with MuleSoft RPA trail. In that trail, you learn how MuleSoft RPA Manager and MuleSoft RPA Recorder are used to evaluate, design, deploy, and monitor RPA processes. So make sure to complete the modules in that trail before you continue with this module.
In this module, we assume your organization has purchased a MuleSoft RPA license. If your organization has not purchased a MuleSoft RPA license, that’s OK. Read along to learn how users perform the steps. Don’t try to follow the steps in a Trailhead Playground, because MuleSoft RPA Builder isn’t available in the Trailhead Playground.
To follow the steps discussed in this module on your computer, you need the following setup.
- Network access to MuleSoft RPA Manager.
- A MuleSoft RPA Manager login that has MuleSoft RPA Builder user permission assigned.
- Access to a Windows system with MuleSoft RPA Builder installed.
Note: You can download the latest RPA Builder installer from the RPA Manager homepage.
MuleSoft RPA Builder is a visual drag-and-drop integrated development environment (IDE) you use to design and implement RPA processes that automate human actions on a Windows system. This is where the heavy lifting occurs.
Developing in an IDE is sometimes called "block" programming. Instead of typing formatted code, you connect visual blocks and configure each block in a visual wizard. The result is your formatted code is automatically generated for you. This way of developing enables users with less technical training to implement RPA processes.
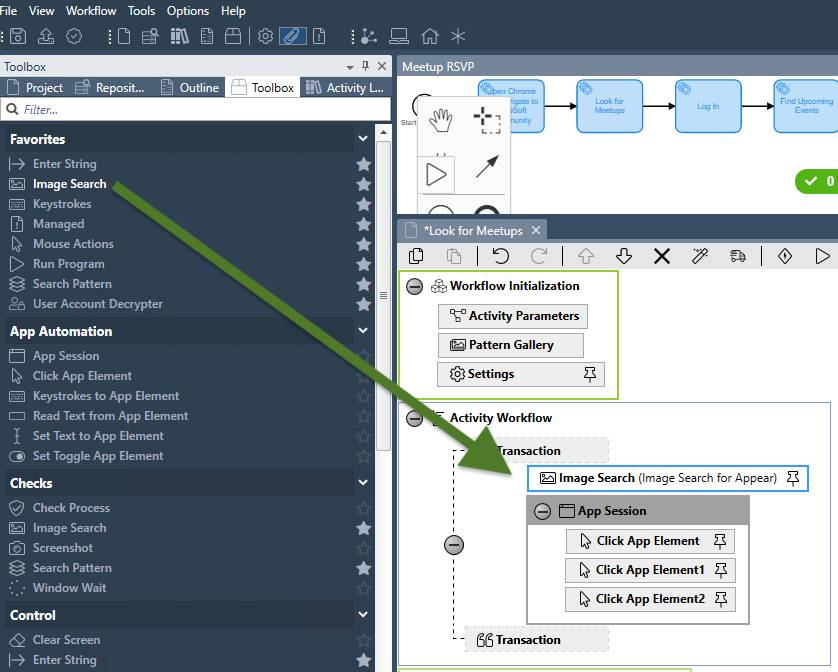
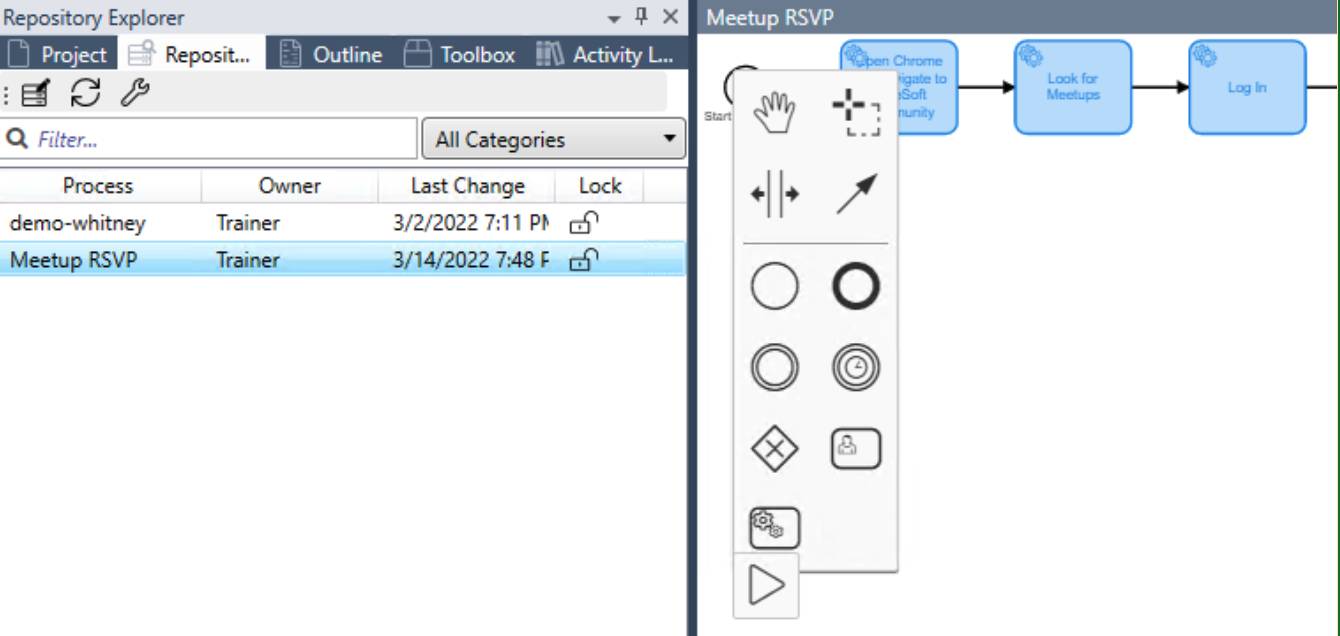
The following screenshot shows dragging and dropping elements from the Toolbox view into the Workflow view in RPA Builder.
Assign MuleSoft RPA Builder User Permissions
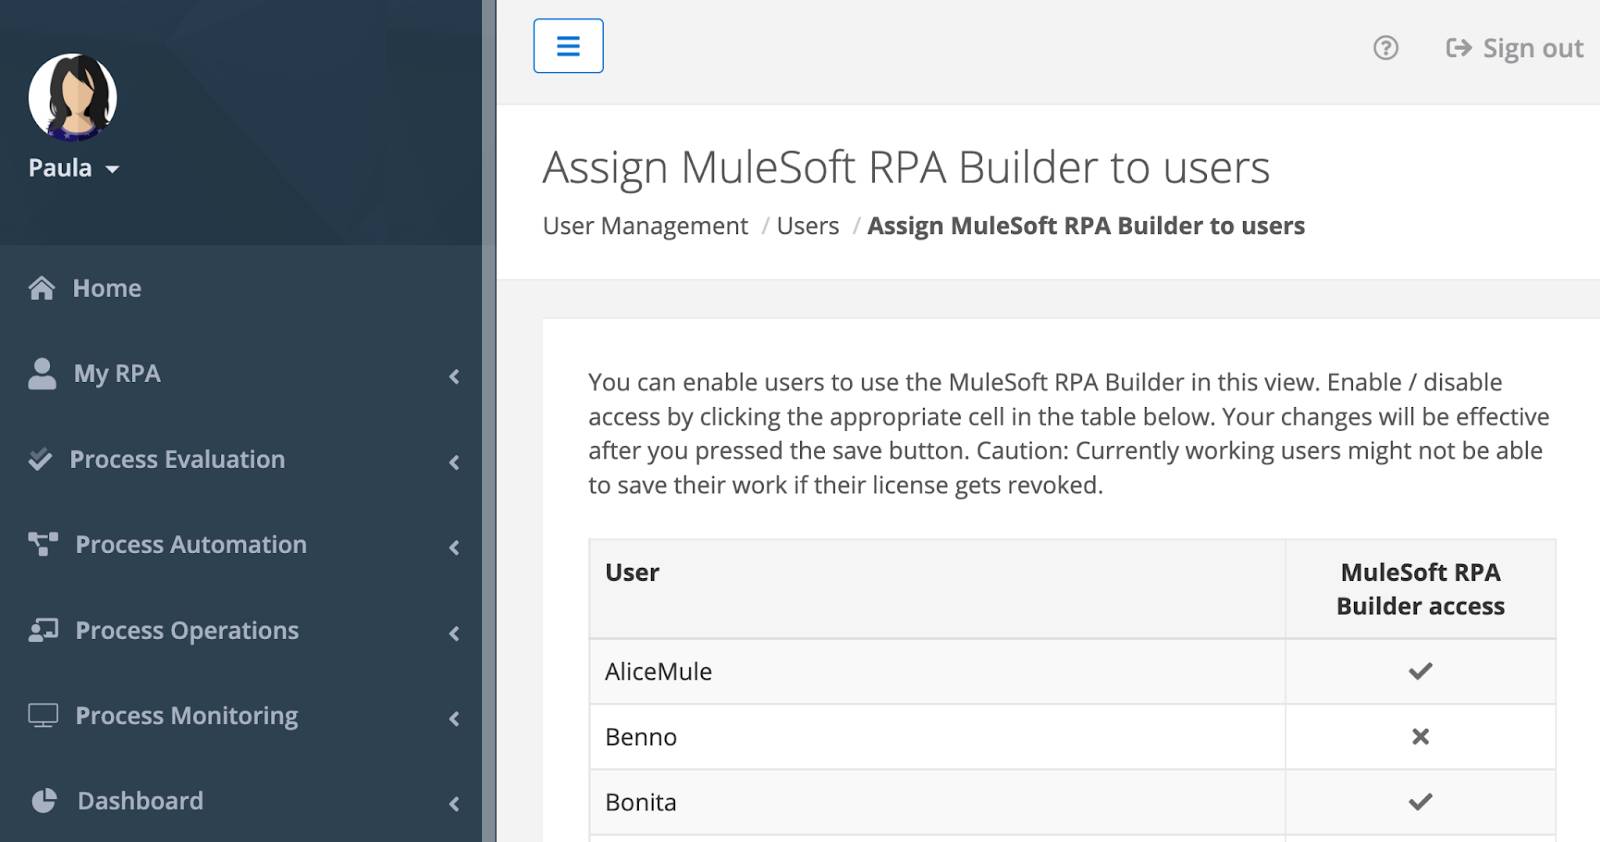
To use MuleSoft RPA Builder, a MuleSoft RPA Builder user permission must be assigned in MuleSoft RPA Manager. A system admin grants this access in MuleSoft RPA Manager in the User Management / Users view.
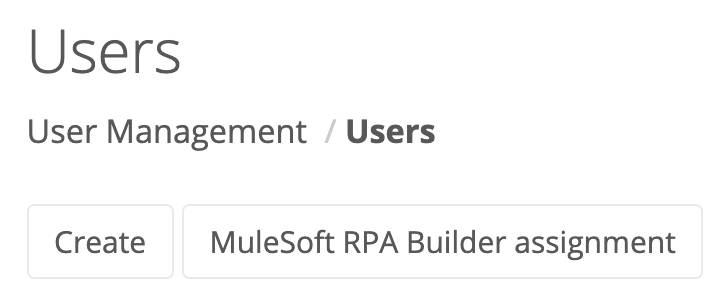
Then the system admin clicks MuleSoft RPA Builder assignment to assign permission to the user. Permissions for all users are assigned in this view.
Explore the Structure of RPA Process Implementations
Now, let's get oriented to the RPA Builder structure and how you use it to implement RPA processes.
Take a look at this video to get an overview of RPA Builder.
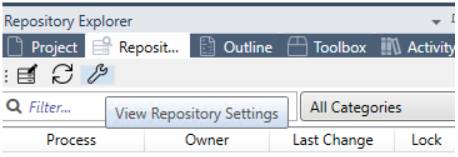
Before you start working in MuleSoft RPA Builder, you must log in to MuleSoft RPA Manager with a user that is assigned permission to build RPA processes. You then return to MuleSoft RPA Builder to import a Business Process Model and Notation (BPMN) diagram from the repository. The repository matches MuleSoft RPA Manager’s repository available to the logged in user.
Recall from MuleSoft RPA Basics that an RPA process is initially designed as a standard BPMN diagram. The diagram is composed of flow activities (mostly Bot Tasks and User Tasks). If MuleSoft RPA Recorder is used, detailed instructions are added as documentation to the flow activities.
In RPA Builder, we sometimes refer to flow elements as components. These components generate the code that runs in MuleSoft RPA Bot instances to automate human actions.
Each component must be configured. Bot Task components require the most configuration. These components instruct the MuleSoft RPA bot to carry out complex tasks, such as monitoring events or interacting with an open application.
You also modify the BPMN diagram in RPA Builder, so you don't have to keep bouncing between the BPMN editor in MuleSoft RPA Manager and RPA Builder. You can also back up the RPA process to a file called a CRPA file and import other CRPA files to replace the current implementation. When you’re ready you upload the RPA process implementation back to MuleSoft RPA Manager.
Elements in the Toolbox View
Each component has a Workflow view and each view contains a default set of workflow blocks that you can modify. If you used RPA Recorder to create the BPMN diagram, the middle workflow block contains an App Session element and other autogenerated action step elements.
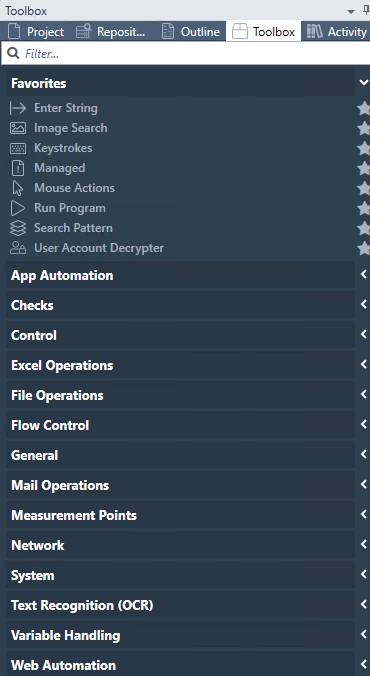
You code an RPA process by dragging and dropping elements from the Toolbox view into the Workflow view. Then you configure each element.
The elements in the Toolbox are prebuilt libraries that are snapped together visually. This autogenerates the instructions required by MuleSoft RPA bots to execute the process.
The Toolbox is organized into logical modules that perform the following tasks in an RPA process.
- Automate user interactions with the Windows desktop environment.
- Search and recognize images and text patterns on the screen.
- Handle variables, such as user credentials.
- Automate access to Excel files, external files, email, REST APIs, or other endpoints.
- Control, test, and route the flow between branches in the RPA process flow.
- Handle errors.
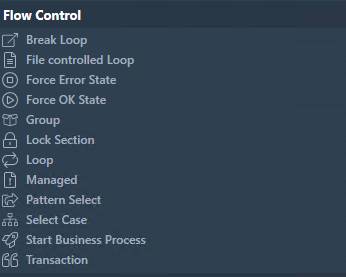
Working with Control Blocks
When designing code, you frequently need to group sets of steps together to make your code more readable. Or you need to iterate over the same set of instructions multiple times. MuleSoft RPA Builder provides control blocks to assist with these needs and most are found in the Flow Control module.
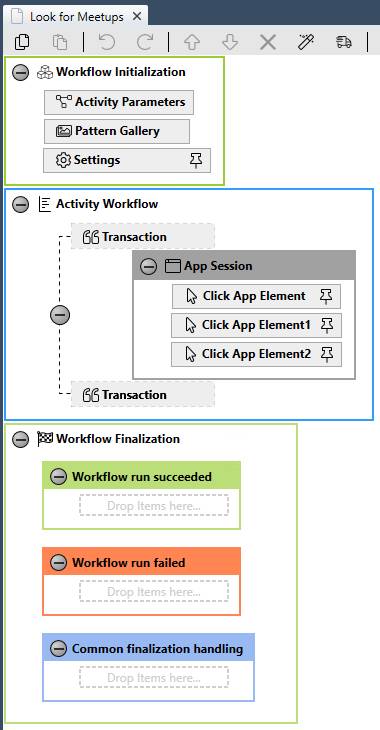
The RPA Recorder automatically generates some control blocks. In the following screenshot, note the Activity Workflow generated by the recorder. This workflow contains an outer Transaction block, which is a type of control block, and an inner App Session block.
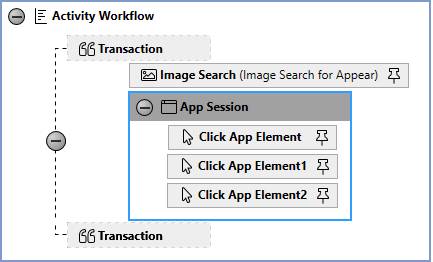
You configure each block by adding other elements from the Toolbox, such as action steps.
Working with Action Steps
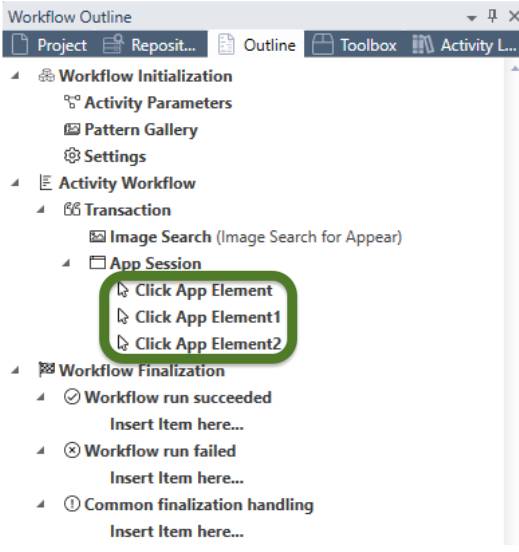
Action steps are the “leaf” nodes of a workflow. You can see an overview of the elements of the workflow editor in the Outline view. In the following screenshot, the Click App Element action steps are the leaf nodes of the App Session control block.
Action steps instruct a MuleSoft RPA bot to perform a single operation. These operations simulate a human user action. For example, there is an action step that enables a bot to run a program. There is another action step that allows a bot to locate an image on the screen. Like all the other elements in the Toolbox, action steps are instructions to generate code from particular libraries to carry out specific steps in the workflow.
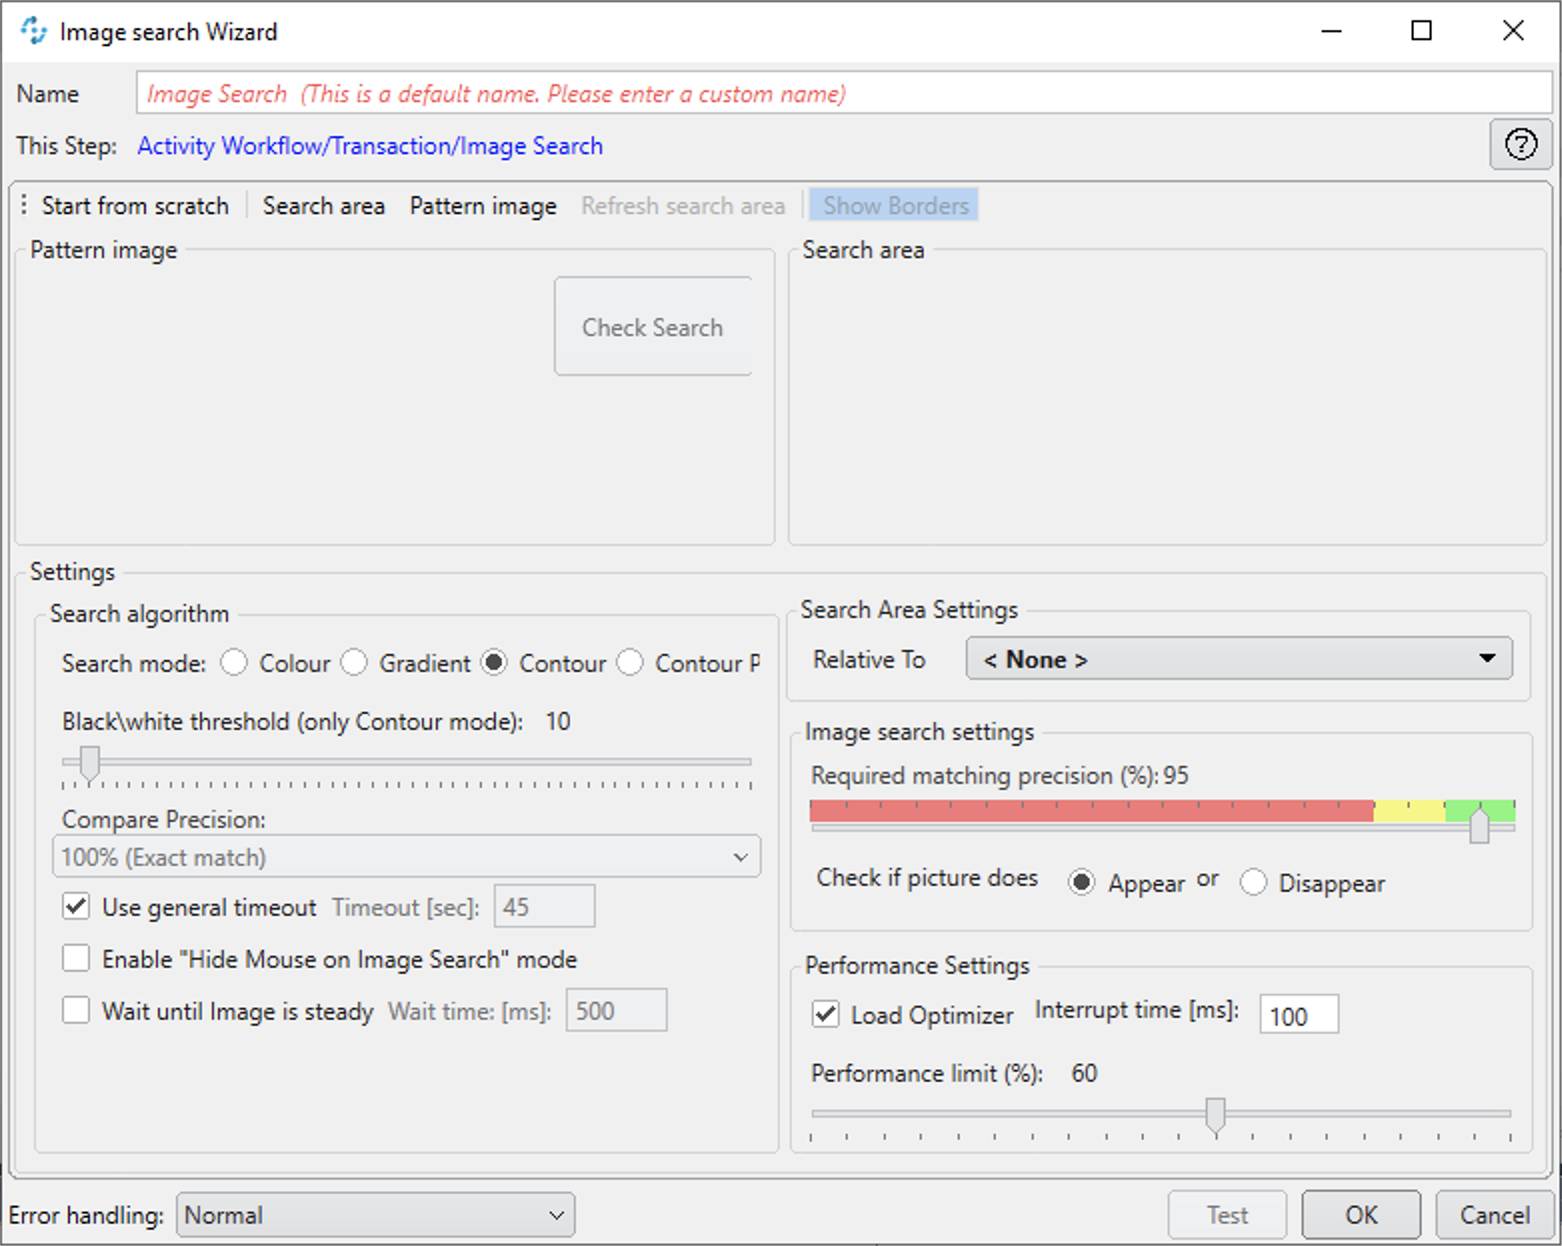
The following screenshot shows the configuration screen for an action step that searches the UI screen for images.
In this unit, you explored the structure of RPA process implementations using MuleSoft RPA Builder. In the next unit, you explore MuleSoft RPA Builder components as you begin building your own implementation.