Create the Send Log
Learning Objectives
After completing this unit, you’ll be able to:
- Create send logging data extensions for your marketing channels.
- Enable send logging in your account.
Before You Begin
In this module, we assume you are a Marketing Cloud Engagement admin with the proper permissions to configure and use Contact Builder. If you’re not an admin for Marketing Cloud Engagement, that’s OK. Read along to learn how your admin would take the steps in a production org. Don’t try to follow these steps in your Trailhead Playground. Marketing Cloud Engagement isn’t available in the Trailhead Playground.
Create Send Logging Data Extensions
Meet Michele Hansley, a technical marketer for Northern Trail Outfitters (NTO). She’s been working with the company’s enterprise architect Pia Long to implement send logging. Let’s follow along as the NTO team gets started. Michele wants to first make sure that their sends capture everything they want. So she’s going to set up a send logging data extension for each channel in an NTO test business unit. This is important because each messaging channel requires a separate send logging data extension.

Create the Email Send Logging Data Extension
Michele starts with the email send logging data extension.
- In Marketing Cloud Engagement, she clicks Audience Builder, then selects Contact Builder from the dropdown.
- In Contact Builder, she clicks the Data Extensions tab, then clicks Create and selects Create from Template.
- She chooses SendLog as her template for this round, although she’ll go back and add data extensions for SMS and push later.
- She then clicks Done.

- She names her send logging data extension NTOTestSendLog1 and clicks Next.
- Michele turns on data retention for the data extension and sets it for all records. The data retention policy determines how often data is removed from the data extension. She is trying the default 6-day setting until she better understands how her sends require data—so this value might change later. She clicks Next to review the data extension fields.
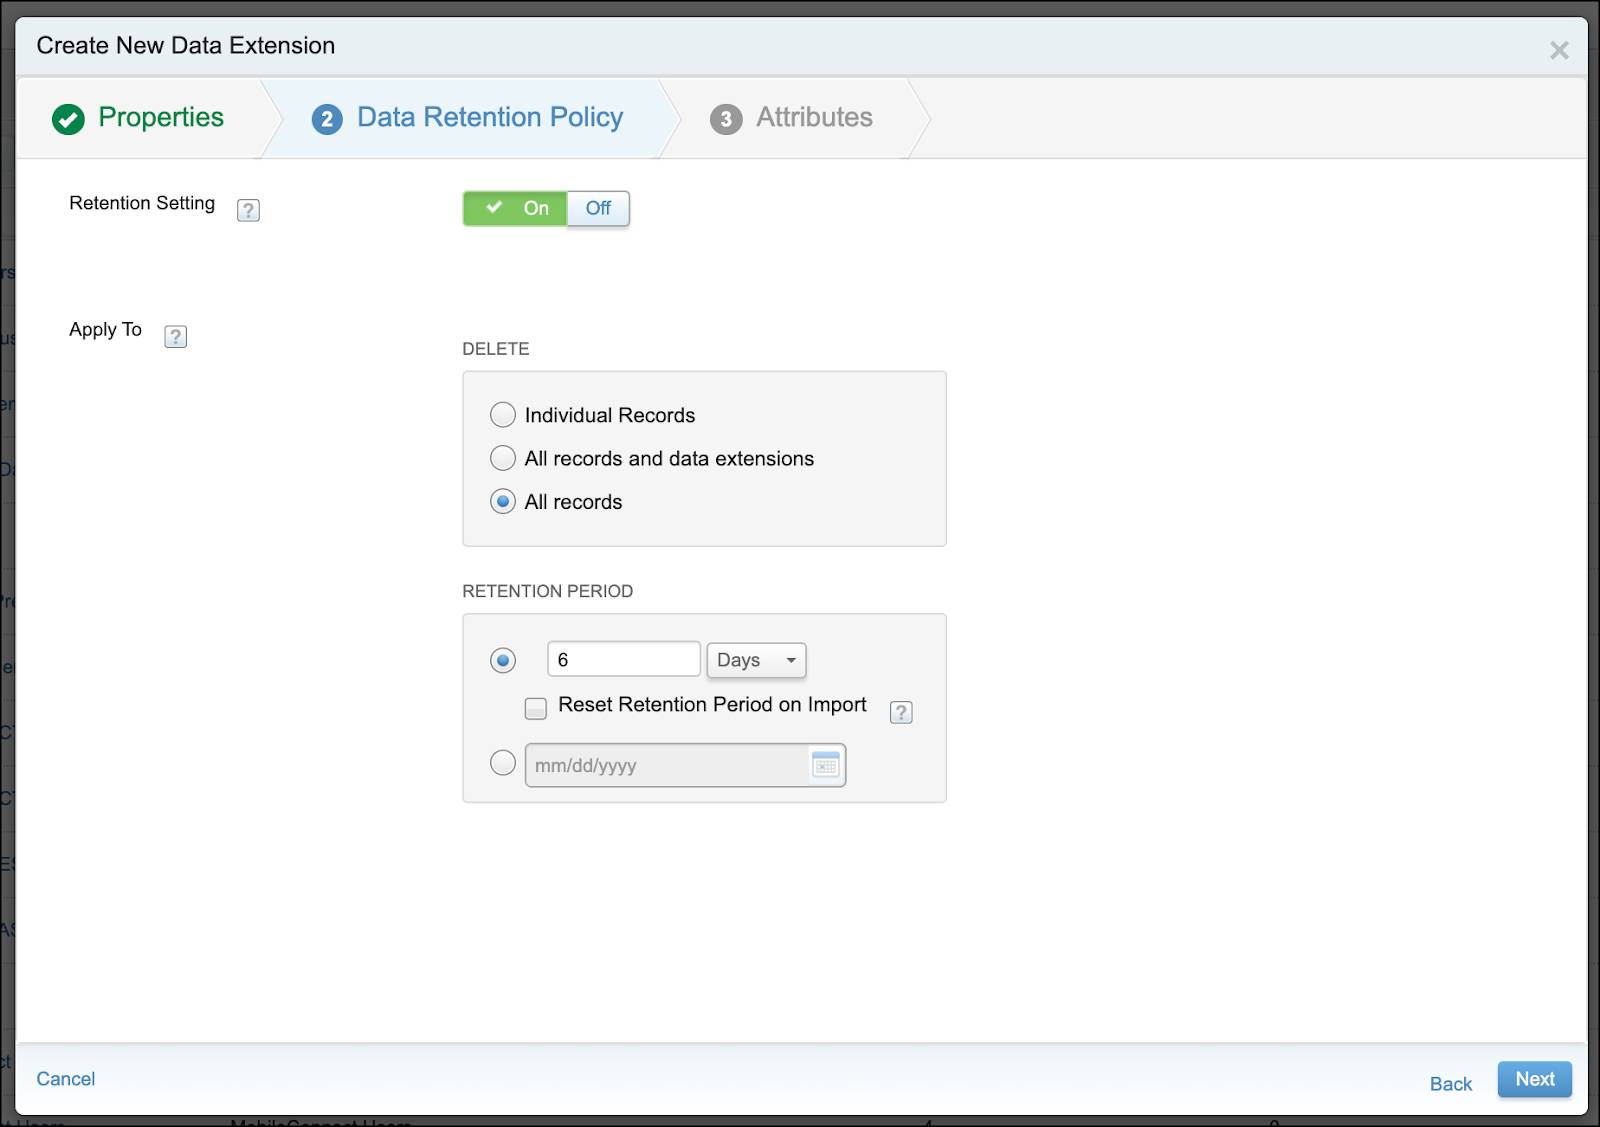
- Michele adds a JSONData field to the list of attributes, making sure that the field doesn’t exceed 3,000 characters, following best practice. Michele also decides to include a SendDate field that uses the Default Value setting for the current date. That setting becomes very important in the next step. She clicks Complete.

Michele also creates a separate data extension to hold information from the send logging data extension for long-term use. To move the data from the send logging data extension, she creates an automation using a query activity. The query activity pulls out information for the past day based on the SendDate value and copies it into another data extension. Here’s how Michele sets up the automation.
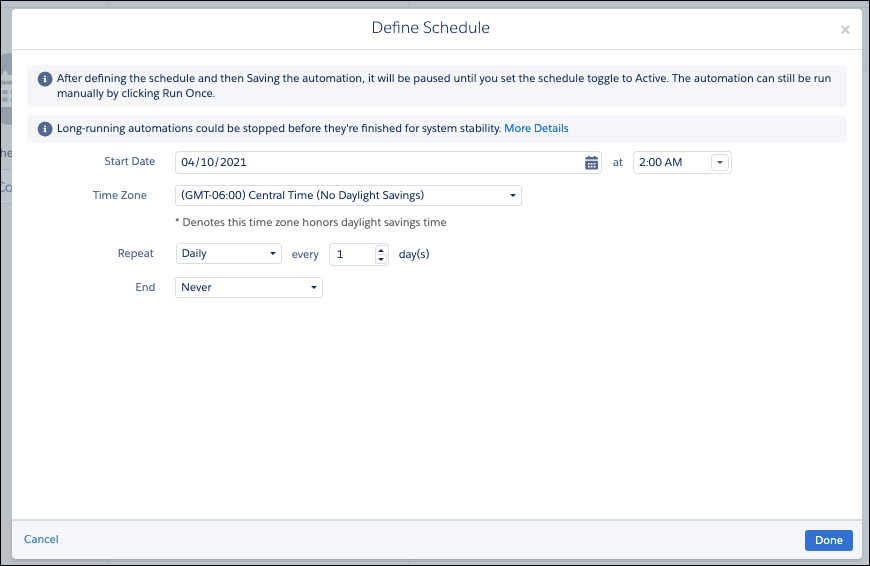
- In Marketing Cloud Engagement, Michele navigates to Automation Studio and clicks New Automation.
- She drags a Schedule starting source to the canvas and sets it to run every day at 2 AM, then sets a daily repeat and clicks Done.
- She drags the SQL Query activity to the first step in the automation and clicks Choose.
- She clicks Create New Query Activity and names the activity NTOTest. She also adds a brief description and an external key, then clicks Next.
- She pastes the SQL into the activity and clicks Validate Syntax to make sure everything works correctly.

- After everything passes, she clicks Next.
- Finally, she chooses the data extension where all of the data ends up and chooses to append the data so that she always sees the most recent version of the data. Any new data goes into new rows.
- Michele saves the activity and starts the automation.
Now that she’s got the hang of it, Michele goes back and creates send logging data extensions for SMS and push messages as well. She also creates the accompanying long-term storage data extensions and automations to extract the data. Finally, she chooses which messages she wants to include in the send logging process. After the team tests and refines their send logging setup, they can implement their process in the NTO production business units—confident that they’ll get the data they need without bogging down their system with inefficient processes.
Next Up
Like any good tool, send logging requires maintenance. Join us in the next unit to learn how you can keep your send logs running smoothly.
Resources
- Salesforce Help: Create an Email Send Logging Data Extension
- Salesforce Help: Create an SMS Send Logging Data Extension
- Salesforce Help: Create a Push Notification Send Logging Data Extension