Send a Single Message with Journey Builder
Learning Objectives
After completing this unit, you’ll be able to:
- Create a single send journey in Journey Builder.
- Schedule or send a message with your new journey.
Some journeys contain many variables designed to tailor specific content based on subscriber behavior or test a multitude of potential paths that finely hone a customer’s interaction with a brand. Sometimes, though, you just want to send an email.
Single Send Journeys make tasks like promoting a new sale as easy as choosing a message, data source, and when to send. Three pretty simple steps, and you’re off!
In Journey Builder, click Scheduled Single Sends and check out the blank canvas of opportunity before you.

Plenty of room to get started. And whether you’re using Single Send journeys to send new product information, promote a white paper, or something else—just follow these steps to build your single-send journey.
- Click Create New Journey.
- Select Email in the Single Send Journey section of Journey Builder.
- Click Data Extension.
- Click Select Data Extension and select the data extension that holds the audience you want to send to. That data extension also contains information that you can use for simple message personalization.
- Click Summary.
- Click Edit in the Filter Contacts section.
- Optionally, choose the criteria that determines which contacts enter the journey. For example, you can create a rule that accepts contacts who made a purchase within the last 24 hours or subscribed in the previous month. Otherwise, skip this step.

- Click Summary.
- Click Done, then click the Email activity.
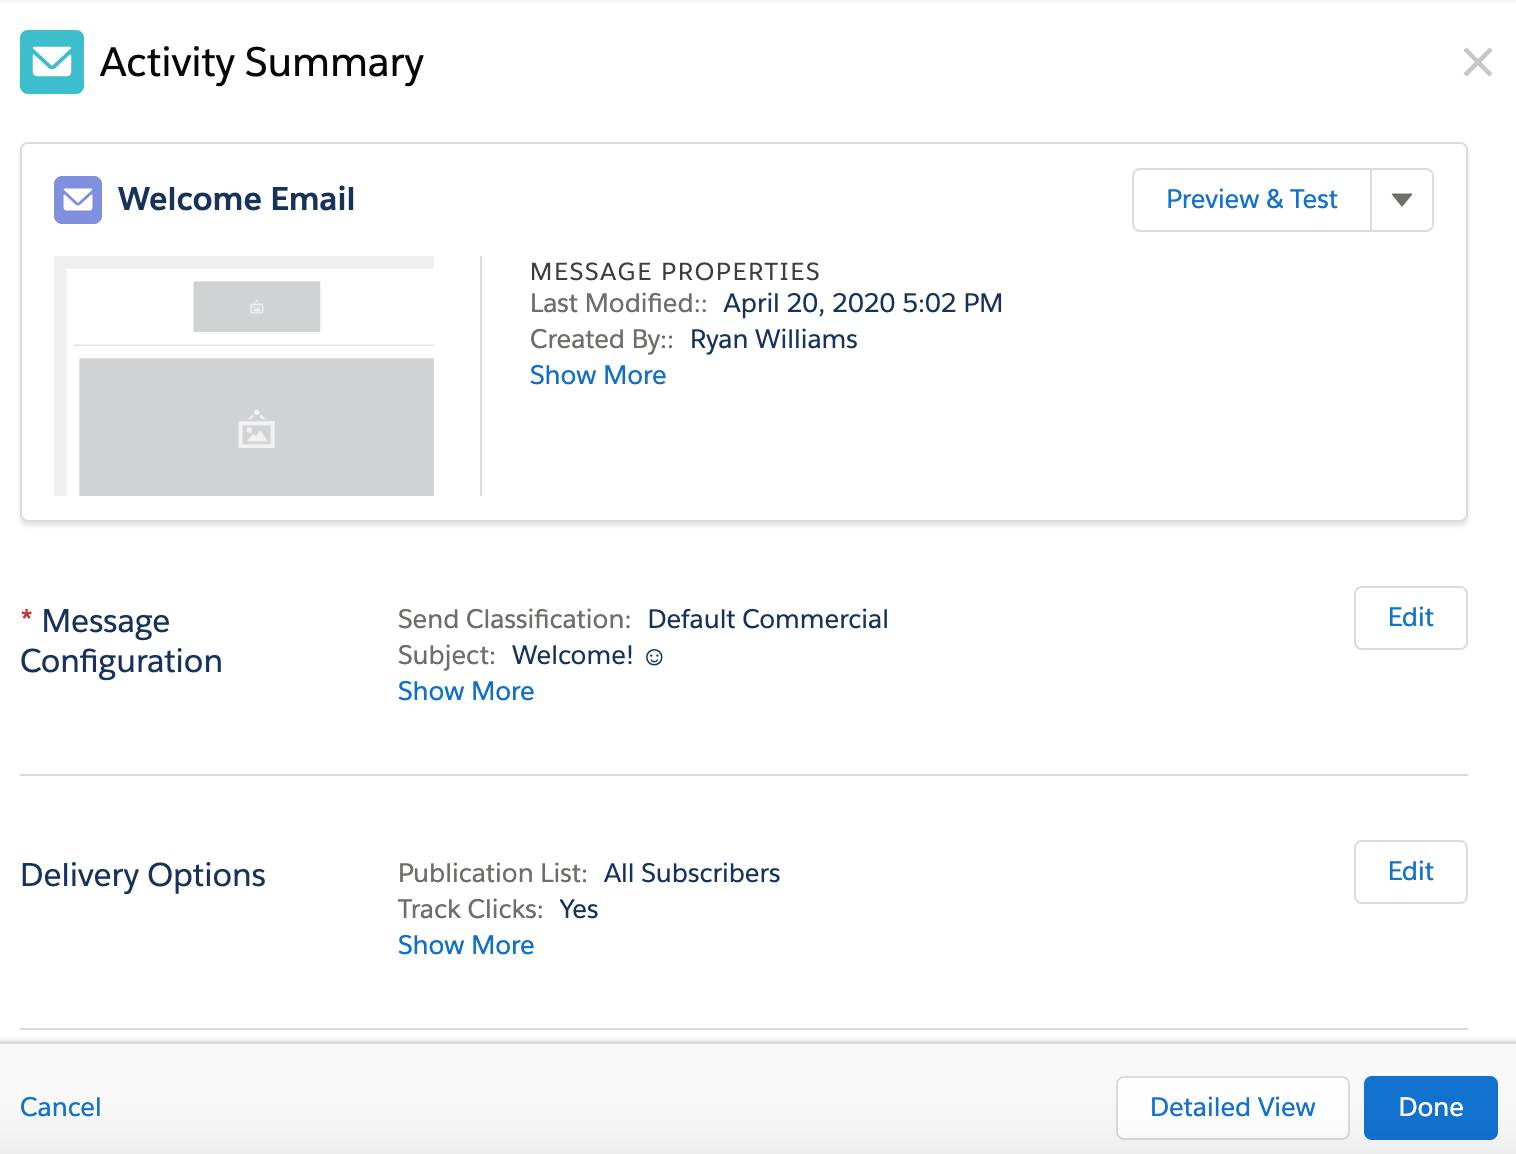
- If you already have an email you want to use, click Select Message and choose it. Otherwise, click New Message to build a brand-new email right inside the journey. All the familiar choices like template, HTML, or text are available.
- Click Edit next to Message Configuration to choose your sender and delivery profiles, along with the subject and preheader for the email (if you want to modify them for this send).
- Click Delivery Options to associate any publication lists, tracking options, or campaigns with the send. Click Advanced Options to add a keyword or set your Multipart MIME options. Click Summary when you’re ready.
- Click Schedule and choose whether you want to send the journey immediately or at a scheduled date and time. If you schedule a future date, enter the date and time. Click Done when you’re ready to move on.
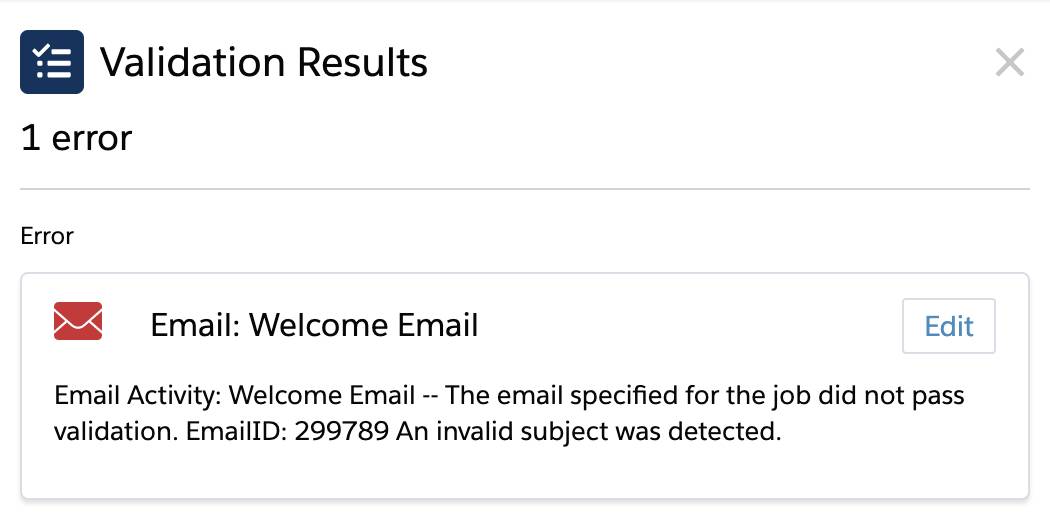
- Click Validate to make sure every part of your journey is correct. If, for example, you didn’t include a valid subject line, you receive an error message like this one:
- Click Send if you chose to send immediately, or click Schedule to schedule the send for your selected date and time.
After you run a single-send journey, you have a couple of options to view how that journey performs. To gain a high-level overview of your engagement metrics, click Recent Single Sends on the Journey Builder homepage to see several indicators for your journeys.
- Status
- Channel
- Sent Date
- Delivery
- Opens
- Clicks
- Bounces
- Unsubscribes
For more subscriber-level information, open the specific journey and click the message. Within the message, click View Details to see email performance, click activity, and contact analytics in much greater detail.
And that’s it! This simple journey takes care of your single-send needs. Plus, you can copy and tweak your journey—even changing the message and data source—to reuse it again and again. The best part? You never have to leave Journey Builder. Now you can manage all of your campaigns in one place—from basic email sends to complex journeys.