Set Up Care Plans
Learning Objectives
After completing this unit, you’ll be able to:
- Sign up for a Developer Edition org with Health Cloud.
- Explain how admins set up care team roles.
- Describe how admins create multiple care plan record types.
- Outline the steps to enable care coordinators to add care plan templates.
Set Up Care Team Roles
Remember Harryette? She’s a Salesforce Admin at Bloomington Caregivers. She is in the process of setting up Care Plans for April, Bloomington’s care coordinator. In this unit, you learn what steps Harryette takes. Near the end of the unit, you’ll get your own org, so you can practice later. Don’t worry about following along just yet. You’ll get to practice later in the module.
For April to start using Care Plans, Harryette enables a few permissions in Health Cloud.
First, Harryette ensures that the Task object has Edit permissions for the following fields:
- Comments
- Due Date
- Goal
- Name
- Priority
- Problem
- Public
- Recurrence Interval
- Related To
- Repeat This Task
- Status
- Task Type
- Task Record Type
- Task Subtype
Next, she ensures that the User object has Edit permissions for the following fields:
- Alias
- Email
- Last Name
- Nickname
- Profile
- Username
- User License
To set up case teams for care plans, Harryette enables these two permissions: Customize Application and Manage Users. She also makes sure to enable Edit access for Case so that April can add care team members.
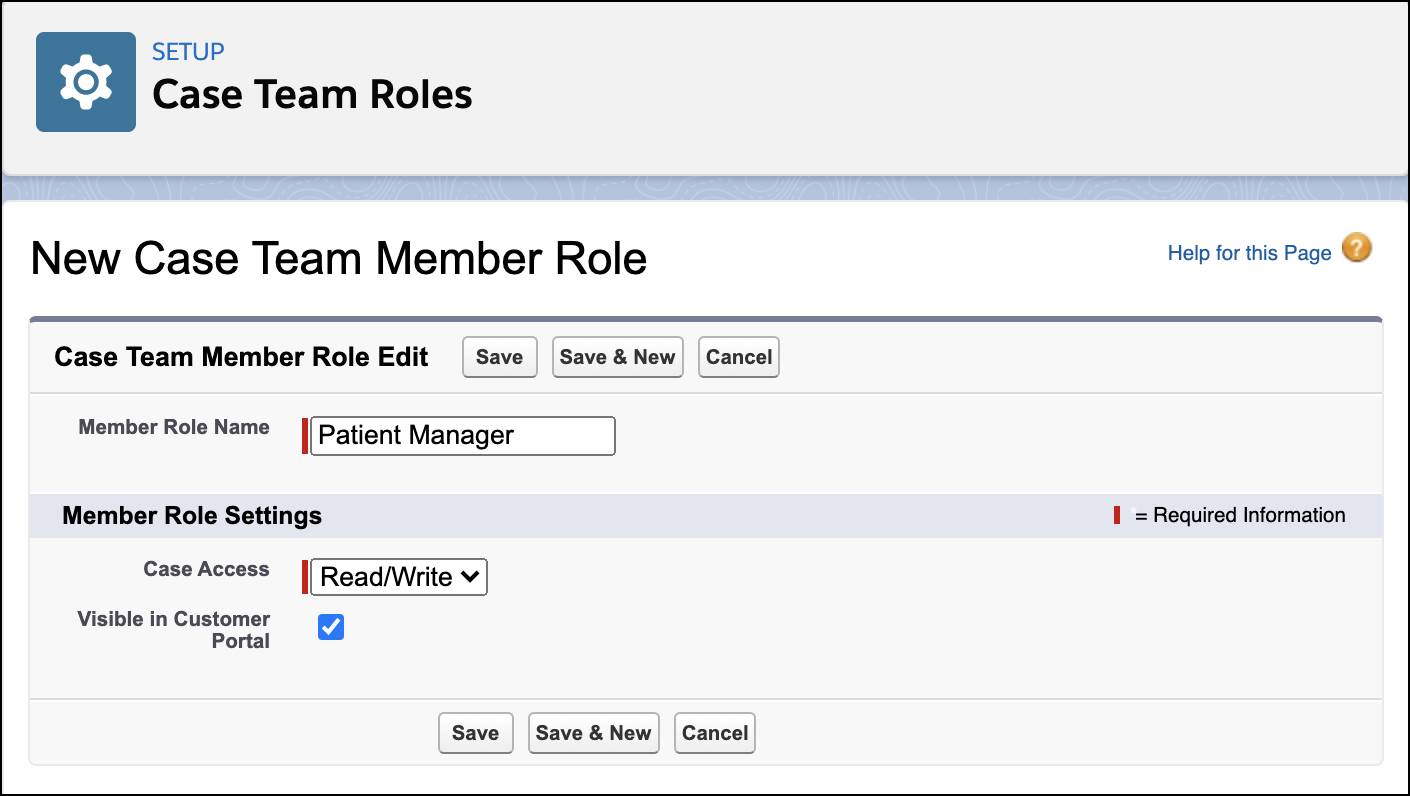
April wants everything in place to create a care team. Harryette creates a list of care team roles for April to choose from. Care team roles determine the level of access members have to information in the care plan, like read only or read/write access. These roles include both internal users and external contacts. At least one internal user must be assigned for a care plan to be created. To begin, Harryette creates a Patient role and a Care Coordinator role. Here are the steps Harryette follows. Remember, you don’t have to follow along in your org just yet, these steps are just for your information.
- From Setup, enter
Case Team Rolesin the Quick Find box, and select Case Team Roles.
- Click New.
- In Member Role Name, enter
Patient Manager.
- From the Case Access picklist, select Read/Write as the role’s level of access. The other access types are Read Only and Private.
- Select the Visible in Customer Portal checkbox so that this role is visible to portal members.
- Click Save.
Create Multiple Care Plan Record Types
April has a lot of patients with more than one health condition that needs her immediate attention. Her patient Charles Green is diabetic and also needs regular check-ups for spondylitis. It would be helpful for April if she could organize his care into separate care plans. To do this, she asks for Harryette’s help to set up multiple care plan record types.
Multiple care plans are enabled by default in the new orgs. But in case they aren’t, Harryette can easily enable the option by going through these steps.
- From Setup, enter
Custom Settingsin the Quick Find box and select Custom Settings.
- In the list of custom settings, click Manage next to Health Cloud Feature Toggles.
- Click Edit next to Multiple Care Plans and select the Enabled checkbox.
- Click Save.
Harryette needs to add multiple care plan record types before April can get started.
- In Setup, go to Object Manager and enter
Casein the Quick Find box.
- Click Case.
- Select Case Page Layouts.
- Click New to add a new Case Page Layout.
- In Existing Page Layout picklist, select CarePlan Layout.
- In Page Layout Name, enter
CarePlanforSpondylitis.
- Select the Feed-Based Layout checkbox.
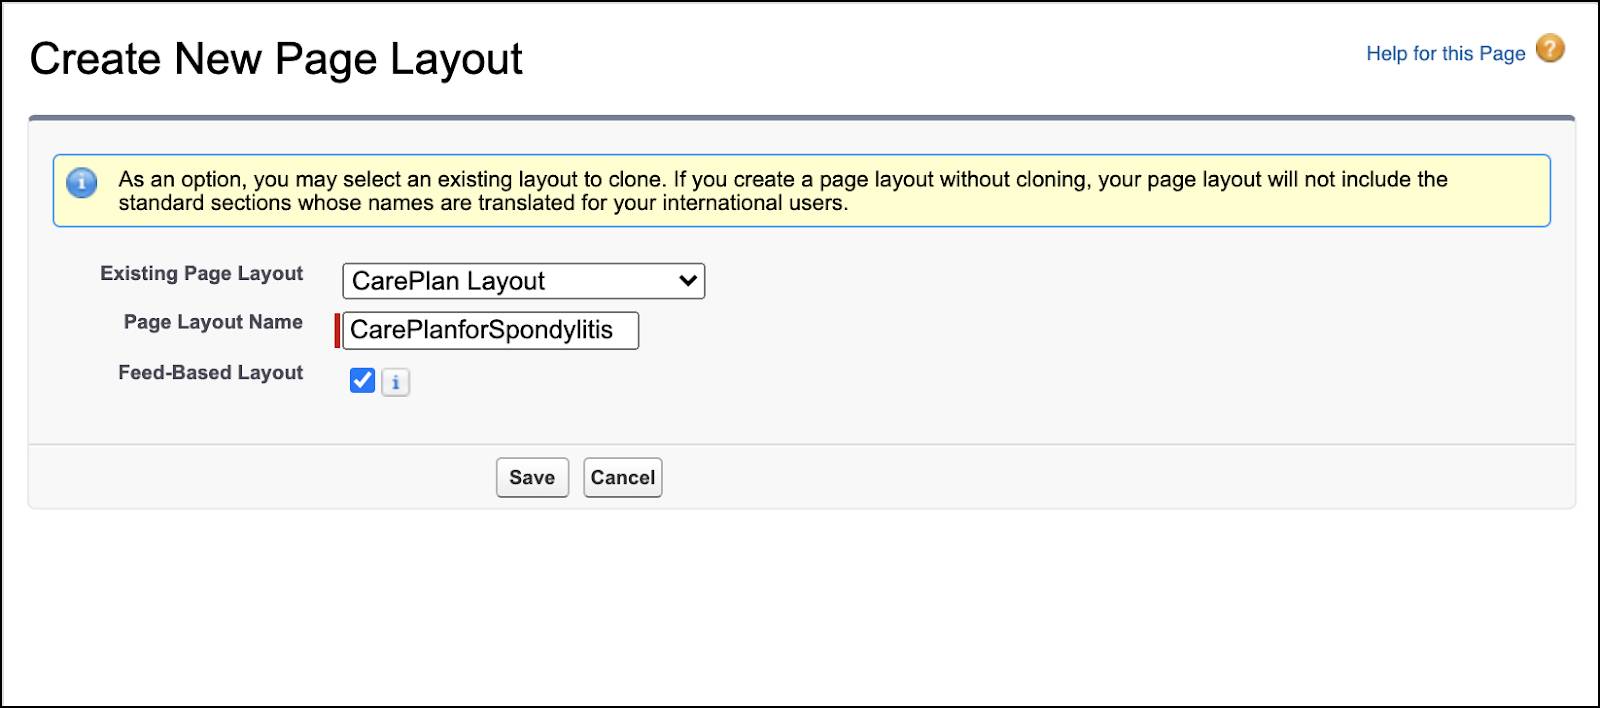
- Click Save.
- Click Record Types from the list on the Case Object page.
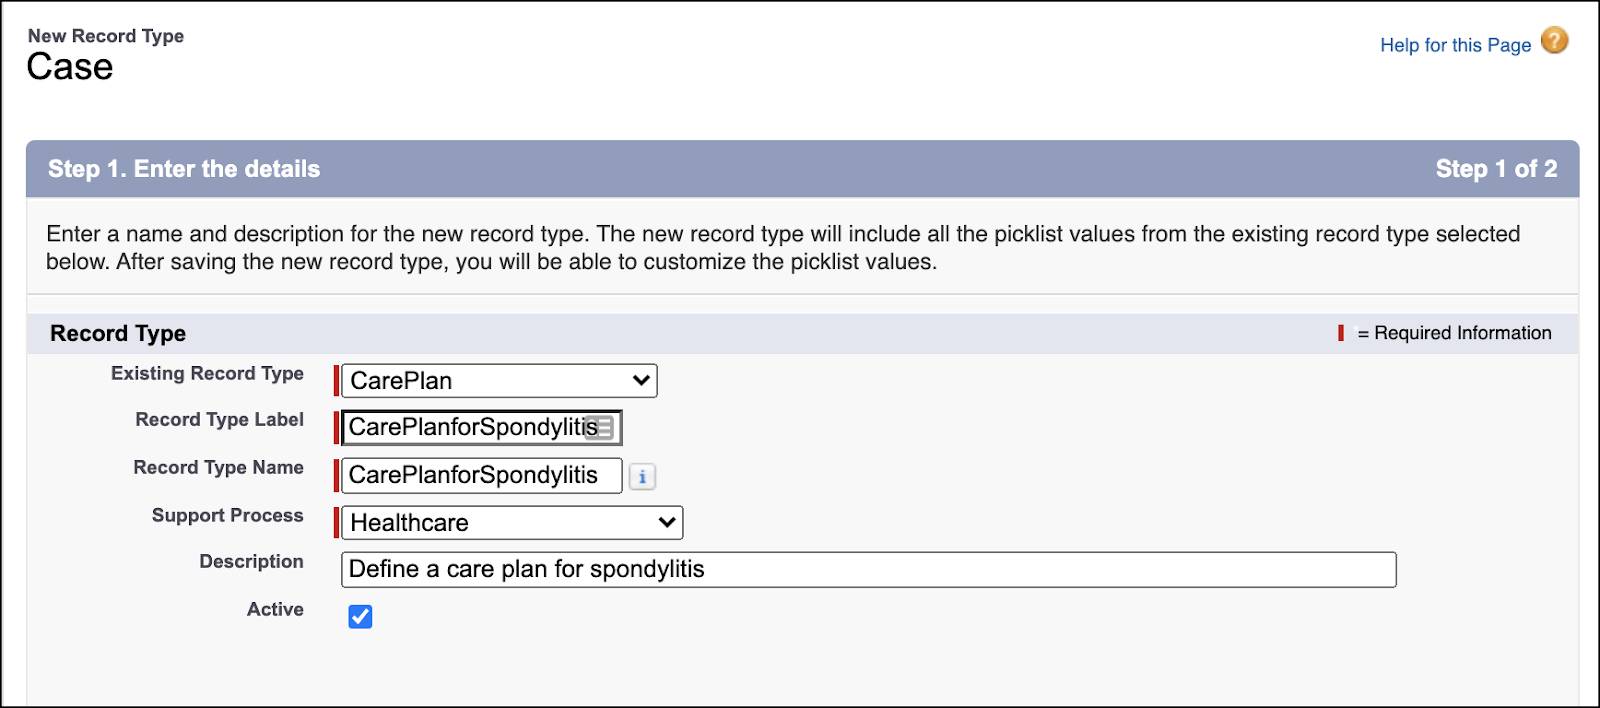
- Click New.
- For Existing Record Type, select CarePlan from the picklist.
- For Record Type Label, enter
CarePlanforSpondylitis.
- For Record Type Name, click to autofill
CarePlanforSpondylitis.
- For Support Process, select Healthcare from the picklist.
- In Description, enter
Define a care plan for spondylitis.
- Select the Active checkbox.
- Select Make Available for all profiles and click Next.
- In Apply one layout to all profiles, select CarePlanforSpondylitis.
- Click Save.
Finally, Harreyette creates a care plan record type under custom metadata types.
- From Setup, go to Home then enter
Custom Metadata Typesin the Quick Find box.
- Select Custom Metadata Types.
- Click Manage Records next to Care Plan Record Type.
- Click New.
- Enter the following information in Care Plan Record Type:
- In Label, enter
CarePlanforSpondylitis. This is the name of care plan record type.
- In Care Plan Record Type Name, click to autofill
CarePlanforSpondylitis. This is the unique name used by the API and managed packages.
- For Record Type Namespace, keep it blank.
- In Case Record Type Name, enter
CarePlanforSpondylitis. This is the name of the type of case associated with the care plan record type.
- Select the checkbox for Active.
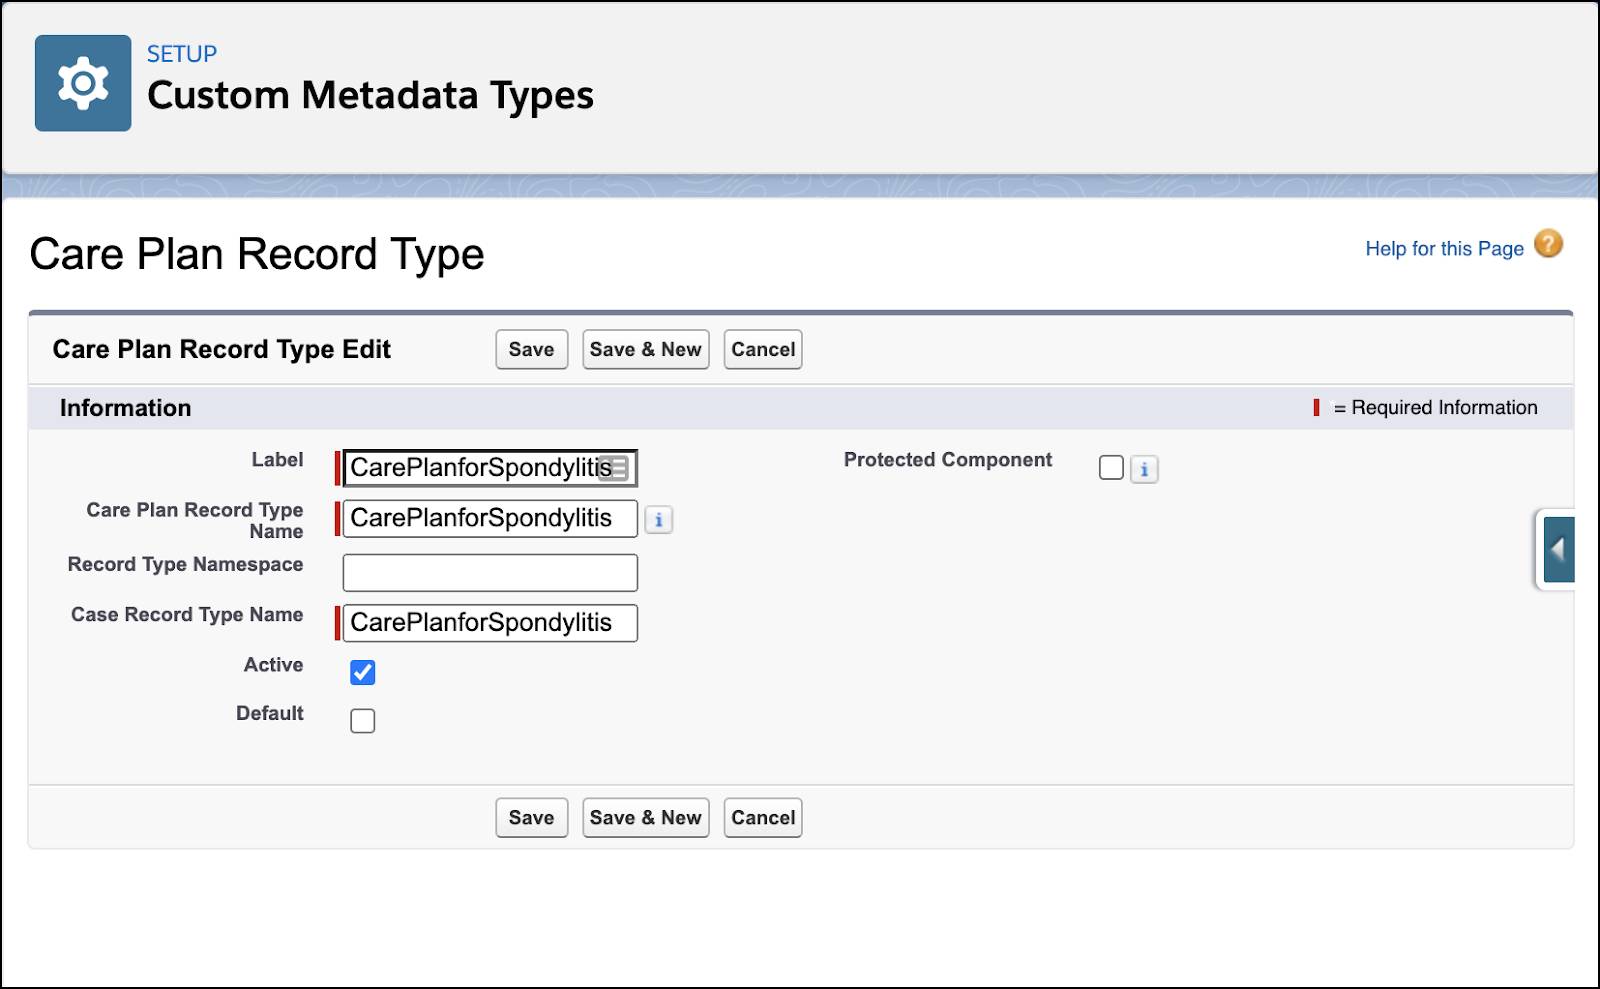
- Click Save.
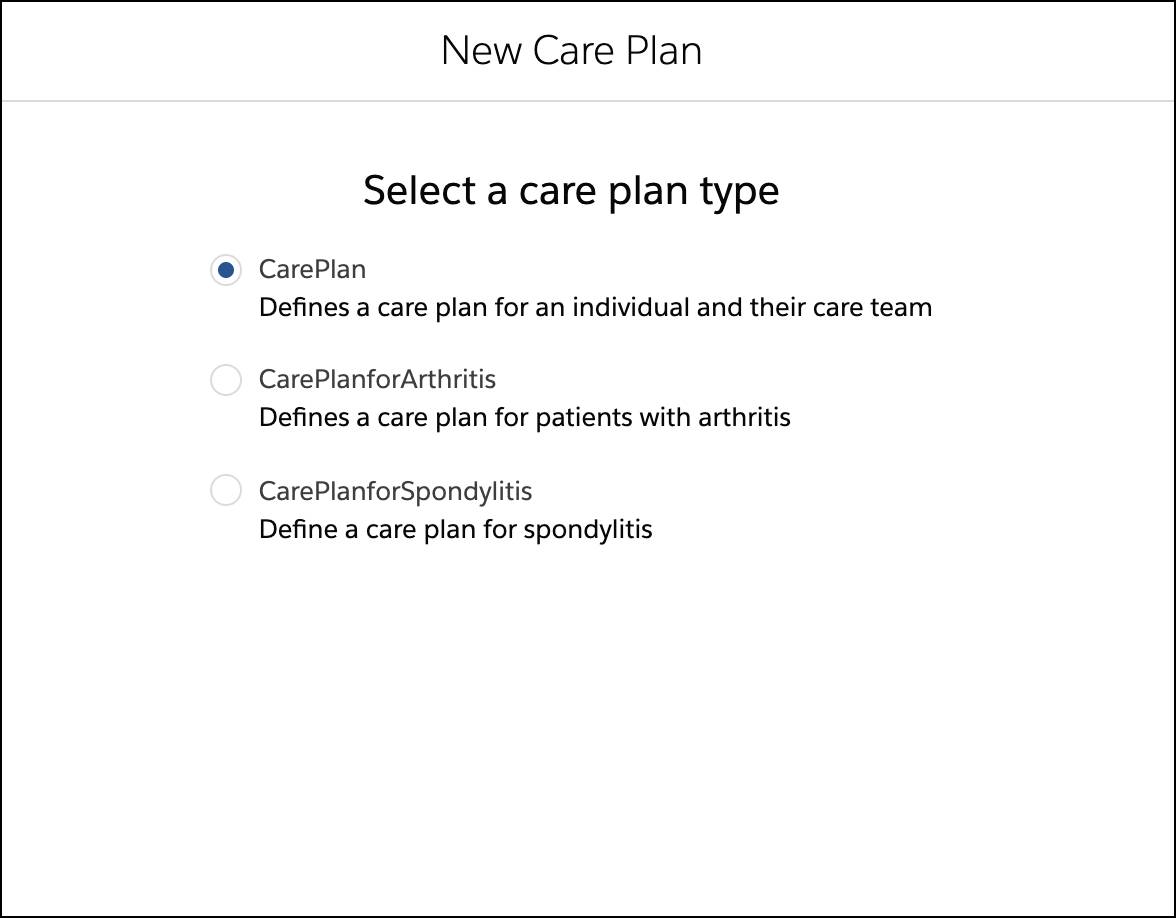
Now when April clicks New Care Plan, she can see a care plan record type for spondylitis. She is also able to create different care plans for different conditions.
Enable Care Coordinators to Apply Care Plan Templates
April can add a care plan template even after creating a care plan. For this, Harryette adds the Apply Care Plan Templates button on the highlights panel of the case page.
This is how she sets it up.
- From Setup, go to Object Manager.
- In the Quick Find box, enter
Caseand select Case.
- Click Case Page Layouts, and then click CarePlan Layout.
- Select Mobile & Lightning Actions.
- Drag Apply Care Plan Templates from actions to the Salesforce Mobile and Lightning Experience Actions area.
- Click Save.
Now if April wants to add a care plan template to a Care Plan for Knee Pain, she clicks the Apply Care Plan Templates button on the care plan record page.

To import existing care plans into Salesforce, follow the Salesforce admin guide topic Import Care Plan Templates.
Thanks to Harryette’s help, April now uses various care plan templates independently or combines a template with a care plan. But she can make further customizations in the care plan components as well. Let’s see how that happens next.
Sign Up for a Developer Edition Org with Health Cloud
To complete this module, you need a special Developer Edition org that contains Health Cloud and our sample data. Get the free Developer Edition and connect it to Trailhead now so you can complete the challenges in this module. Note that this Developer Edition is designed to work with the challenges in this badge, and may not work for other badges. Always check that you’re using the Trailhead Playground or special Developer Edition org that we recommend.
- Sign up for a free Developer Edition org with Health Cloud.
- Fill out the form.
- For Email, enter an active email address.
- For Username, enter a username that looks like an email address and is unique, but it doesn't need to be a valid email account (for example, yourname@hc4evah.com).
- After you fill out the form, click Sign me up. A confirmation message appears.
- When you receive the activation email (this might take a few minutes), open it and click Verify Account.
- Complete your registration by setting your password and challenge question.
Tip: Write down your username, password, and login URL for easy access later.
- You are logged in to your Developer Edition.
Now connect your new Developer Edition org to Trailhead.
- Make sure you're logged in to your Trailhead account.
- In the Challenge section at the bottom of this page, click the playground name and then click Connect Org.
- On the login screen, enter the username and password for the Developer Edition you just set up.
- On the Allow Access? screen, click Allow.
- On the Want to connect this org for hands-on challenges? screen, click Yes! Save it. You are redirected back to the challenge page and ready to use your new Developer Edition to earn this badge.
Now that you have a Health Cloud-enabled org, you’re ready to blaze new trails with your clients!
Resources
- Salesforce Help: Enable Care Coordinators to Create Multiple Care Plans
- Salesforce Help: Create Multiple Care Plan Record Types
- Salesforce Help: Enable Users to Apply Care Plan Templates Faster