Meet the Reasoning Engine
Learning Objectives
After completing this unit, you’ll be able to:
- Define what the reasoning engine is.
- Explain how the reasoning engine works.
- Navigate to Agentforce Builder from the Agentforce Studio app.
- Describe the main characteristics of Agentforce Builder.
Putting It All Together
Subagents and actions are the building blocks of an agent, and they’re pretty powerful, right? But how does an agent know when to launch these subagents during conversations? Let’s meet the reasoning engine behind Agentforce.
What’s a Reasoning Engine?
The reasoning engine is similar to the conductor of an orchestra. Just like a conductor keeps time and guides musicians, the reasoning engine orchestrates how subagents and actions handle a user’s request.
The reasoning engine that powers Agentforce is called the Atlas reasoning engine, and it’s graph-based. You can think of it like a flowchart with nodes, variables, and transitions, so agents can follow specific, predictable paths.
Unlike strictly prompt-based reasoning engines, Atlas separates an agent’s big-picture workflow from its conversational skills. It uses Agent Script, the language for building agents, to combine programmatic expressions with natural language instructions. The result is hybrid reasoning, which gives you the predictability and control that enterprise demands, and the flexibility and creativity that large language models (LLMs) make possible.
How It Works
Let’s follow the path of a user message through the Atlas reasoning engine to learn how Agentforce agents reason, take action, and generate responses.
-
Step 1: The process begins when a user enters a question or request.
-
Step 2: The agent routes to the subagent defined as the starting subagent.
-
Step 3: After the agent selects a subagent, it begins resolving the subagent’s reasoning instructions in the order that they’re written. This part is deterministic, which means the agent is resolving programmatic expressions before it even talks to the LLM. If the agent transitions to a different subagent during the process, it redirects the conversation immediately.
-
Step 4: After all reasoning is complete, the agent uses the resulting instructions to build a prompt to send to the LLM. The prompt includes: agent-level instructions, the recent conversation history, the resolved instructions, and the actions available to the subagent.
-
Step 5: The agent sends the prompt to the LLM to kick off the reasoning process and take action. The agent uses the LLM to analyze the available information in the prompt and determine its next steps. The LLM can either respond to the user or call an action. If the LLM chooses to respond to the user, it completes the reasoning loop and formulates a response. If the LLM chooses to execute an action, it fires that action and any after-action logic associated with the action.
But the process might not end there. If the LLM responds to the user, they can continue the conversation by asking a follow-up question or changing the subject, and the agent responds appropriately. Behind the scenes, the user’s response restarts the journey. Watch the video below for a visual walkthrough of the process.
Where the Magic Happens
Now that Linda is familiar with all the different components of an Agentforce agent, she’s ready to dive in and start building one. So let’s learn about Agentforce Builder, your one-stop shop for creating, customizing, and testing predictable, context-aware agents.
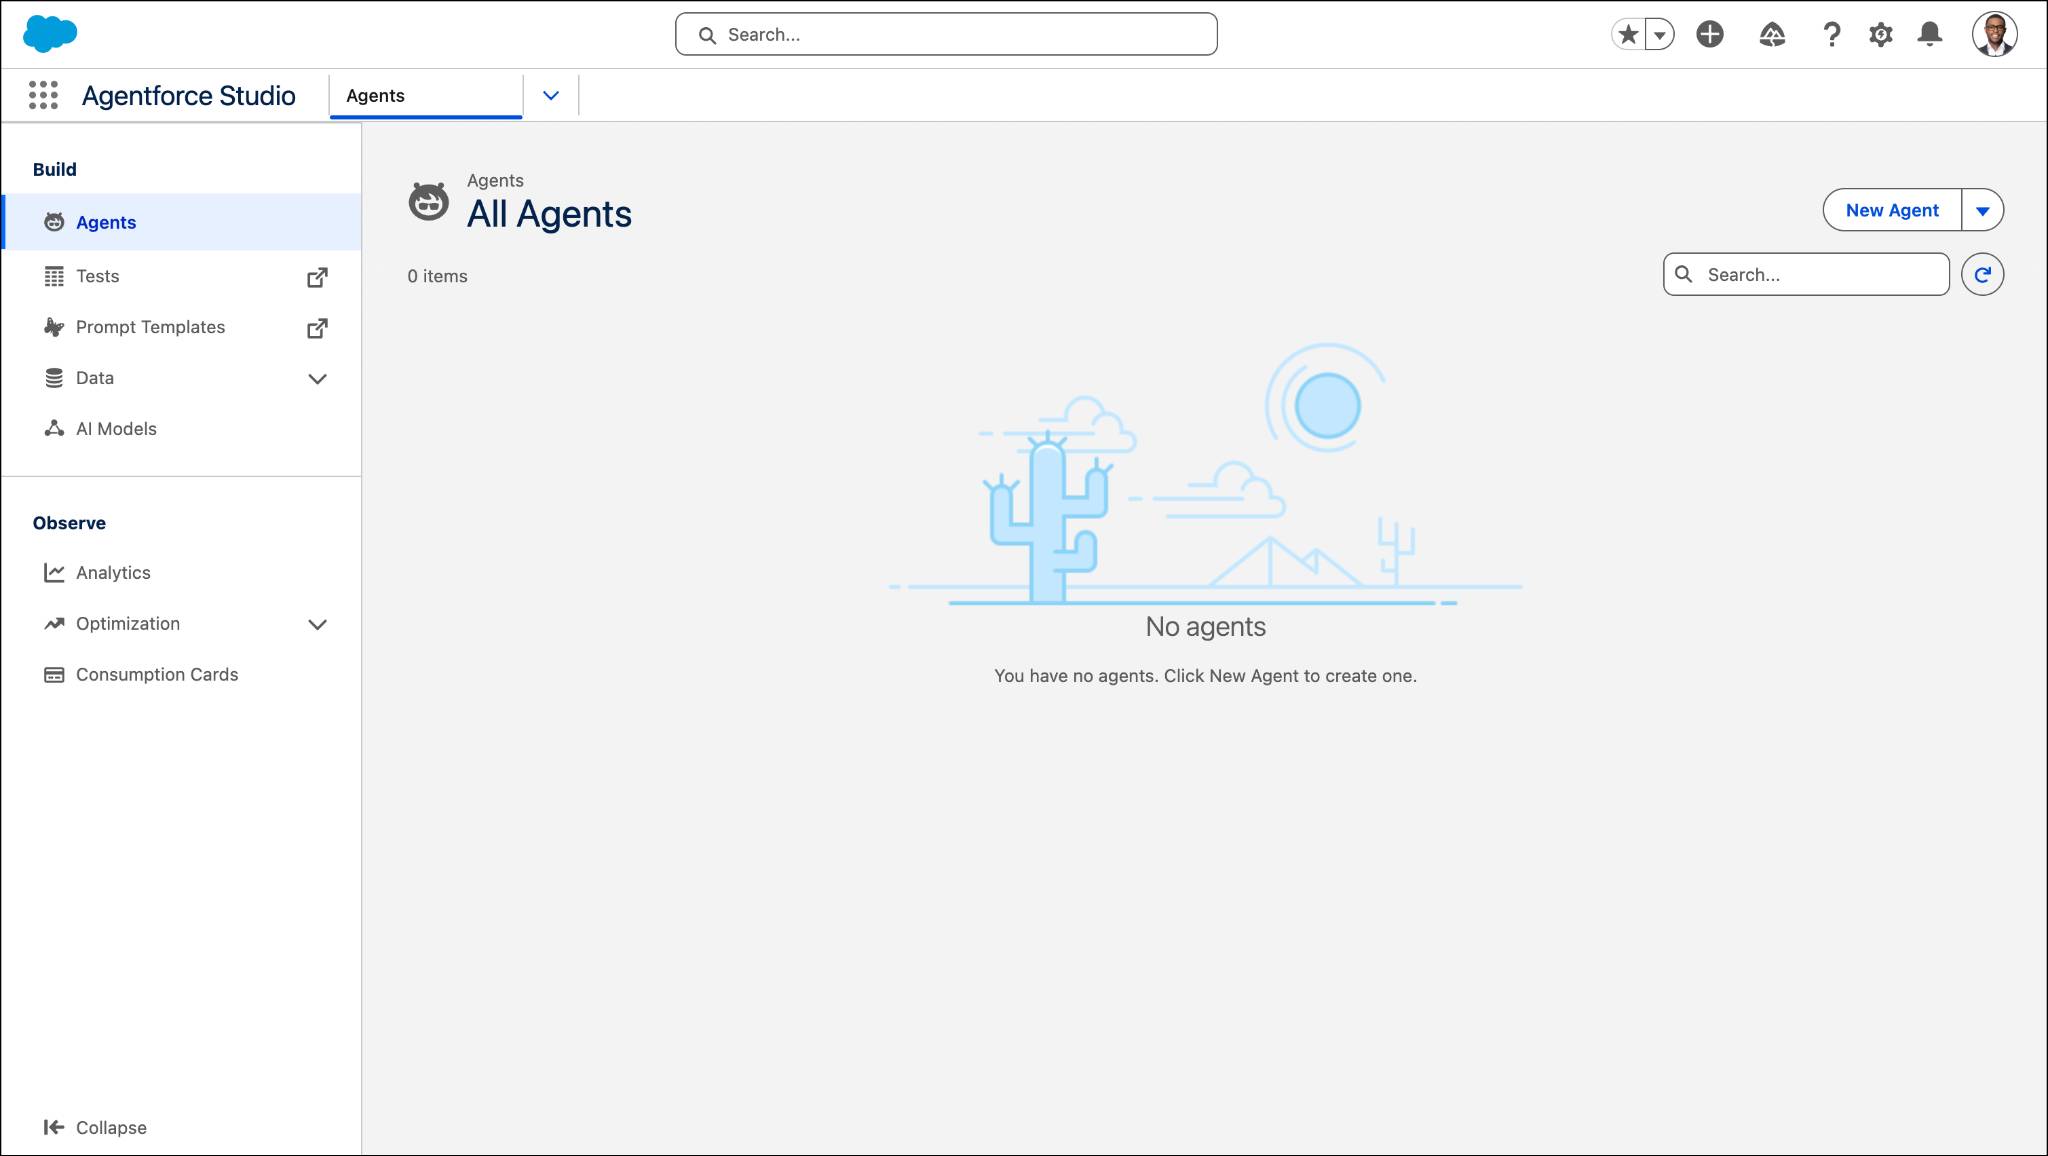
To access the builder, Linda needs to head over to Agentforce Studio in Salesforce:
- Click
 to open the App Launcher.
- Search for and select Agentforce Studio.
- If you don’t see the All Agents page, click Agents.
Agentforce Studio is your central hub for creating and managing AI agents. It provides all the tools you need to build, customize, test, and monitor your AI agents.
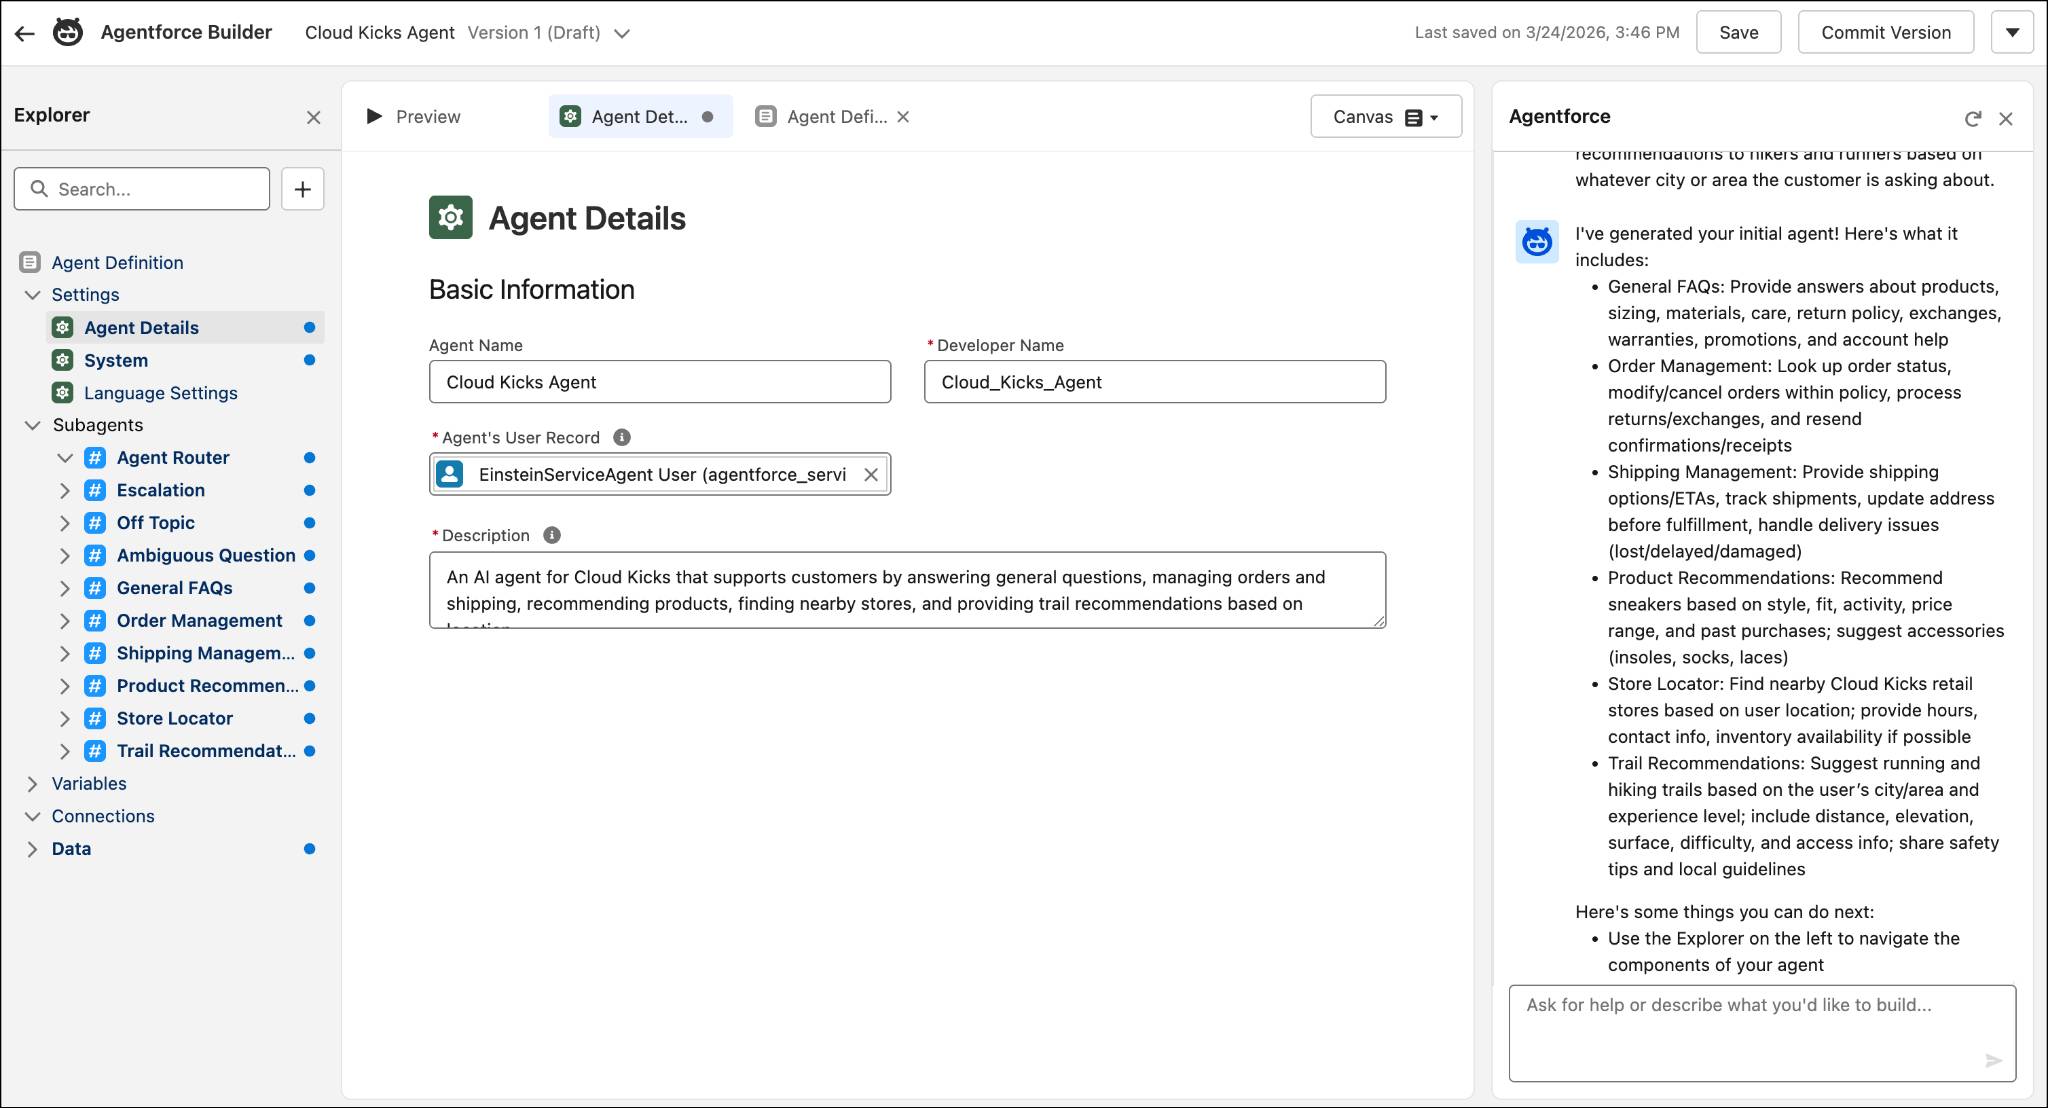
To get started, Linda clicks New Agent. She simply describes in natural language what she wants her agent to do. This is an AI agent for Cloud Kicks, which is a retailer that sells stylish and comfortable custom sneakers. This AI agent assists Cloud Kicks customers with various issues. The AI agent can answer general questions and handle order management, shipping management, and product recommendations. It can locate nearby stores. And because Cloud Kicks is a shoe company, the AI agent can also give trail recommendations to hikers and runners for a specific geographic area.
Then Agentforce whips up a new agent in the builder, which gives Linda a great headstart with the agent development process.
A Brief Introduction to the Builder
Now that Linda has created her first agent, let’s help her get familiar with Agentforce Builder. Here are the main features of the builder and what they do.
-
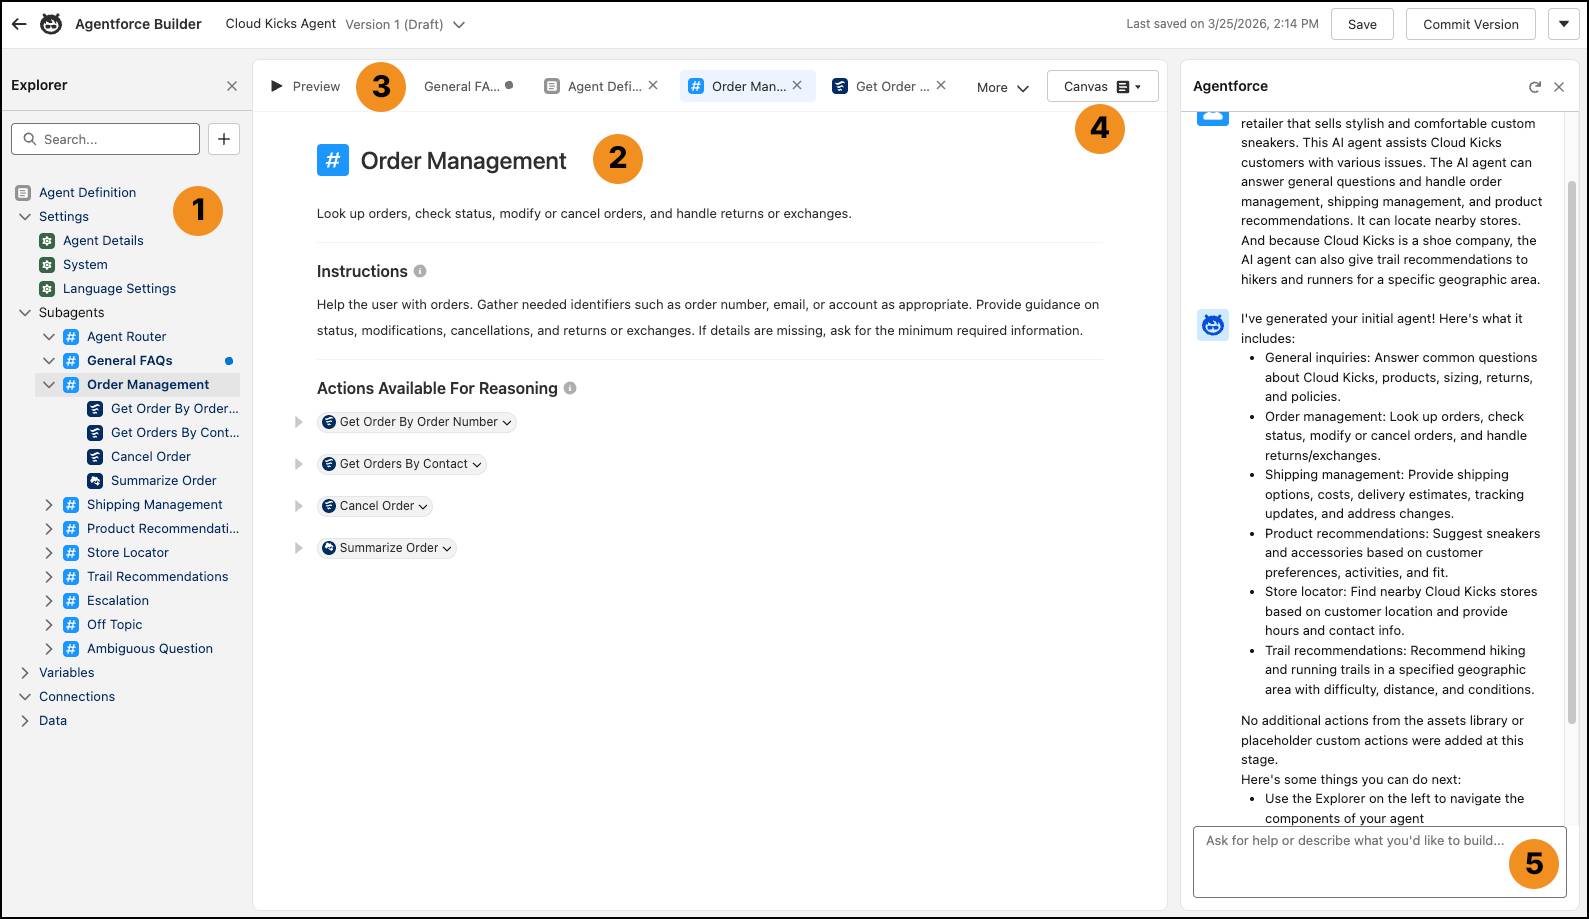
Explorer (1): View and navigate all the assets and components of your agent in a single place. It includes the agent’s settings, the subagents and their actions, the agent’s data sources and connections, and more.
-
Canvas (2): Use this document-style editor to modify your agent or view its details. You can either build in natural language in Canvas view, or toggle to Script view to access the scripting language with syntax highlighting and real-time validation.
-
Preview (3): Test your agent by inputting utterances. When previewing a conversation in Agentforce Builder, you can see a summary of your agent’s reasoning and behavior for each message.
-
Canvas/Script (4): Switch between the natural-language based Canvas and the code-based Script views.
-
Agentforce Assistant (5): Use the built-in AI assistant to help you build, debug, and refine your agent.
To learn more about Agentforce Builder, check out the New Agentforce Builder: Quick Look badge.
Time for Action
Linda’s feeling more confident now that she knows how Agentforce works. And guess what? It’s your turn to take it for a spin! Get hands-on with Agentforce by completing the Quick Start: Assemble Your First Agent with Agentforce badge. Then do a deep dive into the entire agent development process by tackling the Agentforce implementation guides.
And when your brain is brimming with your newfound knowledge, you’re ready to plan, build, and customize your own AI agents with Agentforce. Go forth and build some truly amazing agents!
Resources
- Salesforce Help: The Building Blocks of Agents
- Salesforce Help: How Agents Work
- Video: How an Agentforce Agent Resolves Instructions to Build a Prompt
- Trailhead: Programmatic Instructions in Agentforce
- Trailhead: Agentforce: Agent Planning
- Trailhead: Be an Agentblazer
- Video Playlist: Agentforce Decoded