Add Assets in Einstein Content Selection
Learning Objectives
After completing this unit, you’ll be able to:
- Add assets to Einstein Content Selection.
- Create an Einstein Content Selection content block.
Your Best Asset
Now that you’ve seen Einstein Content Selection features and navigation, let’s focus on your assets. After all, Einstein Content Selection is about getting the most out of your content—so adding content assets is the first thing you need to do to start using this helpful feature. Let’s review an example image that Northern Trail Outfitters (NTO) wants to add to Einstein Content Selection as an asset.

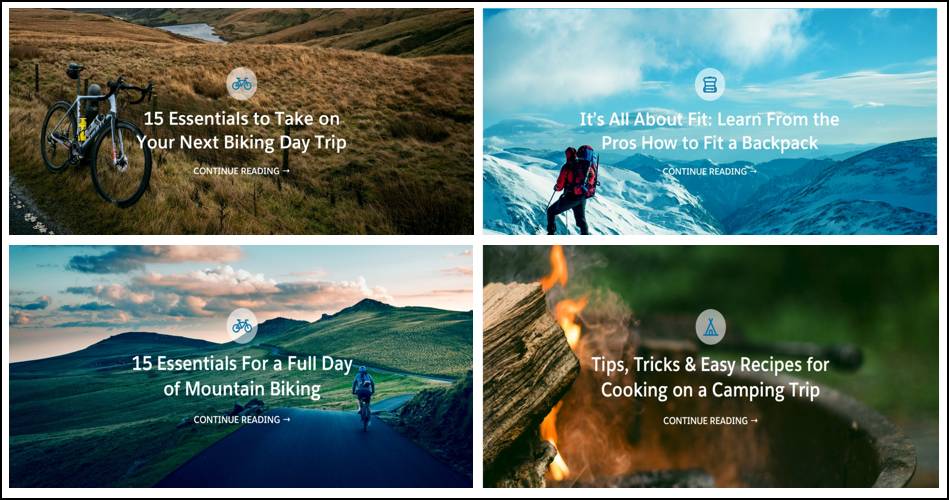
The asset is a biking image with text and a call to action to continue reading the article on NTO’s website. To add this image to Einstein Content Selection, NTO needs to associate attributes to this content to establish it as an asset. Let’s review the attributes that NTO would associate with this image.
Field |
Description |
NTO Example |
|---|---|---|
|
Name
|
The name of the asset. |
Biking Day Trip Essentials |
|
Asset Class
|
A grouping of assets with similar characteristics. |
Article Hero Image |
|
Image
|
The visual asset displayed in your email. Images can come from Content Builder, your desktop, or externally on a shared drive. File types are jpg, gif, or png. |
BikingDayTrip3.jpg |
|
Link URL
|
The web page you want subscribers to visit (also known as the call to action). |
www.northerntrailoutfitters.com/bikingnews |
|
Start Date
|
The date the asset is available. For example, if your content is for a February sales event, use 02/01/20XX. If you leave this blank, the asset is immediately available. |
Not applicable (leave blank) |
|
End Date
|
The date the asset should retire. For example, if your content is for a sales event ending in February, use 02/28/20XX. If you leave this blank, the asset won’t expire. |
Not applicable (leave blank) |
|
Activity
|
A custom attribute added to identify the outdoor activity featured in the image. |
Biking |
Additional fields are customizable based on your business needs. Depending on your industry, you might add product types, language, location or market, a corresponding life event, and so on.
Here are some examples of the assets NTO assigned to the asset class: Article Hero Images.

Take Stock of Your Content
To help guide you as you review existing content, here are a few questions to ask about your assets and personalization goals.
- What content do you have now?
- Do you have enough similar assets to create an asset class group? For example, various banner images or sales promos.
- How is content created today? Based on an event? A sale?
- How is content creation currently grouped or organized?
- How is the email template sectioned? What areas do you want to optimize or personalize?
- How is the lifetime of a piece of content determined? A number of times sent? Promotion timelines?
- How many times should a customer see a piece of content?
- What kinds of segments or rules are in place today for your content? Do you create new content every season?
- What kind of content is restricted for certain segments?
- What assets focus on specific segments? Do you have content geared toward a certain customer?
- What personalization ideas or exclusion needs come up when building assets?
- What are the attributes that you think about when you decide who should get what type of content? What subscriber data do you need for your rules?
Reviewing your content and current strategy can help you decide changes you need to make to your existing assets. It also helps determine asset classes for your business and potential start and end dates. As you get going with Einstein Content Selection, it’s a good idea to come back to these questions when you begin thinking about business rules and customer profile attributes. But no need to rush into those right now.
Add Content Assets
To begin we suggest you start with a simple implementation. Pick a few assets that can be grouped into an asset class. (Hero images are a common choice for first-time users.) Once you have a few assets gathered, along with their associated attributes, it’s time to add them to Einstein Content Selection. You can add assets individually in the user interface or you can import multiple assets all at once by importing a file. To help get you started, check out the help page to find an asset catalog file template for you to use for import. This is a best practice data structure for building out your asset library.
Upload a File
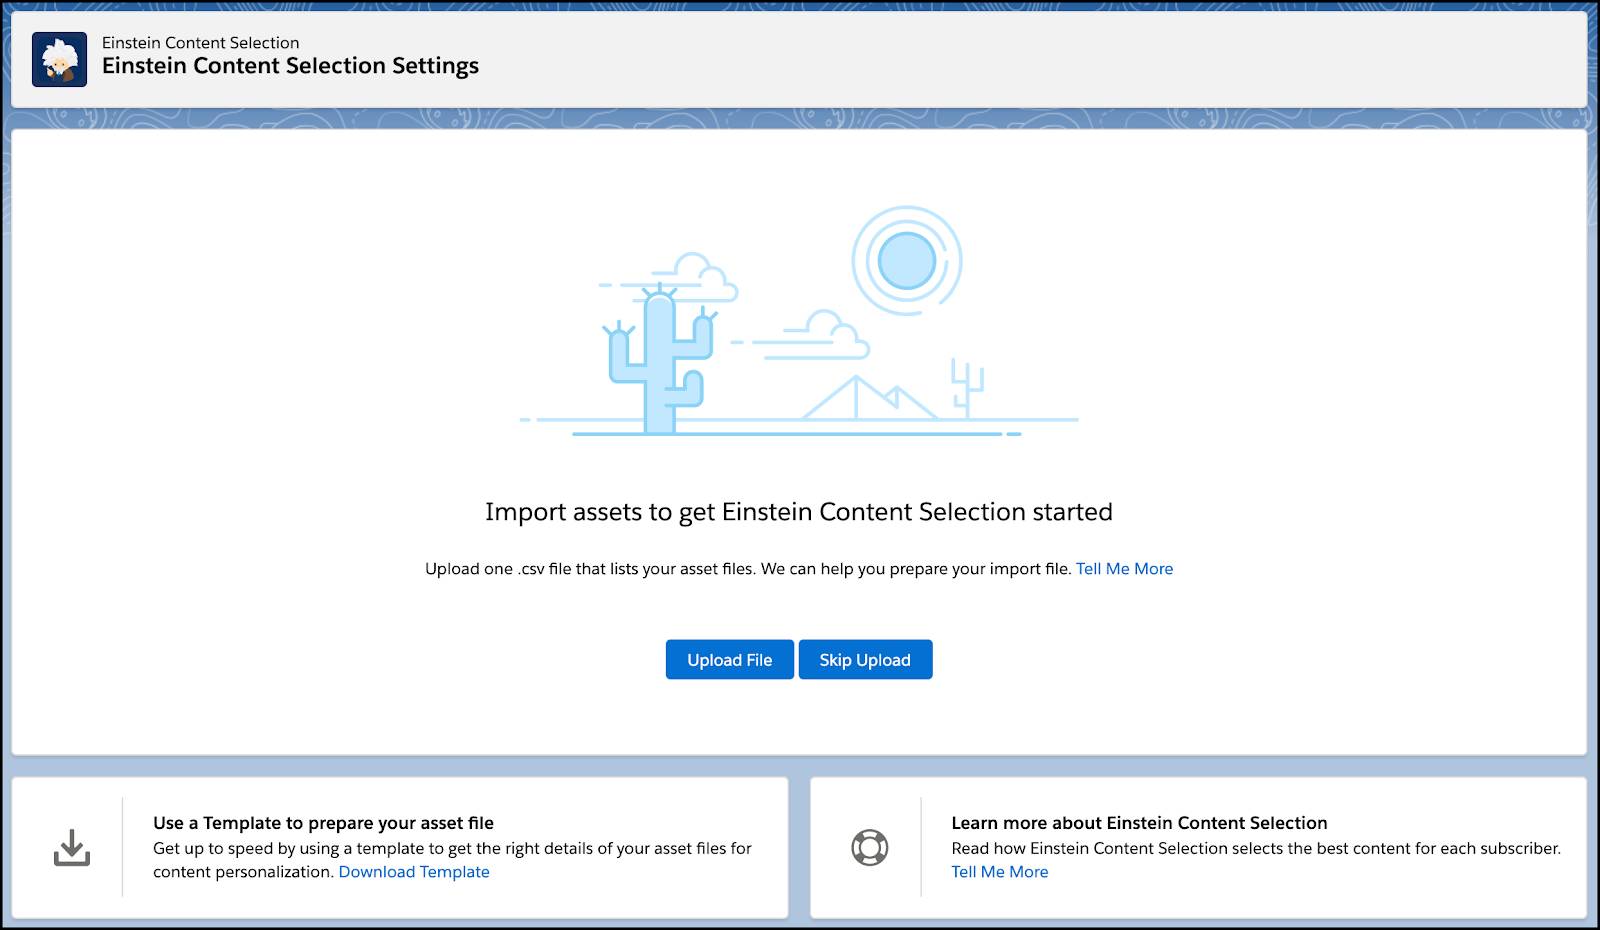
When you first get started, from the Einstein Content Selection Settings page you are asked if you want Upload File or Skip Upload. If you have your template CSV file ready, click Upload File, and then select the file you wish to import. If you need more time to prep your assets, click Skip Upload.

If you decide to skip the upload, you can also revisit and import assets as you receive them. Select the New Asset button to walk through a user interface wizard or select the dropdown icon to select the option to Import Assets. 
Create Einstein Content Selection Blocks
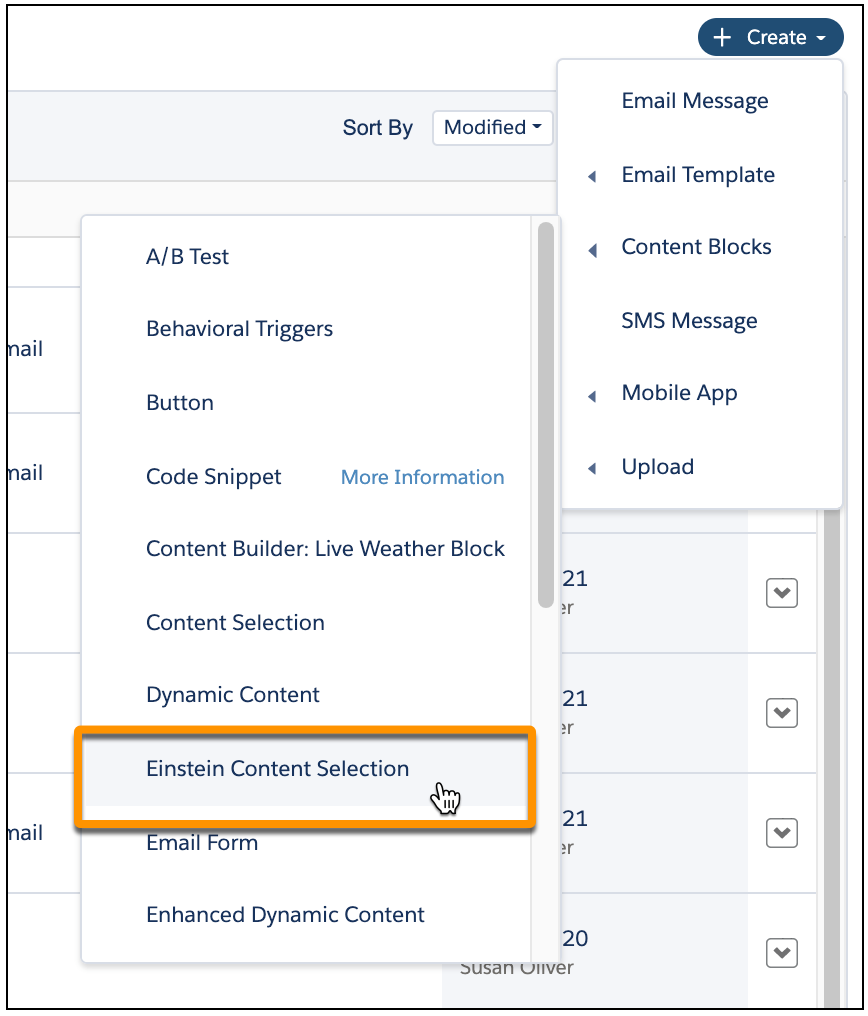
Now that you have content added, you can begin using Einstein Content Selection blocks in your emails. Let’s review the steps to get you started.
- In Content Builder, click the Create button and select Content Block.
- Click Einstein Content Selection.

- Select the appropriate asset class, review your fallback asset, and then click Save. Want to change the fallback asset? Edit this setting from the Einstein Content Selection Settings page.
- Name your content block and then click Save.
Once saved, you can add this content block to any email that needs that content type. Try testing hero banners in an upcoming newsletter, then review performance metrics. Did one image outperform another? With just a little setup, Einstein Content Selection can be used to test your content and monitor what images your customers find engaging.
Start Simple
Overall, once you have content in Einstein Content Selection you can continue to tweak it to make it work even better for you and your campaigns. Remember to:
- Start with a few assets.
- Review your content and group existing assets into asset classes.
- Test your content by adding an Einstein Content Selection block to your emails.
- Review the performance of your assets in the Performance Analytics tab.
- Create and test assets that have different images, copy, and layouts.
Now that you have assets added into Einstein Content Selection and understand the features, let Einstein Content Selection work for you! Ready to take Einstein Content Selection a step further? Continue the journey in the next module, Einstein Content Selection Solutions. In that module, we teach you how to refine your content selection with business rules and customer attributes.