Clear eCDN Cache and Configure HSTS
Learning Objectives
After completing this unit, you’ll be able to:
- Explain why you might need to clear cache manually.
- Explain how the web adapter configures static content.
- Describe how HTTP Strict Transport Security (HSTS) works.
- List the steps you need to take to disable HSTS.
Clear eCDN Cache
There’s no doubt that cache makes serving content faster. Agentforce Commerce for B2C stores static storefront content in eCDN cache or the web tier static content cache. All content cached by eCDN is served via a unique URL.
There's no need for Linda Rosenberg, Cloud Kicks admin, to regularly and manually clear the eCDN cache, but situations arise where she needs to, such as an emergency update to content files that replace obsolete files, or the delayed delivery of important seasonal content. It's not an all or nothing situation.
Here are some eCDN cache considerations.
- eCDN uses the
Cache-Controlheader to persist a file in cache until its time-to-live (TTL) expires. After the cache header expires, eCDN retrieves the new resource.
- eCDN caches based on the value set by the cache headers. If these headers aren’t set, Agentforce Commerce for B2C enforces the default value of 30 days.
- Updates to static cache occur at the intervals you set, but you can update an asset held in static cache before the cache interval expires. The process doesn’t require cache to be cleared, and can be completed without a support ticket.
The Web Adapter and Static Content
The web adapter configures web pages using static assets from both eCDN and web tier cache sources. Regardless of the cache location—web tier or eCDN—the web adapter assigns a fingerprint value to each static content asset on a storefront. This URL, for example, includes the dwabb3a337 asset fingerprint value, which provides a unique identifier for the asset. Here’s the URL containing the fingerprint.
https://www.clouskicks.com/dis/dw/image/v2/XXXX_PRD/on/demandware.static/-/Sites-customer-main-product/default/dwabb3a337/images/hi-res/shoes.jpg?sw=200=200=fitm=png>
When Linda updates an asset on the point of delivery (POD) system, Agentforce Commerce for B2C generates a new fingerprint value for that asset. Changing the fingerprint also changes the URL of the updated asset. When the storefront requests the updated static asset, the URL request returns a miss in eCDN and web tier cache. This happens because the fingerprint has changed, and the CDN doesn’t recognize the new and old asset as the same. The missed request with the new fingerprint is then directed to the POD, and the asset is retrieved and cached with the new URL.
All content assets in cache are refreshed, excluding the old content updated in this process. The updated content is assigned a new fingerprint that results in a new URL for the asset.
Clear the Page and Static Cache
Here’s how to manually clear the page and static cache at the web adaptor level.
- Upload the updated asset to your storefront POD.
- Refresh your site in the browser and confirm that the updated asset appears as expected.
- If the updated asset doesn’t appear in your browser after updating content, you can manually invalidate the Application Tier cache. Though this is rare, the asset not appearing means that something went wrong with the cache clearing process.
- To clear the cache, select Administration | Sites | Manage Sites | Business Manager Site | Cache, and click Invalidate where applicable.
- To invalidate the cache for a specific site, select Administration | Sites | Manage Sites | Site Name | Cache and click Invalidate where applicable.
- Refresh the site in your browser, and confirm that the updated asset appears as expected.
Configure HSTS
When Linda enables HTTP Strict Transport Security (HSTS) for her site, this instructs web browsers to access her domain using only HTTPS. HSTS prevents attackers from using downgrade attacks against the site. For extra security, she enables preload, which forces web browsers to open the site in HTTPS the first time it's requested. See the Internet Engineering Task Force (IETF) on HSTS for details.
Linda makes doubly sure that her site is fully secure before enabling HSTS. If the site contains insecure content and she enables HSTS, that content won’t display on her shoppers' web browsers, making her site impossible to view. But she can't manually disable HSTS for sites with insecure material.
Web browsers check a site's HTTP header for information on HSTS. When the web browser reads a max age for HSTS, the browser doesn't check the header again until the max age has expired. It’s typically set for a year out. Because a web browser checks the header only after the max age has passed, you can't manually disable HSTS. You can change the max age at any time, but you can only update HSTS on an HTTPS connection. If the site contains insecure material, your changes to the max age won’t apply. This becomes a circular problem.
To prevent this problem, Linda takes it one step at a time. She tests her site by enabling HSTS for short periods of time, starting with a few seconds and then longer.

Here’s how to enable the HSTS option.
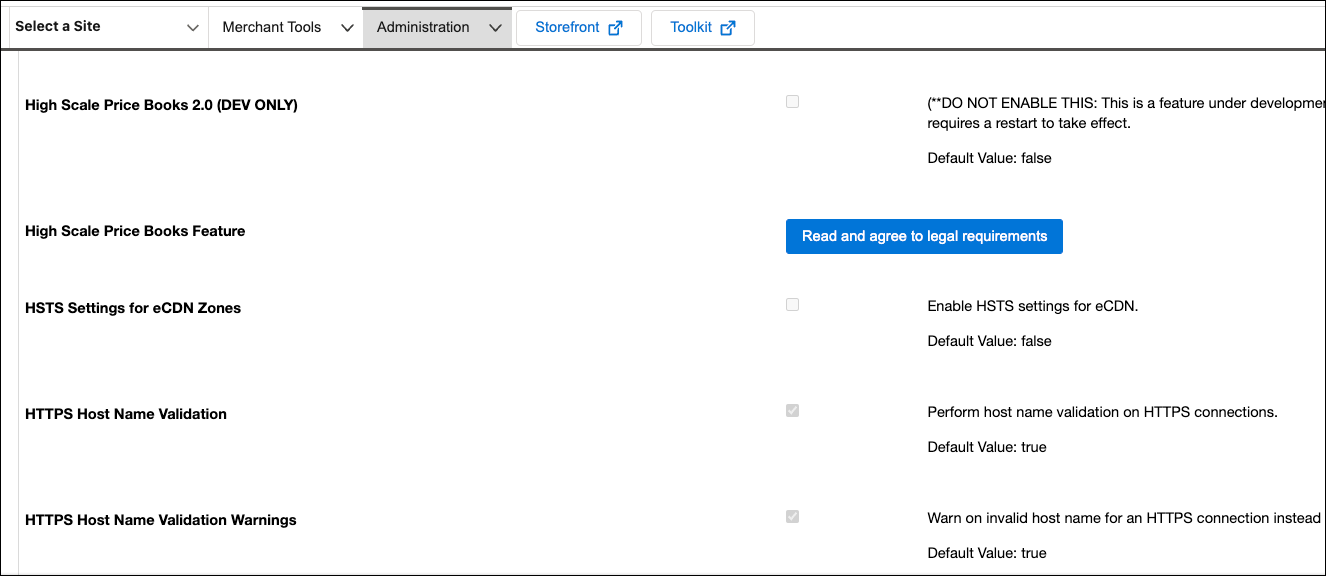
- In Business Manager, click App Launcher, and then select Administration | Global Preferences | Feature Switches and enable HSTS settings for eCDN zones.
- Select Administration | Sites | Embedded CDN Settings.
- Click Configure Zones.
- On the Crypto tab, click Enable.
- Set the max age:
31536000. Note: his is in seconds, which equals 365 days.
- Select whether HSTS applies to subdomains.
- Select if you want to enable preload.
Although there are several steps to officially register your site for preloading, some web browsers enable preload once they've received the preload tag in the header. Only enable preload after your entire site is secure. Preload can take up to a month to disable.
- Click Apply.
Disable HSTS
Linda knows that there are different ways to disable HSTS.
One approach she can take is to simply disable the HSTS header on the cloudkicks site. This stops the cloudclicks site from sending the HSTS requirement to browsers; but many browsers could have already received a max age from the cloudclicks site. A browser doesn't check your site's header again until the max age expires. The only time a browser checks your header is when you change the max age.
Linda knows a better way, and it only takes three steps.
- Set the max age to
0, which lets shoppers access your site through an insecure connection.
- Wait the longest period of time that you have ever set your max age. For example, on April 1, you set the max age to one month. On April 5, you changed it to one week. Wait until May 1, one month after April 1, before disabling the headers.
- Disable the HSTS headers.
Here’s how you do this in Business Manager.
- In Business Manager, click App Launcher, and then select Administration | Sites | Embedded CDN Settings.
- Click Configure Zones.
- On the Crypto tab, set Max Age to
0.
When the max age is0, browsers drop the requirement that a connection is made through a secure connection.
- Wait the longest period that you've set your max age before disabling the HSTS headers.
- Click Enabled to disable the HSTS headers.
- Click Confirm.
Next Steps
In this unit you learned how to clear cache and how to configure and disable HSTS. Next, learn how to configure eCDN for Staging.
Resources
- Salesforce: eCDN Proxy Zone FAQ
- External Link: Cloudflare Cookies
- Salesforce Help: HTTPS / TLS
- Salesforce Help: Configure a Zone
- External Link: HSTS Preload List Submission
- External Link: RFC 6797 - HTTP Strict Transport Security (HSTS)