Complete the Initial Setup
Learning Objectives
After completing this unit, you’ll be able to:
- Describe the steps for setting up Distributed Marketing.
- Explain how you can personalize messages.
- Add the Campaign Messages component.
Initial Setup and Configuration
Before business users can start using Distributed Marketing, you need to create some collaborative content and make sure that business users can access it. Here are the final setup steps.
- Create an entry event data extension.
- Create a Distributed Marketing sender profile.
- Install Distributed Marketing content blocks.
- Add Distributed Marketing Lightning components.
Let’s take a look at each step to understand what you’re setting up and why it’s required.
Create Entry Event Data Extension
Data extensions represent tables that contain attributes (individual pieces of data), about your customers in Marketing Cloud Engagement. For example, a data extension created for customer data can include a customer email address, gender, membership status, and zip code.

Distributed Marketing uses entry event data extensions to capture a standard set of information when business users send messages to contacts and leads. Each journey needs a unique entry event data extension. Use the journey’s entry event to relate the journey to the data extension.
So how does it actually work?
- A business user selects the contact or lead to receive a message, customizes content, and sends the message.
- Distributed Marketing adds the contact or lead to the appropriate data extension along with data from the contact or lead, such as unique identifier (ContactID or LeadID), email address, and the user ID of the user who pressed Send.
- Marketing Cloud Engagement Journey Builder evaluates the data in the data extension.
- Marketing Cloud Engagement sends the personalized message to the selected audience.
To create the entry event data extension, log into your Marketing Cloud Engagement account and follow the steps in the Create Entry Event Data Extension topic on Salesforce Help.
Create Distributed Marketing Sender Profile
Have you ever noticed that some emails you receive are sent from a department within a company, such as customersupport@nto.com? That sender information is set by a profile in Marketing Cloud Engagement Email Studio, which contains the sender name and address that the message displays in the subscriber’s email client. You can create custom sender profiles that make it easy to dynamically control the sender name and email address across your organization.
By default, Distributed Marketing messages are sent on behalf of the running user—the business user who sends the message—using two fields in the Event Data Extension: sendFromName and sendFromEmail. These fields populate with the name and email address stored on the standard Salesforce user record (check out the Name and Email fields on the User object, if you’re curious).
To create a Distributed Marketing sender profile:
- In Marketing Cloud Engagement, navigate to Setup.
- Under Feature Settings, click Email Studio.
- Click Sender Profiles.
- Click Create.
- Create a sender profile using this information under Sender Information.
- From Name:
%%sendFromName%% - From Email:
%%sendFromEmail%%

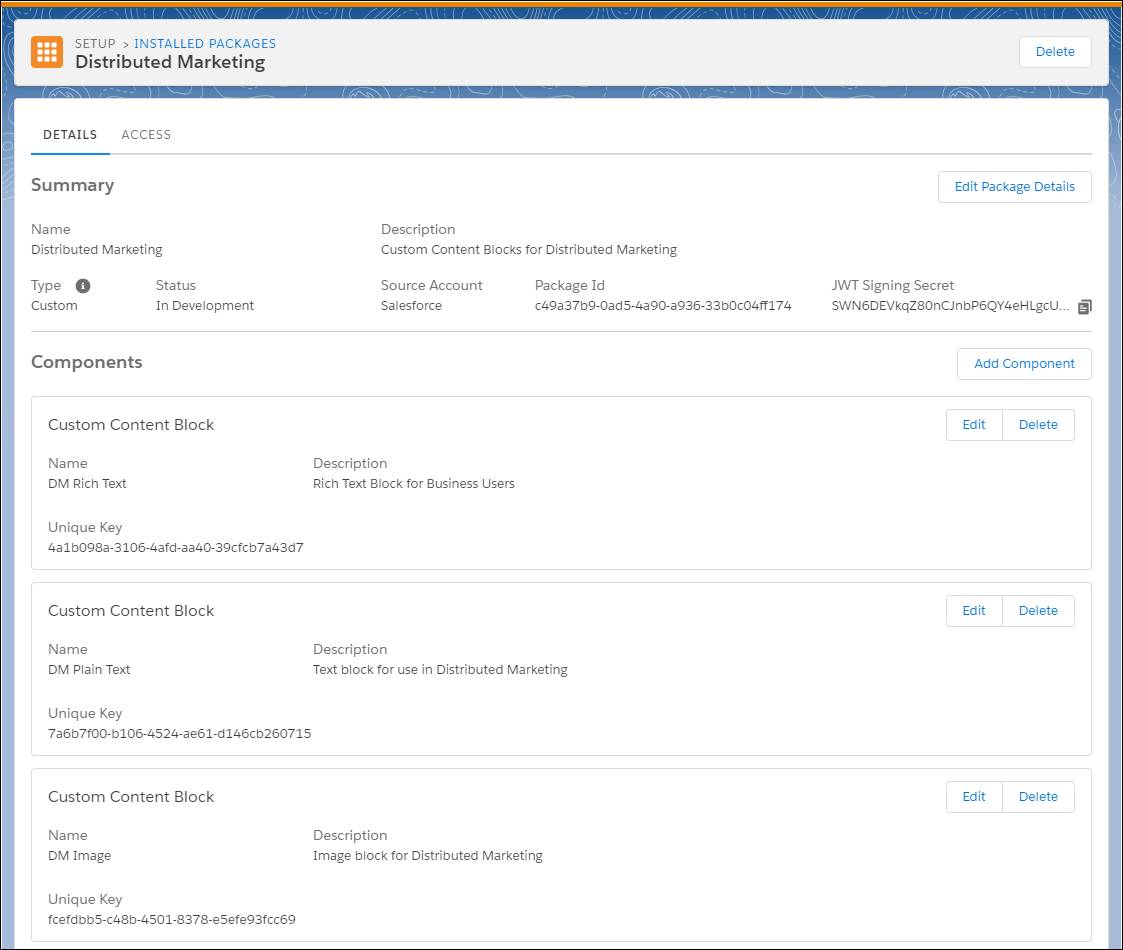
Install Distributed Marketing Content Blocks
We understand that sometimes you don’t want your users modifying content. But when flexibility is appropriate, allowing users to personalize content for their customers can create powerful communications. You can allow users to personalize messages—within boundaries that you set—using Distributed Marketing content blocks.
Content blocks are reusable content areas that contain text and images. An email is a series of content blocks, such as a header content block, a footer block, and a collection of other standard or custom blocks that form the email body. Drag a Distributed Marketing content block onto any email canvas to deliver highly relevant and dynamic content. Use Distributed Marketing content blocks with other content blocks in your Marketing Cloud Engagement account.
-
Distributed Marketing image block. Give business users the ability to pick the image used in a message from a collection of marketer-defined images: including contextual images, product offerings, and stock photos.
-
Distributed Marketing plain text block. Allow business users to enter plain text into messages to personalize with notes or contextualize images and marketing content. Marketing Cloud Engagement can control the formatting.
-
Distributed Marketing rich text block. Let business users enter formatted text in messages. Users can apply formatting such as bold, italics, or underline; define formatting, such as left, center, or right alignment; and embed hyperlinks.

Before you can enable marketers to include the Distributed Marketing content blocks in emails, you need to do two things. First, add the Distributed Marketing installed package to your Marketing Cloud Engagement account. Second, add the custom content blocks that you want to use as components. Follow the steps on Salesforce Help to Use Distributed Marketing Content Blocks.
After the custom content blocks are installed, marketers can use them in emails for connected journeys.

Add Distributed Marketing Lightning Components
You’ve created amazing content and set up the plumbing to make sure the right message is sent from the right user at the right cadence. Now it’s time to get that content in front of your business users!
Campaign Messages component. Adding the Campaign Messages component to the Campaign object lets business users send messages to groups of individuals. Campaigns can be powered by journeys with one or more messages that business users can personalize for recipients. If you’re a Distributed Marketing administrator, the campaign messages component is where you’ll connect a journey to the campaign.

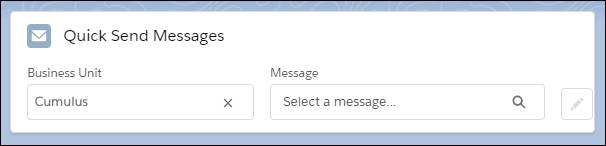
Quick Send component. Quick Send allows business users to send a single, personalized, Marketing Cloud Engagement message to a contact, lead, or person account directly from the intended recipient’s record. Quick Send is a great way to send branded messages quickly and on-demand. For example, follow up with someone after an in-person meeting by sending a personalized email that includes more information on the topic of conversation, or send an on-brand thank you message after an event.
Add the Quick Send component to Contact, Lead, and Account page layouts. To add a Quick Send component to the Account object, Person Accounts must be enabled.
The Campaign Messages and Quick Send components are powered by Marketing Cloud Engagement journeys. Use both components in the Sales, Service, Financial Services, and Experience Clouds. Go to Salesforce Help to Add a Campaign Messages Component and Set Up Quick Send.
Enable Tracking
Want to track how customers are interacting with messages sent through Distributed Marketing? All tracking data is collected through Marketing Cloud Connect. Marketing Cloud Connect is not required to send messages with Distributed Marketing, but is required to let business users access tracking data. Learn more about the tracking data in the Tracking and Analytics topic on Salesforce Help.
Nice work—you completed the initial setup of Distributed Marketing. Next we introduce ways you can manage the user experience.
Resources
- Salesforce Help: Add Campaign Messages Component
- Salesforce Help: Create Distributed Marketing Sender Profile
- Salesforce Help: Create Entry Event Data Extension
- Salesforce Help: Data Extensions
- Salesforce Help: Person Accounts
- Salesforce Help: Quick Send
- Salesforce Help: Use Distributed Marketing Content Blocks