Remove a Forecast Metric and Add a Filter Criteria
Learning Objectives
After completing this unit, you’ll be able to:
- Remove a metric in a JSON file and upload it successfully as the definition.
- Add a filter criteria by editing a Data Processing Engine (DPE) definition.
Remove Last Year’s Orders
In this module, Cindy customizes her cloned copy of the predefined definition Generate Account Forecast for all of Elliot’s requirements. Later, she updates her other cloned copies of the Recalculate Account Forecast and Rollover Account Forecast definitions as well. The process and the logic remain similar.
Cindy starts off with Elliot’s first requirement. He doesn't want the forecast to consider the quantity and revenue from last year’s orders. Order volume across years can be inconsistent and therefore unreliable as a benchmark. So Cindy’s job is to ensure that the estimates for forecasts don’t include the two predefined measures: Last Year’s Order Quantity, and Last Year’s Order Revenue.
Advanced Account Forecasting comes with predefined forecast measures Order Quantity and Order Revenue that sum up the order quantity and order revenue for each period respectively. These measures represent Rayler Parts business more accurately.
For this customization, it’s best to use the JSON-based approach because she is sure about the changes. She must remove all references to Last Year’s Order Quantity and Last Year’s Order Revenue across all nodes. She must also remove the mappings for these two fields from the writeback node. There's no other customization required.
Cindy opens the definition Generate Account Forecast_AMER Sales Forecasts and gets started. Remember to deactivate the definition before making changes to it.
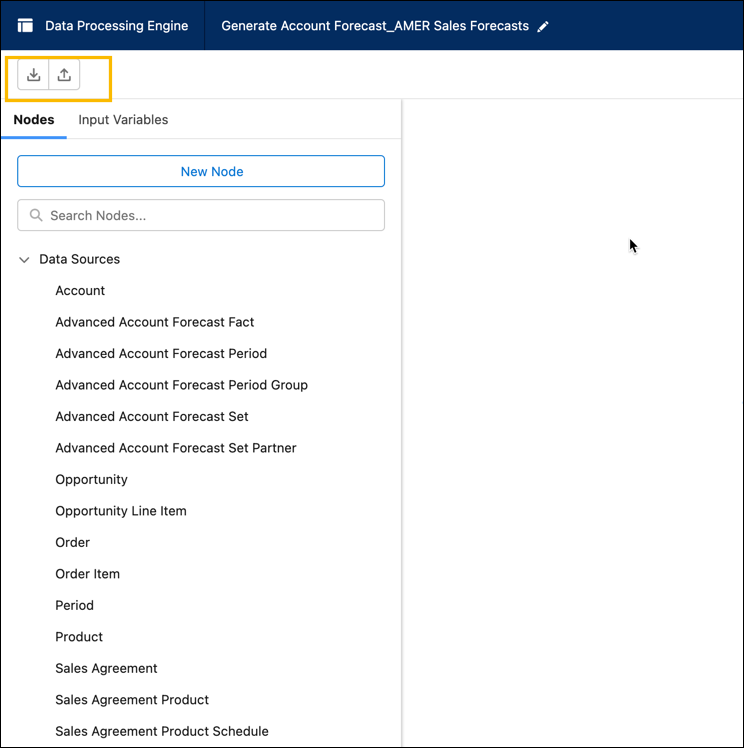
- On the Generate Account Forecast_AMER Sales Forecasts DPE header, click
 to download the definition metadata as a JSON file.
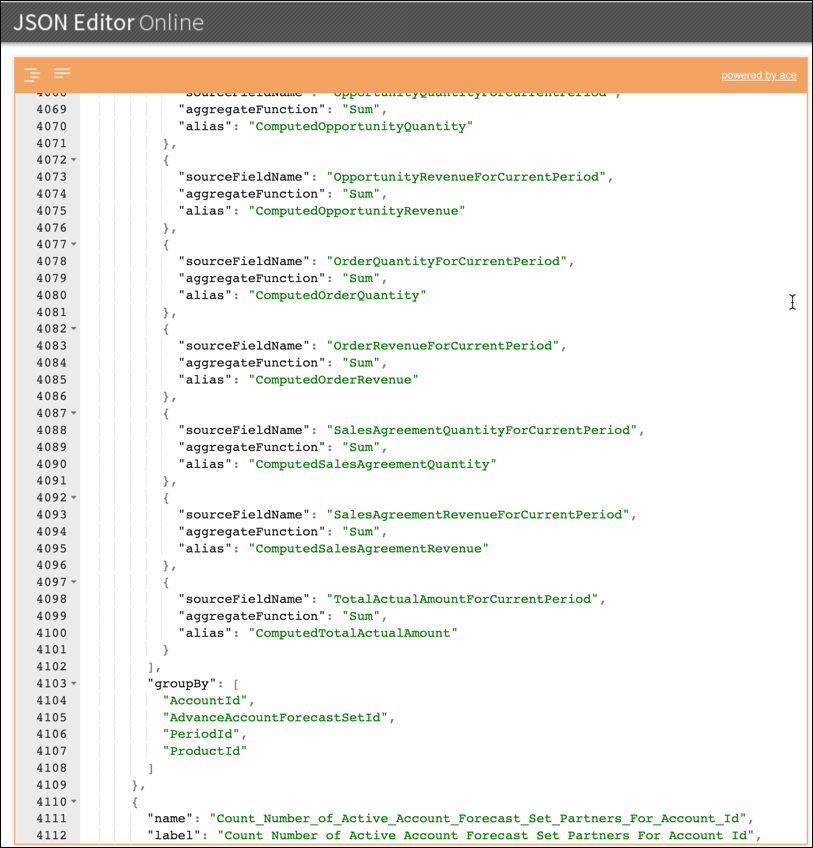
- Use a JSON editor, either on your system or online, to open the downloaded file.

- Use the fields’ API names to find and delete all references to
LastYearOrderQuantityandLastYearOrderRevenue. Make sure you delete the entire string.
- When you’ve deleted all references to the two metrics, save the JSON file. It’s now ready for upload.
All changes are automatically reflected in the DPE builder when Cindy uploads the updated JSON file. There are two ways to upload the JSON file.
- From the builder, click
 on the header and select the updated JSON file.
- Use an API call to upload the metadata of the updated JSON file.1.
Execute the PATCH call:/services/data/v<API version>/tooling/sobjects/BatchCalcJobDefinition/<ID of the DPE definition>
2. Paste the metadata of the JSON file in the Request Body and click Execute.
When you get a success message, refresh the DPE builder page and view the changes.
That was easy! Cindy sees that the definition is updated in the builder. She now activates the definition.
Cindy knows that the next few requirements aren’t as straightforward as the first one. She must traverse each reference node within the builder and make multiple changes. But Cindy knows that the DPE Builder interface is intuitive and the hyperlinks at the end of each node will help reach her goal.
Filter Out Opportunities
Cindy must ensure that when forecasts are generated or recalculated, opportunities are filtered based on their probability. An opportunity’s probability indicates the likelihood of the opportunity being won. To create an effective forecast, Elliott wants to filter out all the opportunities that have a probability of less than 70%.
The four predefined DPE definitions for generating, recalculating, rolling over, and regenerating forecasts include opportunities based on their stages. By default, opportunities are included if they are still open or if they have been closed and won. Probability isn’t a field that is used in calculations of forecasts.

Cindy plans to add Probability as a field and then remove the existing opportunity filters to add her own.
First, Cindy deactivates the definition Generate Account Forecast_AMER Sales Forecasts to make updates to the nodes. She’ll activate the definition after saving her changes.
- In the definition Generate Account Forecast_AMER Sales Forecasts, click the Opportunity data source node.
- Click Selected Fields and select Probability (%).
- Click Done and Done.

- Click the reference node hyperlink to open the next node.

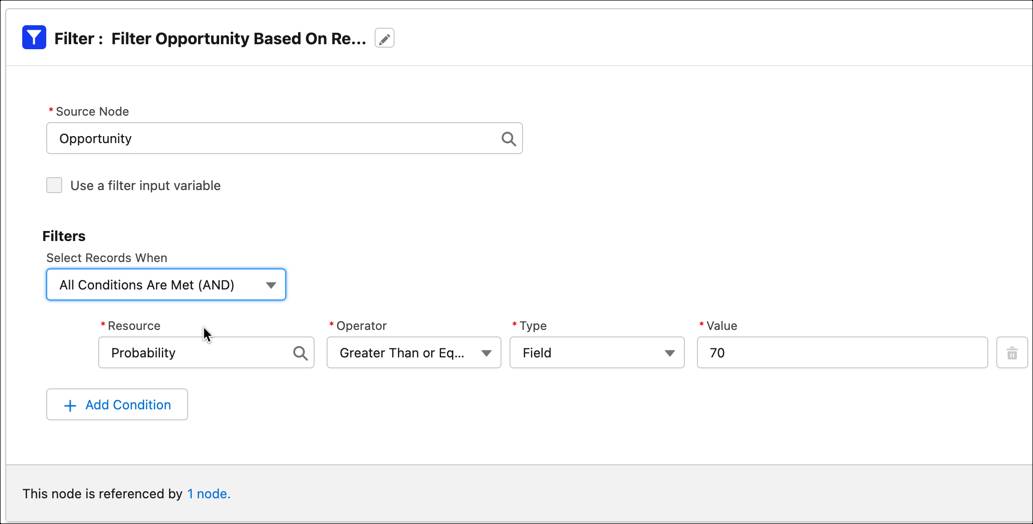
- In the node Filter Opportunity Based on Result, change Select Records When to All Conditions Are Met (AND).
- Delete the first two rows with the existing conditions.
- Edit the remaining row with the following values:
- Resource: Probability
- Operator: Greater Than or Equal
- Type: Field
- Value:
70
- Click Done.

- On the Data Processing Engine’s header, click Save, then click Activate to apply the changes.
What’s Next?
Cindy is half way through implementing Elliott’s requirements. She now moves on to the more advanced requirements. Advanced because these require a lot of updates in the DPE definition. But Cindy has a clear idea on how to go about the tasks. She keeps going back to the drawing board where she charted out the granular details. And that’s a tip for you: On a drawing board, sketch out the interconnected nodes of a definition and then list the changes to be made. A clear plan helps you escape the maze of multiple nodes.