Map Data Sources to Data 360
Learning Objectives
After completing this unit, you’ll be able to:
- Model your data using data model objects from the Customer 360 Data Model.
- Identify the important parts of your data model, and grow it from there.
Start Your Data Model
In our Northern Trail Outfitters example, Pia already started planning her data model back in the first unit of this badge. She made sure to identify all the sources of data that come into NTO’s Data 360 instance. And she conferred with all the stakeholders for those data sources to make sure she’s interpreting the data correctly. After a lot of planning and work on the whiteboard, she’s ready to log in to the Data 360 and start mapping the data relationships between NTO’s data sources and the available data model objects. She keeps these best practices in mind as she goes forward.
- Understand the primary key (the value that uniquely identifies a row of data) of each data source.
- Remember that the Individual ID represents a valuable resource for the identity resolution process. Make sure that you maintain the integrity of this value.
- Identify any foreign keys in the data set. These ancillary keys in the source may link to the primary key of a different data set. (For example, the sales order details data set contains a product ID that corresponds to the item purchased. This product ID links to a whole separate table with more details about that product, such as color or size. The instance of product ID on the sales order details data set is the foreign key, and the instance of product ID on the product data set is the primary key.)
- Determine if the data is immutable (meaning it’s not subject to change once a record is sent) or if the source data needs to be refreshed later.
- Determine if there are any transformations you would like to apply to the data. (For example, you can use simple formulas to clean up names or perform row-based calculations. You might also want to create calculated fields that transform data for use as primary keys.)
- Review the attributes, or fields, coming from each data source. If the same field is tracked across multiple sources, decide which data source is most trusted. You can set an ordered preference of sources later on using identity resolution.
- Make sure you have the authentication details handy to connect each data stream.
- Take note of how often the data gets updated.
Take Everything Into Account
After you plan it all out, it’s time to start creating the real thing inside Data 360. In our example, Pia is linking an NTO data stream to a Website Engagement DMO, part of the engagement subject area. Follow along to see how she creates a mapping.
- In her Data Cloud account, Pia clicks the Data Streams tab.
- She clicks the data stream she wants to map.
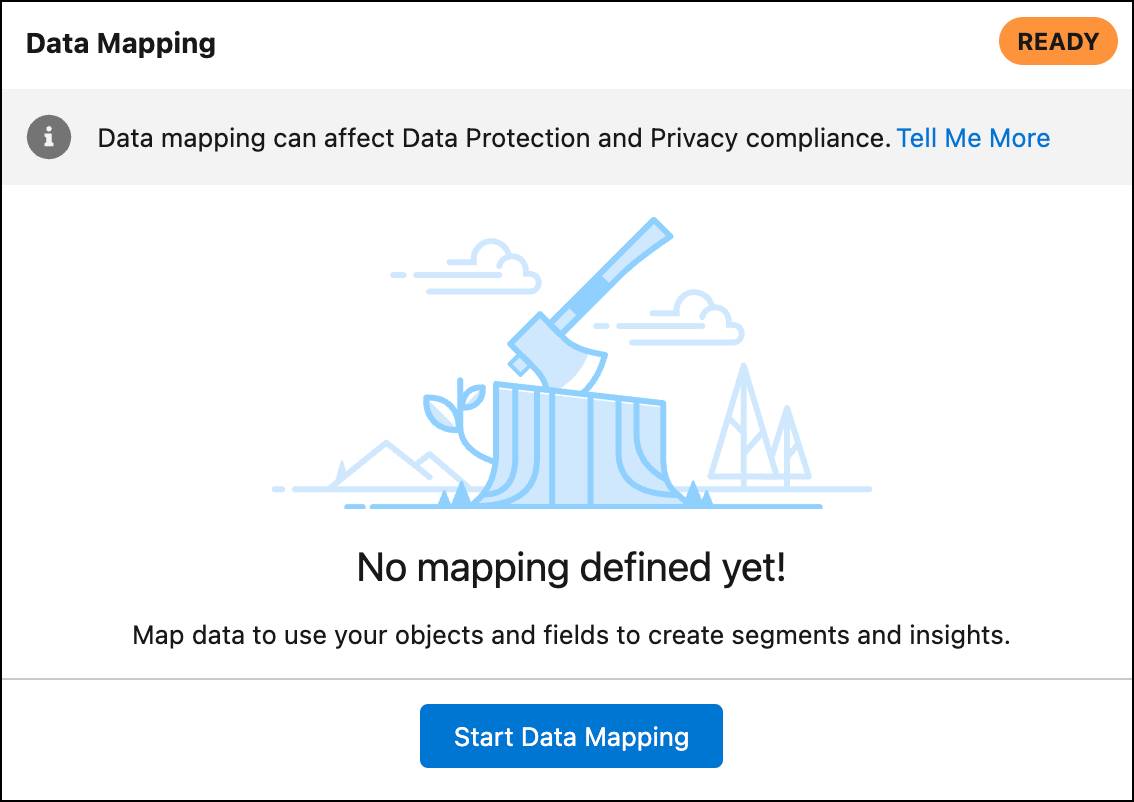
- She clicks Start Data Mapping to access the available fields.

- She clicks Select Objects, then clicks the + icon next to Individual.
- She clicks Done and returns to the mapping screen.
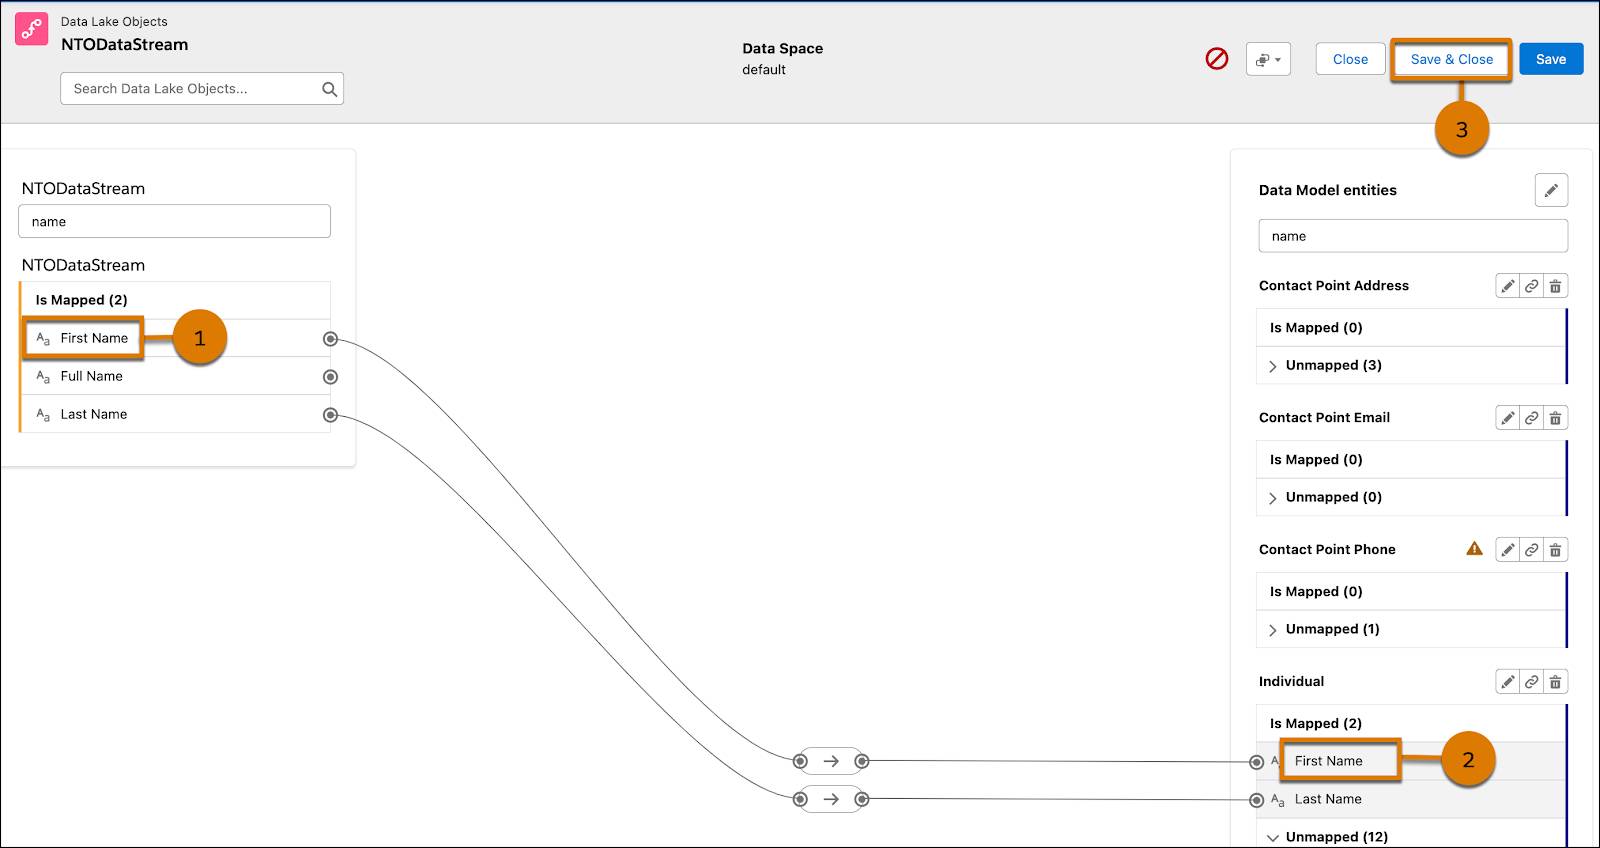
- She clicks First Name (1) in the data stream section of the screen, then clicks First Name (2) in the data model object section of the screen. She repeats this action with Last Name and Last Name.

- Pia makes the additional mappings she needs, then clicks Save & Close (3).
The data stream is mapped to the individual data model object and the Individual Id, which Pia knows is a required mapping in order to use identity resolution. This mapping helps Pia link information about Rachel’s interactions with the NTO website for use in segmentation and identity resolution. It also gives NTO an idea about shopping experiences in their online store.
Pia also configures the identity resolution process to populate the Unified Individual and Unified Link Individual data model objects. This step helps the system keep track of all the disparate data sources and make sure it can make the proper connections to keep data straight.
Plan for the Future
Of course, this process takes a little time, a little patience, and a lot of research and planning. The goal is to map data streams to the most useful and standard data model objects to make sure you get the expected data in the correct formats. Most of your work is done at the beginning, but this model requires maintenance as well. A data model evolves and changes as you add new data streams or remove others. You should regularly review your data model and data sources to make sure they’re providing you with optimal results. You might not need to change existing mappings, but you might need to make room for additional data.
What’s the End Goal?
The simple answer is that you want to put together a holistic view of each customer in your account. The slightly more detailed answer is that your data model and mapping strategy should make all the necessary information available for you to create a unified profile of that customer. This process culminates by running identity resolution rules that take all of this information and construct the unified link individual data model object we talked about in the second unit.
This data model object doesn’t exist in an account before this process takes place. And this process is exactly why it’s important to correctly set up your data model and mappings. You get the cleanest, most precise unified profile of a customer when you take the time to understand your data, make the correct mappings, and set your data model up for efficiency and clarity.
Resources