Create a Custom Field
Learning Objectives
After completing this unit, you’ll be able to:
- Describe common use cases for custom fields.
- Create a custom field.
Why Customize Fields?
Salesforce provides several standard fields in each record. Standard fields are common to most CRM businesses, like company name, contact, account number, status, date, and amount. But every business is unique, and you may want to capture important info that’s not covered by a standard field.
Custom fields are the way to do this. You can create custom fields on standard Salesforce objects or on custom objects. When you create a custom field, you decide where it appears, what info it contains (1), what format it should be (such as number, text, date, or picklist) (2), and who sees it and who can change the field value.
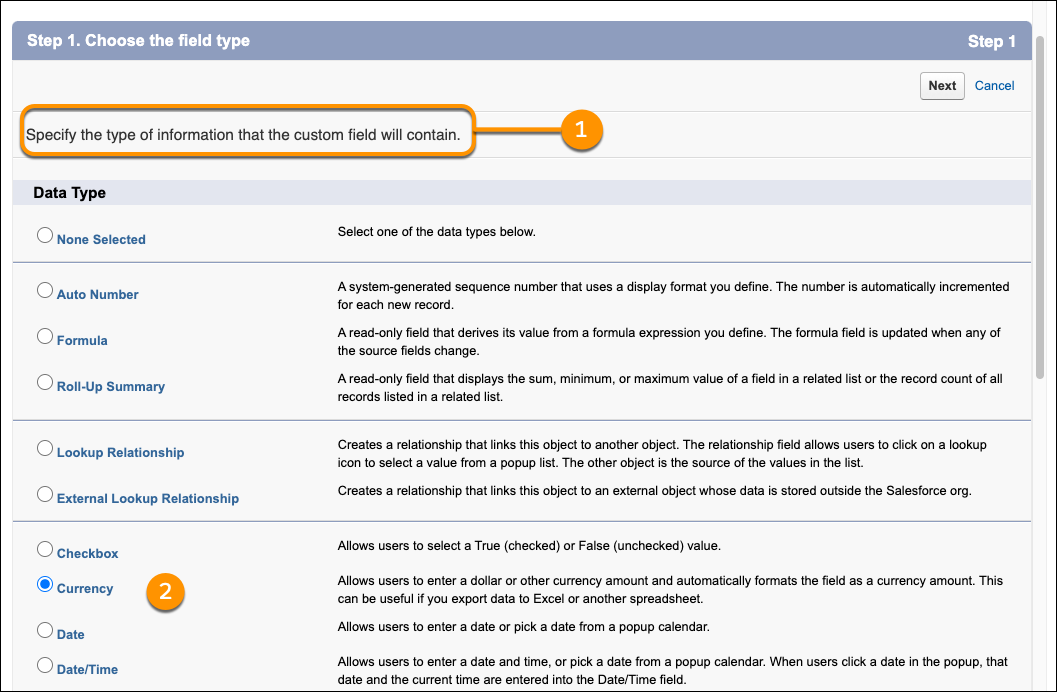
Fields can store many different types of data. When you create a field, it’s important to define whether you want users to choose from a predefined list of options or whether you want them to enter raw info. For example, you might offer a common set of values for a custom field with the label Status—new, assigned, in progress, and complete—to track work consistently across multiple accounts. Or you might add a free-form text field for comments or account details that vary from record to record.
Try It Yourself
- In your Salesforce org, click
 and select Setup to open Setup.
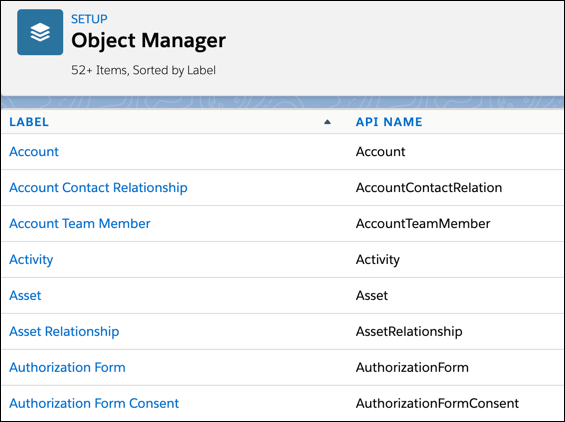
- Click the Object Manager tab. If you don’t see it, enter Object Manager in the Quick Find box.
- From the Object Manager
 page, select an object such as Account or Asset. This opens a details page for that object.
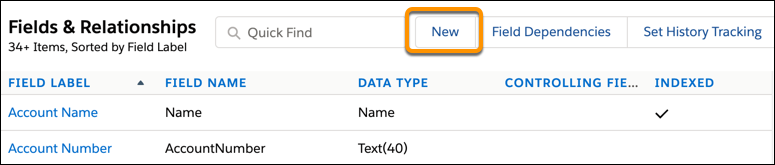
- From the sidebar, click Fields & Relationships. Notice that there are already some fields there. These are the existing standard and custom fields for the object.
- Click New to create a custom field. Tip: Before creating a new field, do a quick search to make sure a similar one doesn’t already exist,
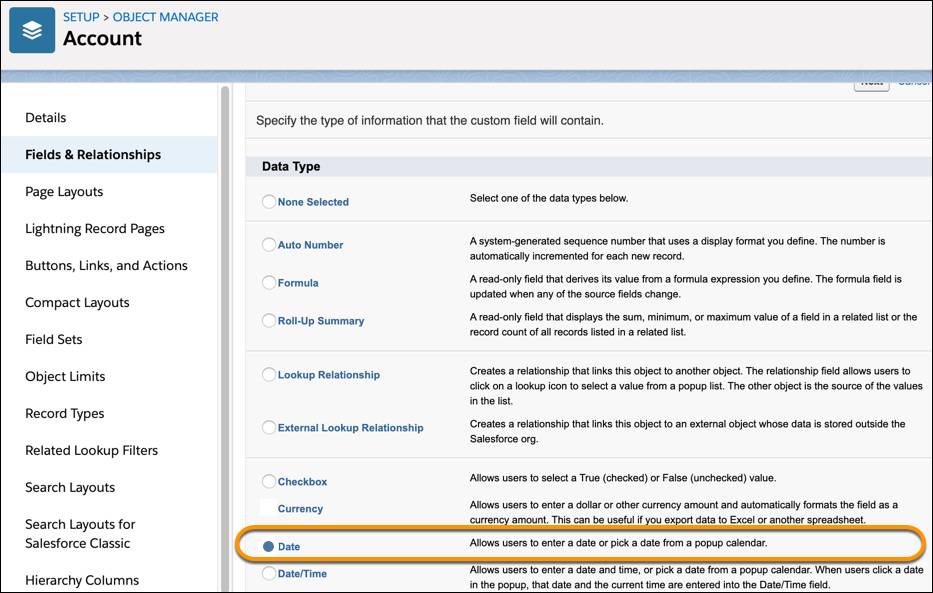
- Next, choose a data type. Choosing a data type helps you format the field input. For example, if you create a field with the Date data type, users can enter a date or pick one from a popup calendar.
- Click Next, and then fill out the Field Name, input format (text, numbers, decimals, and so on), and description, and click Next.
- Select the field’s visibility and edit access.
- Click Next. Then click Save.
Summary
Custom fields make Salesforce work better for you and your business. The total number of fields you can create depends on which edition of Salesforce you’re using. For Enterprise customers, the limit is usually 800 custom fields.
Resources
- Trailhead: Customize a Salesforce Object
- Salesforce Help: Custom Field Types
- Salesforce Help: Create a Custom Picklist Field