Interact with Published Views
Learning Objectives
After completing this unit, you’ll be able to:
- Edit a published view.
- Filter data in a view.
- Customize a view.
- Save a view.
In addition to building views from scratch, a lot of what you do in Tableau Cloud involves editing and interacting with already published views. For example, imagine that part of your analysis work includes looking at some existing views and modifying them to answer the questions that your manager is asking. Let’s see how to do that.
Edit a View
If the Edit button shows in the toolbar when you are looking at a Tableau view, that means you can make changes to it. As you learned in Tableau Cloud Basics, with the Creator or Explorer (can publish) role you can:
- Create and edit a new workbook based on a published data source.
- Edit an existing published workbook.
When creating a new workbook or editing an existing one, you can add worksheets for views, dashboards, and stories.
To edit a published view, open the view and click the Edit button on the toolbar. When you click Edit, the view opens in the web authoring mode.
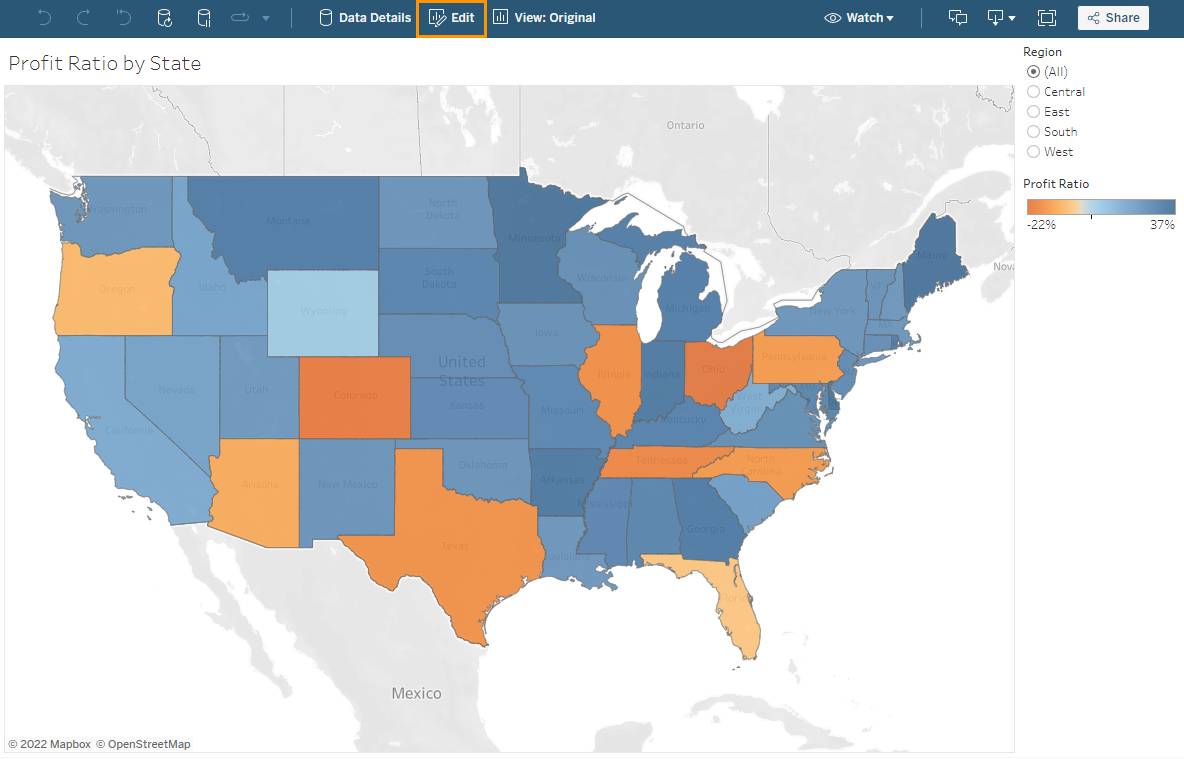
You can modify a view in editing mode, such as adding fields and other details to a view. With the site role Creator or Explorer (can publish), you can edit the workbook and save your changes.
In editing mode, you can also interact with the information that’s in the view, including viewing the underlying data, filtering and sorting data, and zooming in and out of regions.
Filter Data in a View
You might want to display only certain data in your view. You can filter your data in a number of ways, including:
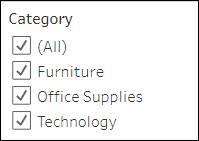
- Dragging a dimension, measure, or date field to the Filters shelf. You can select items you want to include or exclude from the view, or select a range of values.
- You can also interact with a published view by selecting a single mark (data point) or clicking and dragging in the view to select several marks. On the tooltip that appears, you can select Keep Only to keep only the selected marks in the view, or select Exclude to remove the selected marks from the view.


There are several other ways that you can interact with data in a Tableau Cloud view. Watch the video to see the most common.
In the video you saw common interactions you can make without editing or changing the view, including, hovering over marks to see more information in the tooltip, expanding and collapsing hierarchies, selecting and keeping only marks of interest, and using filters to slice the data in different ways.
Save a Custom View
If you find yourself changing a view every time you open it, consider saving your changes as a custom view. For example, if you apply a filter to include only data relevant to you, or if you want to sort data in a particular way, you can save separate custom views for each scenario.
A custom view doesn't change the original view, but it remains related to it. If the original view is updated or republished (with different filters, for example), your custom view is updated too. Likewise, if the original view is deleted from the server, your custom view is deleted as well.
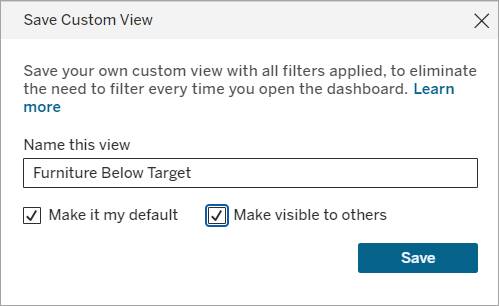
To create a custom view, open the individual view that you want to customize, filter the data, change sorting, select specific marks, zoom in or out, or make any other modifications. Then select Save Custom View in the toolbar.
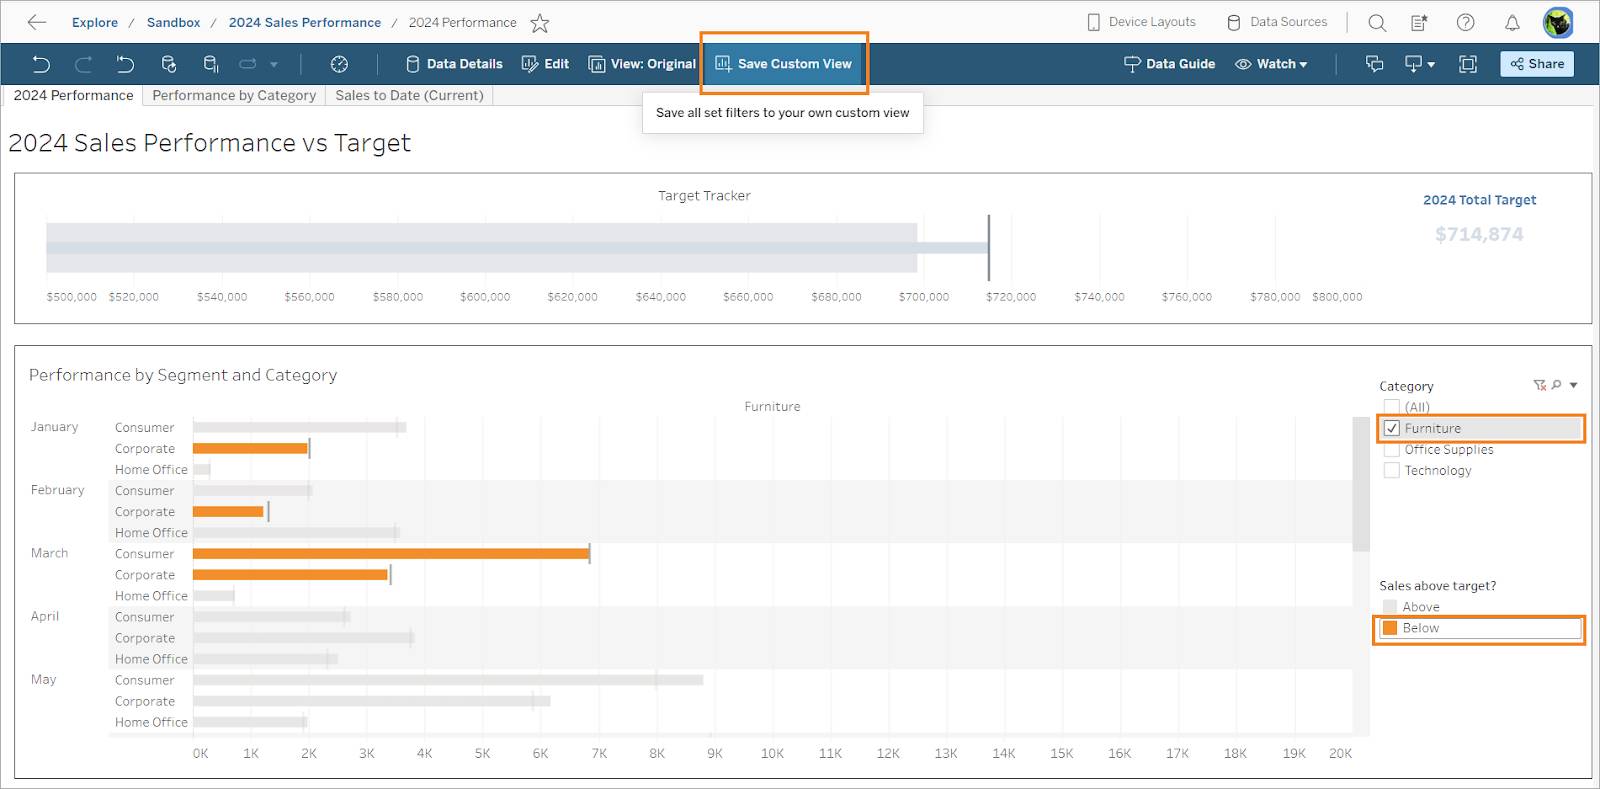
After entering a name for the custom view, you can choose whether you want it to be the default view and whether it should be public and visible to others. By selecting Make it my default and then Save, your custom view will display by default every time you open the workbook.
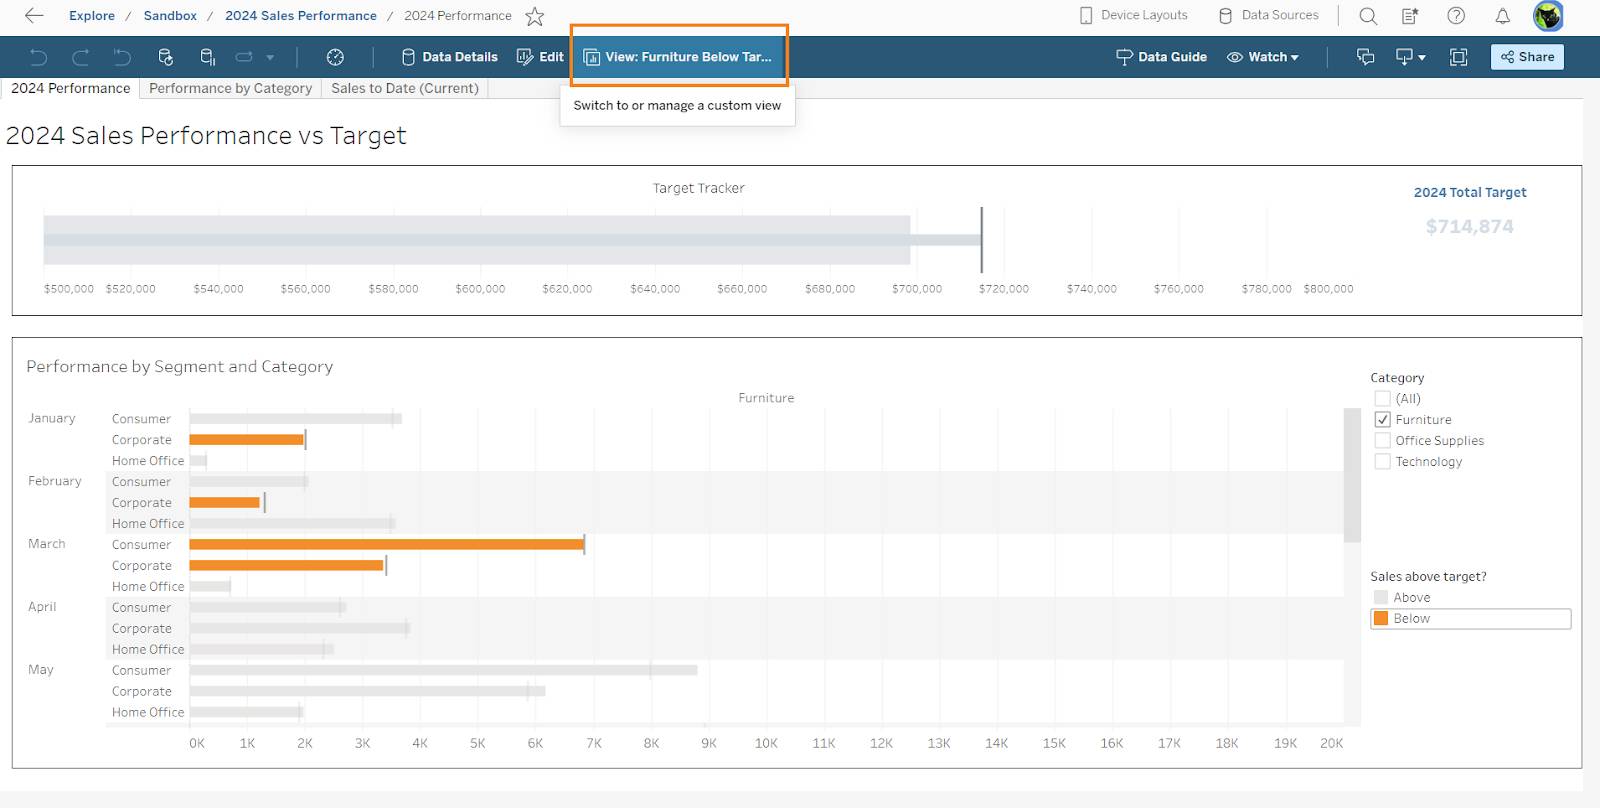
You can switch to the original view or another custom view and manage your custom views from the toolbar.
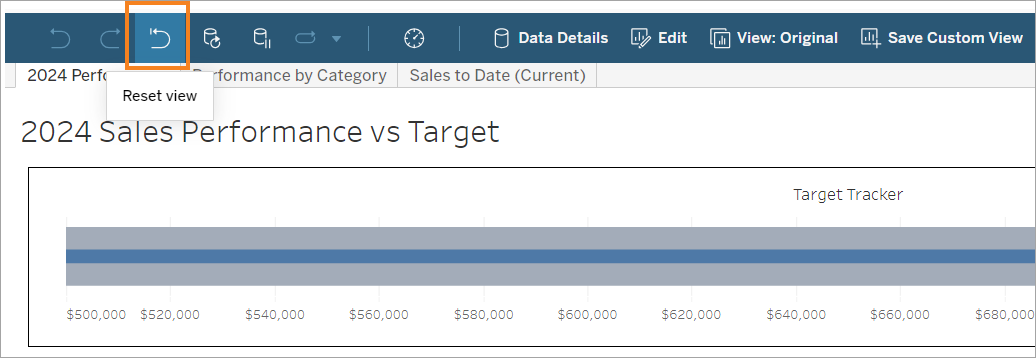
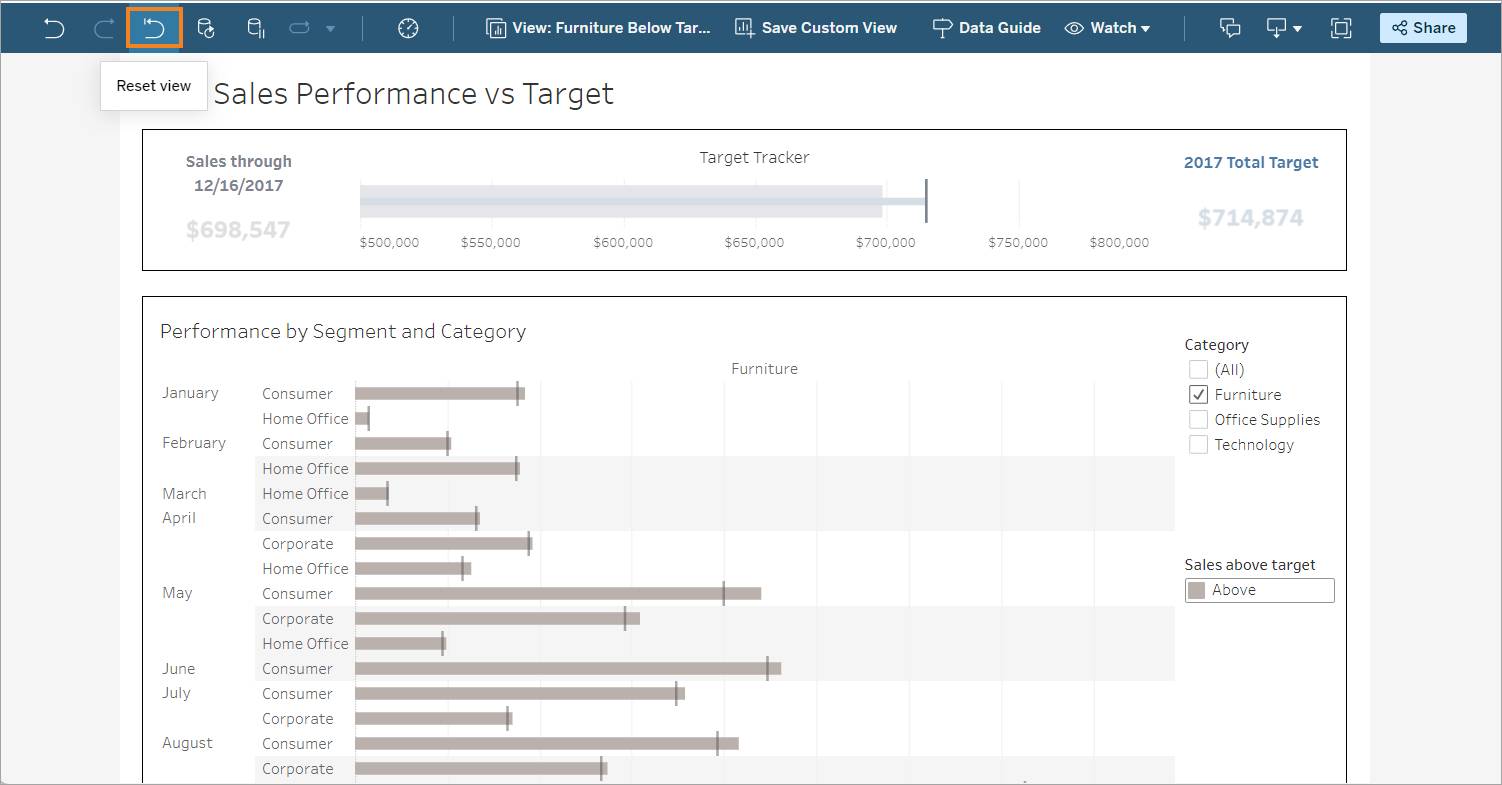
If you filter and sort data and decide not to create a new custom view, you can easily go back to the data before your changes by clicking the Reset view button on the toolbar.
So far, you’ve learned how to build your own views on Tableau Cloud and also how to customize some preexisting ones. The next step is to share these views with your manager and colleagues.
Resources