Create and Edit Your Content
Learning Objectives
After completing this unit, you’ll be able to:
- Create content in Content Builder.
- Describe tabs and features in the Content Builder editor.
- Use the editor in Content Builder to format content.
If you are transitioning from classic content in Marketing Cloud Engagement, or if you’re new to Marketing Cloud Engagement, you can find some great features in Content Builder to build your content library. In addition to the easy-to-use interface, you can more easily create professional emails without knowing HTML. Content Builder lets you view changes to email content in real time with the always-present preview. You can also use intelligent HTML paste tools—such as color coding and line numbers, insert code snippets for common links, and edit all content inside the application.
Start Creating Content
Creating content blocks in Content Builder is a great way to stock your content library full of reusable chunks of content. To get started, let’s take a look at navigating around Content Builder. The Content Builder interface includes a list of folders and a list of content available in the selected folder. If you are using Content Builder to create content, first navigate to the applicable folder and then click Create. Selecting a folder first determines where your content is saved. Don’t worry—you can change the folder later if you need to.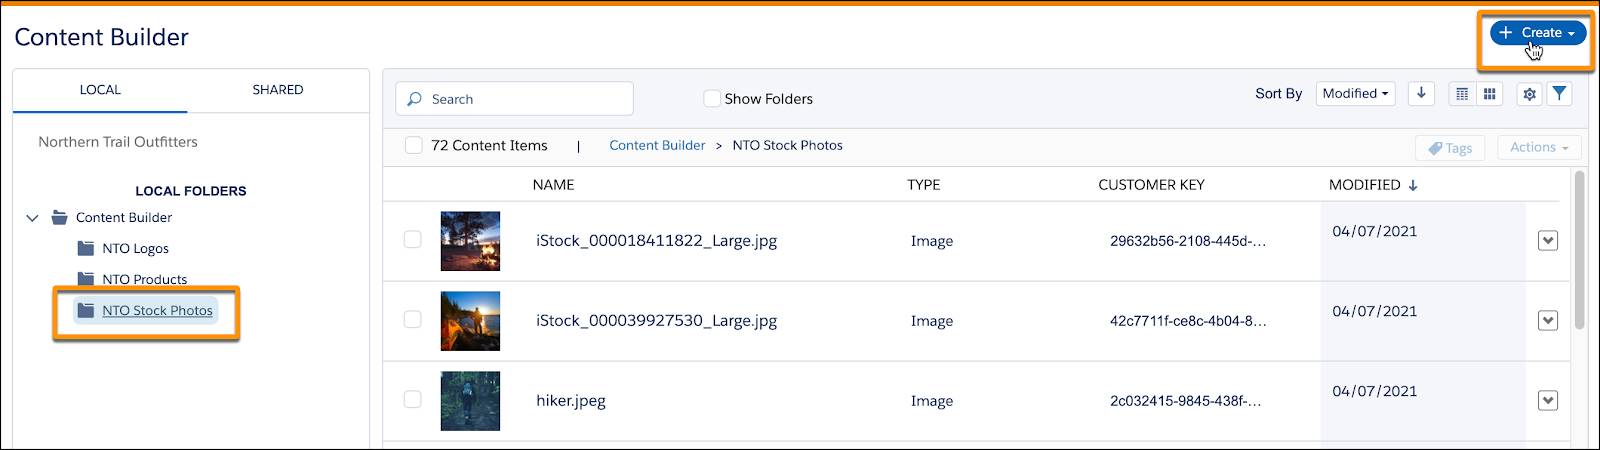
When you click Create, select from the list of content types (we covered these options in the first unit). The content type you select determines the options that are available in the Content Builder editor. For example, if you select a Text content block, the editor provides options for drafting and formatting text.
The editor in Content Builder is packed full of tools and features you can use to build and customize your content. Let’s take a look at each of the tabs in the editor and the features you’ll find, depending on the type of content you’re creating.
The Content Tab
The Content tab is the first tab you see when you create content blocks such as Free Form, Text, or HTML. Use this tab to input the content, code, or image you want in the content block. Then customize and personalize the content.
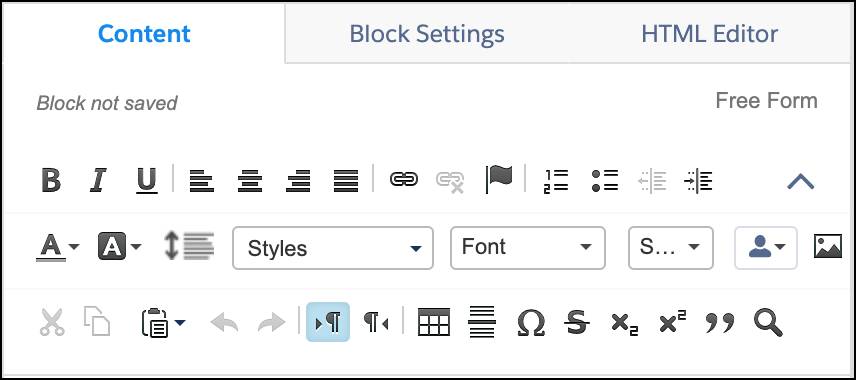
WYSIWYG Editor
Use these tools to input and format your text, insert links and lists, and create tables. The Content Builder editor includes all the standard tools you’d expect in a WYSIWYG (What You See Is What You Get) editor.
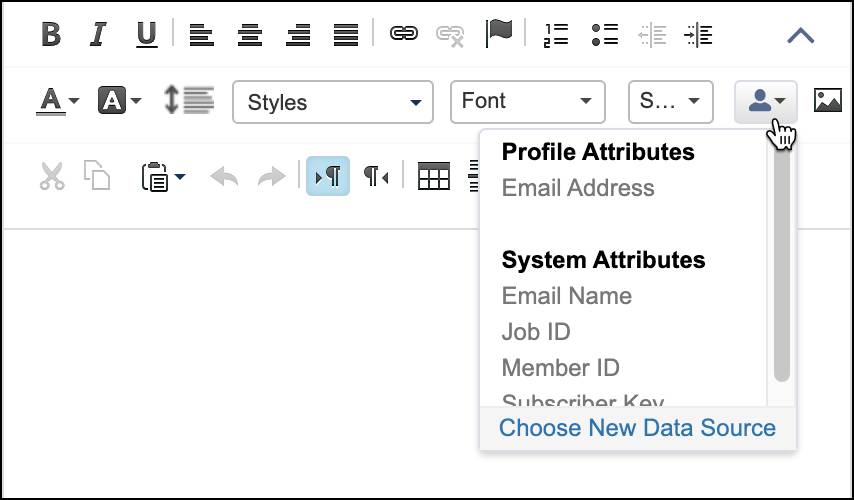
Attributes
Imagine receiving an email that greets you as, “Dear Mr. or Ms. Customer.” How would you feel? Personalizing content in a message, such as including the subscriber’s first name, dramatically improves engagement. Use profile and system attributes to personalize content for subscribers. By default, every account has three profile attributes: Full Name, Email, and User Defined. User Defined is a generic attribute that you can use as needed. Create profile attributes to store more data about your subscribers. System attributes include data such as Member ID and Subscriber Key.
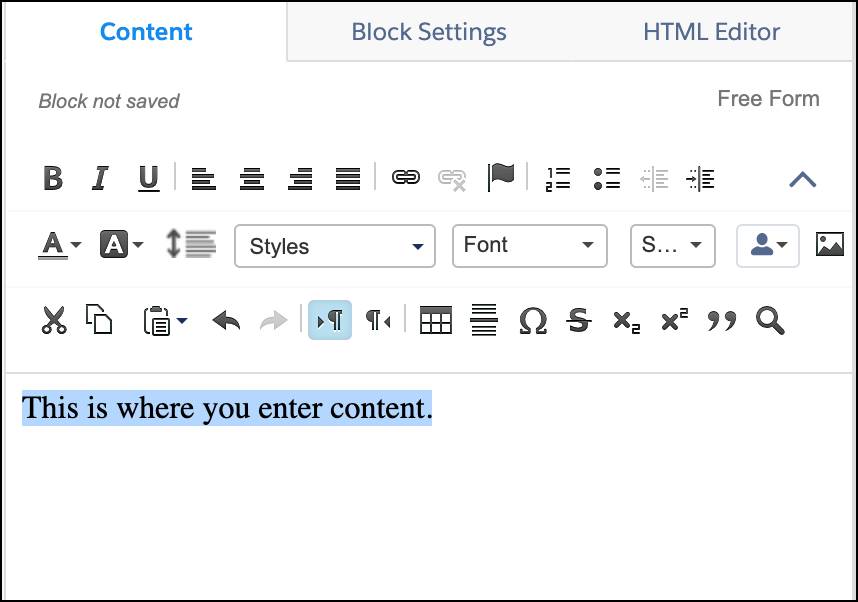
Content
Ready to enter your content? Just start typing in the space below the editor. As you insert and edit text, the preview pane updates in real time so you can check out how your content block looks.
Content for Buttons
If you choose to create a button content block, the Content tab displays options for creating your button. Add text, select the font, choose colors and formatting, and set up a link.
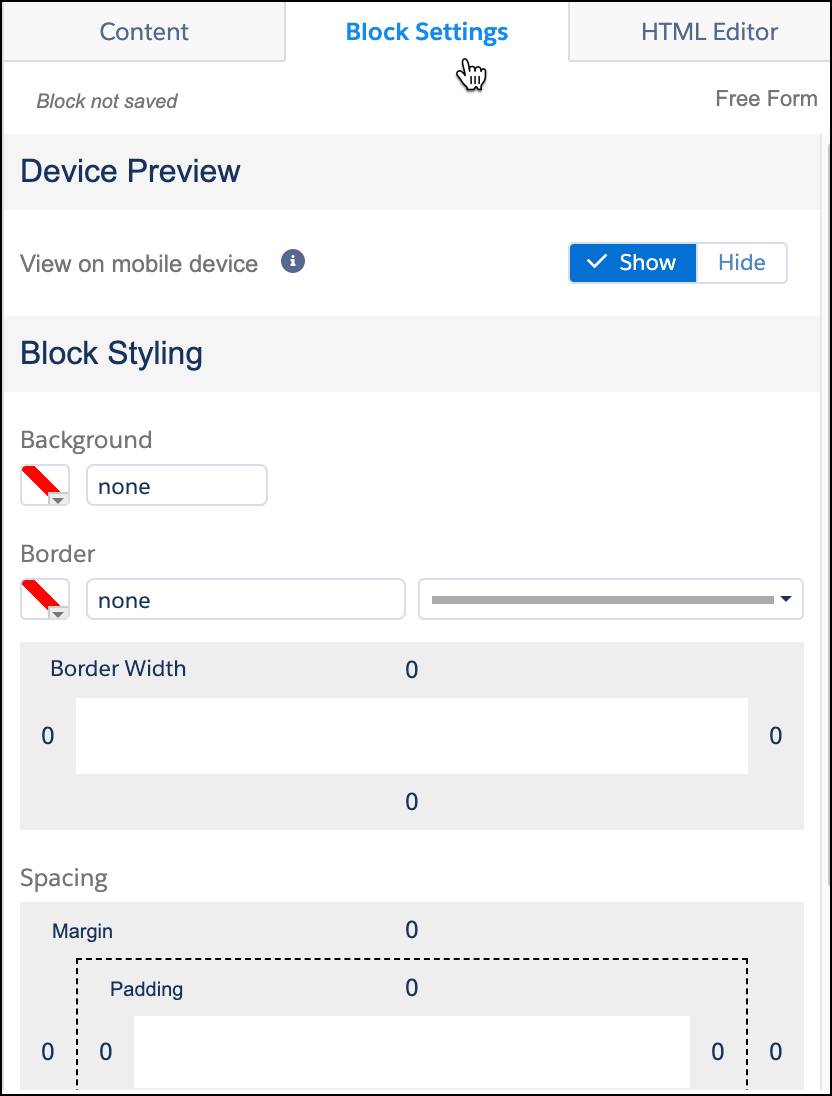
The Block Settings Tab
Use the Block Settings tab to format the actual content block. Style the block by selecting a background color, border, and padding size around the block. Use the Device Preview setting to determine whether the block displays when the message is viewed on a mobile device.
HTML Editor Tab
Do you have HTML code ready to paste in to build your content block? Or just want to tweak the HTML for a block that you started building in the WYSIWYG editor? Use the HTML Editor tab to create and modify HTML for your content block. You can even drag text or HTML files directly into the interface.
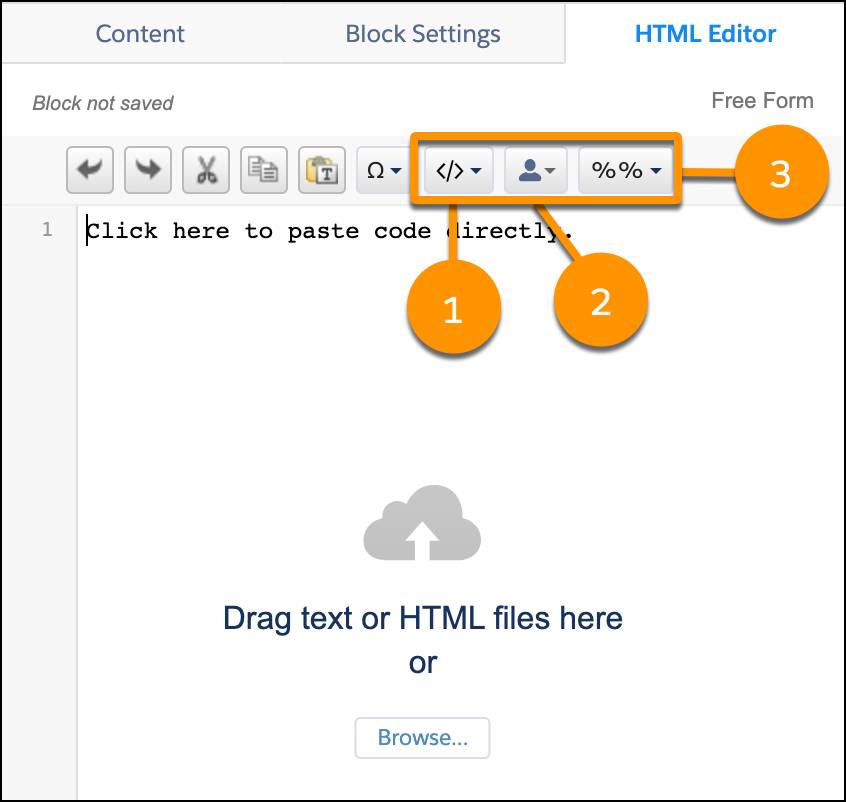
The HTML Editor tab includes a few unique tools for customizing your code: insert code snippet (1), personalization (2), and AMPscript formatting (3).
Insert Code Snippet
As we mentioned earlier, code snippets are reusable bits of HTML, AMPscript, and Guide Template Language. As you are editing your HTML, use this menu to quickly insert code snippets. Each code snippet includes a Customer Key field that you can manually enter or have generated automatically. When editing the HTML of a block or email, paste this unique ID field and press TAB to quickly insert the code snippet. Alternately, use the Code Snippet menu to browse for the code snippet.
Use the Code Snippet menu to search for a code snippet content block, select from recently saved snippets, or use a system snippet. System snippets are standard snippets included with Content Builder. For example, use View Email as a Web Page to give subscribers a link to view the email in their browser.
Personalization
Remember those profile attributes and system attributes? Use this menu to insert the code for attributes.
AMPscript Formatting
AMPscript is a scripting language that you can embed within HTML emails, text emails, landing pages, SMS messages, and push notifications from MobilePush. The system processes the script at the point where you include it in the message to render content on a subscriber-by-subscriber basis. The Marketing Cloud Engagement application handles all AMPscript calls when the email is sent. Use the AMPscript Formatting menu to apply specific formatting rules to personalization strings.
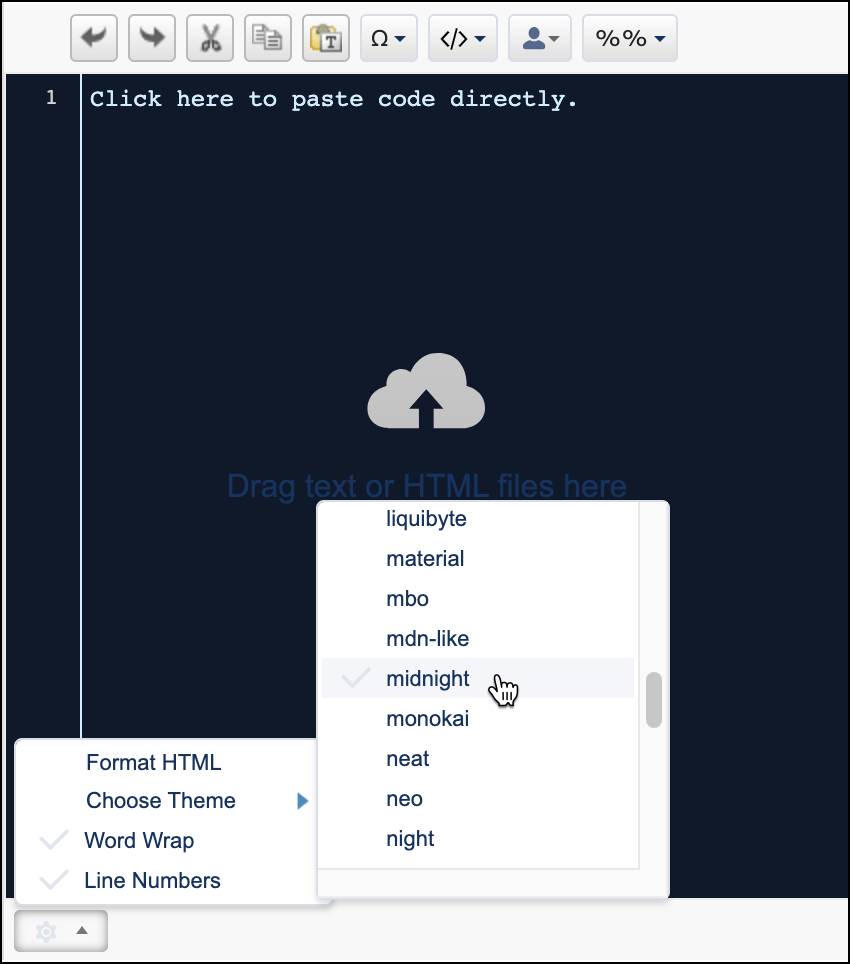
When you’re working in the HTML Editor, you can adjust the settings to customize your experience with the tool. For example, click  and click Choose Theme to change the background color and font colors used in the editor.
You learned how to create content and use the editor in Content Builder. In the next unit, we explore the benefits of dynamic content.
Resources