Set Up the Project
Learning Objectives
- Explain what your GitHub repository is for.
- Describe how to create a development project that uses CumulusCI.

In this module, we continue with the story from the CumulusCI Setup module of a collaborative community team developing an open source app with the potential to benefit thousands of food security organizations. The team set up their computers to use CumulusCI in CumulusCI Setup and are ready to start creating their food bank project for Salesforce.
Tasha is a Salesforce administrator at Compa Food Security Network. She’s already brainstormed ways to customize Salesforce to manage her food bank’s logistics, and is ready to contribute these to a new “Food Bank app.” Tasha’s college friend Maddie manages logistics at another food bank called Hunger Northeast, and she’ll be one of the many beneficiaries of the app. Isabel is a developer and consultant with Advocate Partners, is a friend of Tasha’s, and is lending her skills to this project.
Before Tasha and her team can get to work, they need a central workspace for the whole team to use as they build their customizations. This team will use a GitHub repository to store all of the customizations and set up this repository to use the CumulusCI tools.
Create a GitHub Repository
GitHub provides a shared space for everyone collaborating on the project. It provides a Version Control System (VCS) that helps keep track of changes to the project, and it’s where changes and customizations will be stored.
To create a GitHub repository:
- Open GitHub Desktop.
- Select File→New Repository from the menu.
- Enter the information for the repository below:
- Name:
Food-Bank
- Description:
Customization of Salesforce for food banks
- Local Path: Choose your GitHub folder, or if you prefer, create a new one to store your project.
- Git Ignore:
None
- License:
None
- Click Create Repository.
Now your repository is set up and you’re ready to begin configuring automation with CumulusCI.
Configure Project to Use with CumulusCI
Now that you’ve set up a GitHub repository to store your project’s history and customizations, you need to configure the project to use CumulusCI on your computer. CumulusCI provides customizable automation for everyone on the team to create development or test environments in scratch orgs and automate setup steps for the project.
Follow these steps to configure your new project to use CumulusCI:
- In GitHub Desktop, open your repository in VS Code by choosing Repository→Open in Visual Studio Code. (If you don’t see Open in Visual Studio Code, choose Open in External Editor, or close and reopen GitHub Desktop to update it).
- In VS Code, open a new Terminal by choosing Terminal→New Terminal.
- In the Terminal window, type the command:
cci project init
- Answer the series of prompts for information about your project:
- Project Name: press Return. This will accept the default of the project name you set earlier (Food-Bank).
- Confirm the Package Name is
Food-Bank.
- Managed package project:
n
- Salesforce API Version: press Return to accept the default
- Source format:
sfdx
- We’re not extending another project:
n
- Press Return to accept the defaults for all remaining questions.
When you complete these steps, VS Code Terminal should say: Your project is now initialized for use with CumulusCI
- In the VS Code Terminal, type the command:
cci service connect devhub --project
- When it prompts you to enter Username:, type
CCIDevHuband press Return.
This configures CumulusCI to use the special Dev Hub org that you created for this trail when you ask it to create scratch orgs for this project.
Commit Config to GitHub
You’ve set up CumulusCI to work for the project on your computer. Now, share this with your team by committing the configuration to the central GitHub repository.
Start by getting the configuration ready to head to GitHub by committing the configuration to the main branch of your project:
- Open GitHub Desktop and make sure that your Food-Bank repository is selected under Current Repository.
- You should see a list of changed files on the left-hand side of your screen. All of the files should be selected.
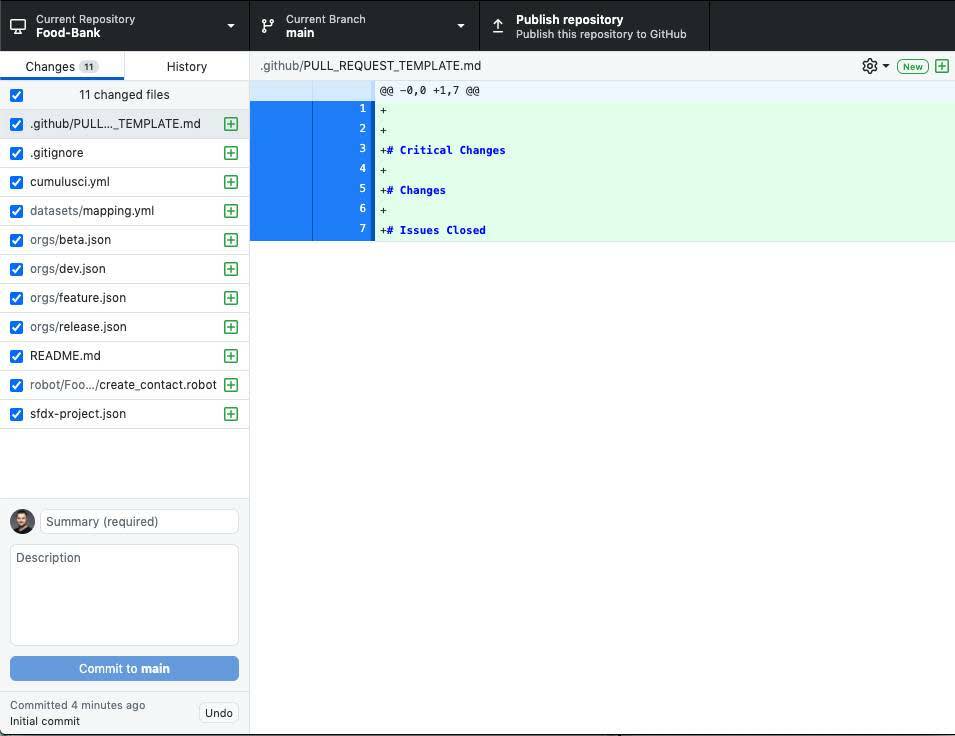
- In the bottom left Summary field, enter a brief summary of your changes, such as
Set up project.
- Click Commit to main.
Next, publish the work to GitHub and allow team members to collaborate with you:
- On the right-hand side of your screen, locate the section Publish this repository to GitHub and click Publish repository. Because this is a test project, you may want to select Keep this code private, which means that other GitHub users won’t see your work. Tasha will keep her repository open (not private) because she’s collaborating with other food banks on an open source project.
- Click Publish Repository.
- Once the process completes, click View on GitHub in the right-hand pane to open your GitHub repository in a web browser, so you can work with it there in the next section.
Now Tasha, Maddie, and Isabel have a shared space where they can gather their thoughts, their work, and their passion as they bring this project to life.
Resources
-
Website: GitHub Help, Contributing to a project
-
Trailhead: Git and GitHub Basics
-
Get Help: CumulusCI group on the Trailblazer Community