Set Up Command-Line Tools
Learning Objectives
After completing this unit, you'll be able to:
- Identify the command-line tool that helps install packages using the command-line interface.
- Identify the software tool that is the successor to the Force.com IDE plug-in for Salesforce development.
Developer Command-Line Tools
Command-line tools, like npm and Salesforce CLI, give developers a boost in their projects by easily integrating with other developer tools. Most software programs have a CLI or plug-ins you can install for your project. Deciding which programs and tools to install is entirely up to you and your project needs.
In this unit, you install Visual Studio Code (VS Code) and set up the command-line tools Node.js, npm, and Salesforce CLI.
Install Visual Studio Code
Visual Studio Code is the code editor of choice for Salesforce because it's highly customizable and cross-platform. In VS Code, you can set up and install Salesforce Extensions. Salesforce Extensions for Visual Studio Code is the successor to the Force.com IDE plug-in for Salesforce development on the desktop.
Let's install Visual Studio Code (VS Code) and set up the extension.
- Install Visual Studio Code from https://code.visualstudio.com/Download.
- Open the Visual Studio Code application.
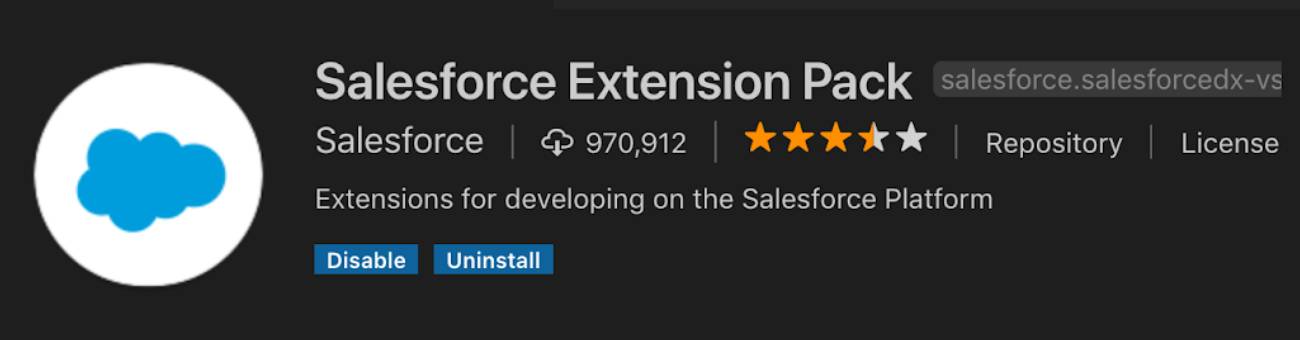
Install Visual Studio Salesforce Extensions
The Salesforce extensions provide features such as code completion, syntax highlighting, Apex debugging, and more for the Salesforce Lightning Platform.
- In VS Code, click the View menu, and then choose Extensions.
- In the search box, enter
salesforce extension pack.
- Click Install (or Update, if you already have an earlier version of the extension pack installed and it needs to be updated).
- When the extension pack is installed, relaunch Visual Studio Code.
Find Your Shell
Now that you have VS Code set up, let's open a new terminal window and identify what shell you have on your machine.
- In VS Code, click Terminal > New Terminal.
- Above the terminal window, locate the shell dropdown. Select the dropdown or read the current selection to see the default shell on your machine.
For macOS/Linux, you see bash or you see zsh.


For Windows, you see PowerShell.

You can later install other shells and modify your setup as you like. For now, let's use these default shells.
Set Up Node.js and npm
There are common developer tools that can make working in the CLI easier. For example, if you're developing Lightning Web Components, or working in a JavaScript runtime environment such as Node.js, you'll likely use the npm tool to install and update packages. The npm tool through the command-line interface helps install packages quickly, and keeps these packages updated through simple commands.

- Install Node.js (be sure to select the LTS - Long Term Support version).
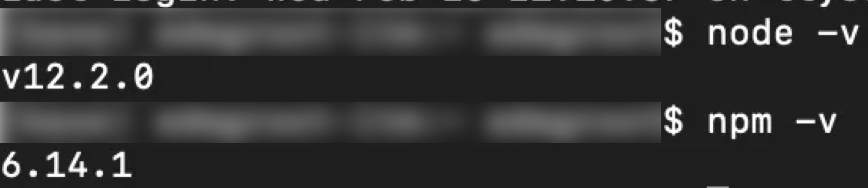
- Test the Node.js installation completed by checking the version you have installed:
node -v - To see if you have npm installed, run the following command:
npm -v
- If you need to update your npm version (which will also update your node version), you run the following command:
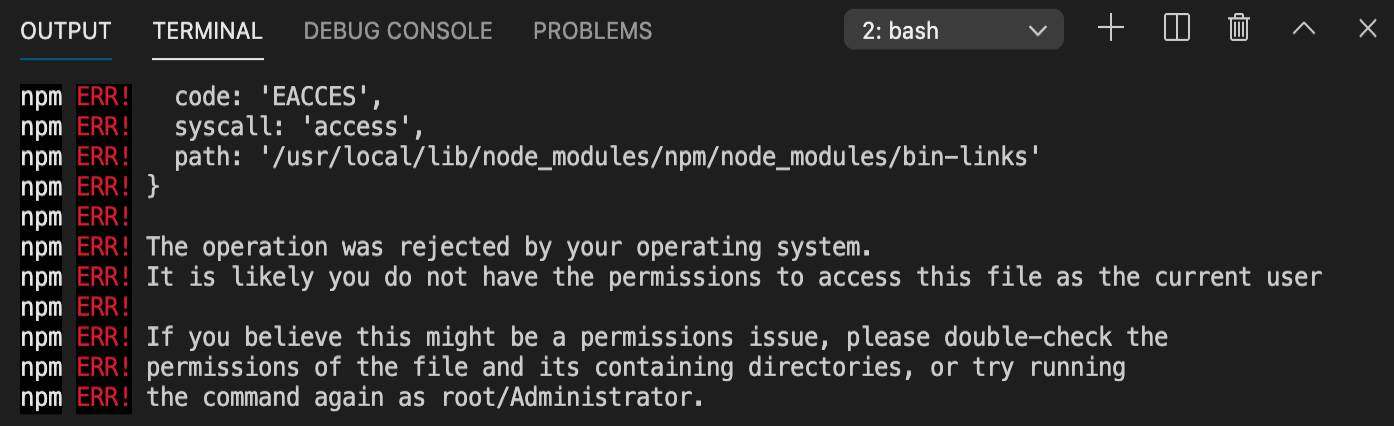
npm install npm@latest -g
If you've received an npm access error message after running the npm install npm@latest -g command, then check out the official npm docs on resolving permission errors.
For installation guides and tips, check out the Node.js Installing Node.js via package manager page.
Install and Update Salesforce CLI
Next, it's time to install (or update) the Salesforce CLI. You use Salesforce CLI commands to create scratch orgs for developing and testing customizations, and synchronize source code between orgs and source repositories. Let's install and update the Salesforce CLI.
- Install Salesforce CLI from https://developer.salesforce.com/tools/sfdxcli.
- In VS Code, click Terminal > New Terminal.
- Verify that the sfdx-cli version is up to date by running the following command.
sf update
You now have a powerful setup that enables you to do some pretty cool development projects on the platform. Once you have the Salesforce CLI installed, you're set up to start learning Salesforce DX. To get started, check out the project, Quick Start: Salesforce DX.
Resources
- Salesforce Developers: Select and Enable a Dev Hub Org
- Salesforce Help: Salesforce CLI Command Reference (force Namespace)