Manage Content
Learning Objectives
After completing this unit, you’ll be able to:
- Explain how private content libraries differ from shared content libraries.
- Describe the choice you have for a content delivery network.
- List the file types you can use as content within B2C Commerce libraries.
- Explain how storefront search works with content assets.
- List the ways you can build a content asset library.
Define Content Assets
Merchants use content assets to showcase promotions and special sales that drive product interest. They also use them to provide non-product info such as customer support pages, policy statements, and size charts. B2C Commerce supports a wide variety of content assets, including HTML text, graphics, and video.

B2C Commerce physically stores content assets in two places: the B2C Commerce database and the storefront file system. Content such as HTML or text blocks stay in the database. Files such as images, audio, and video act just like HTML or text content in the database, but B2C Commerce stores them in the file system. You reference external files within content asset HTML, but the actual file exists in the file system. B2C Commerce lacks a streaming video server. However, it does support video download and play capabilities.
Speaking of external files, you can use a content delivery network (CDN) for fast retrieval of static and dynamic content.
Select Private and Shared Libraries
B2C Commerce stores content in the database in a library/folder structure, with two main types of libraries: private and shared. That means you choose between a private library that was created when a site was created or a library that’s shared across multiple sites in an organization. A site can use its private library or a shared library, but not both. A site can't use another site's private library.
Another type of library is the site library. This is a configuration setting that directs B2C Commerce to a private or a shared library. A site always has a library assigned to it. If there’s only one library assigned to a site, you can't unassign it from that site. You can, however, move private library content into a shared library.
You can have a maximum of 200 shared libraries per instance. This limit doesn't apply to private content libraries.
Secure Permissions
To view, create, and delete content and shared content libraries, you request the Business Manager Module permissions for Content Libraries and the Manage_All_Libraries Functional permission. You can create and delete shared libraries or change their site assignment—but only on the staging and sandbox instances. You can’t manage shared libraries on a development or production instance. After you make changes to libraries on a staging instance, your admin replicates the changes to a development or production instance.
Manage Shared Libraries
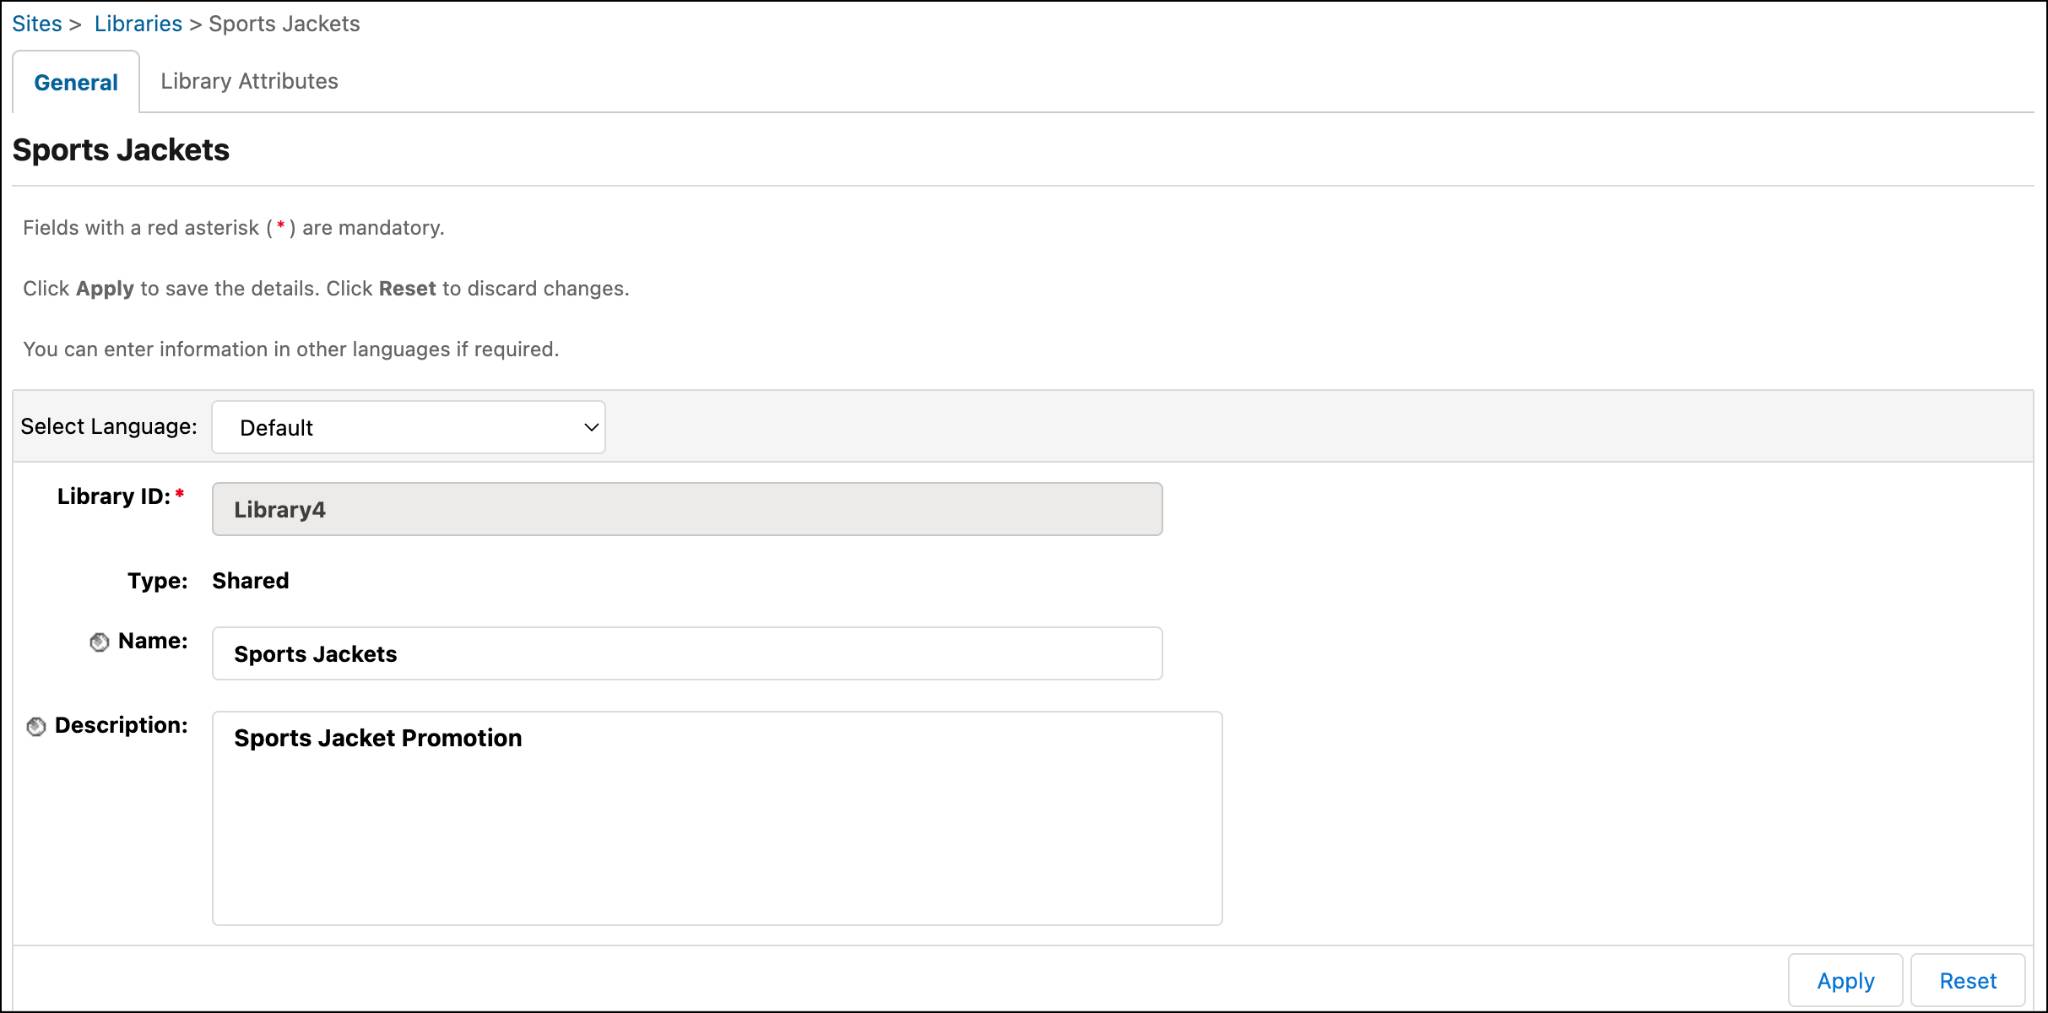
Libraries, library folders, and content assets are organized in a hierarchy. You want to create a new shared library, Library4, and use it to manage a new promotion’s content assets until you’re ready to assign it to a site.
Here’s how you do it.
- In Business Manager, click App Launcher, and select Administration | Sites | Content Libraries.
- Click New.
- Configure the shared library.
- Select the language: Default
- Enter the (non-modifiable) library ID:
Library4Don’t use the same ID for a shared library and a site. This can cause unexpected errors.
- Enter the library name:
Library4 - Sports Team Jackets - Enter the description:
Sports Team Jacket Promotion - Click Apply.
- In the Site Assignments section, click Add.
This button only appears if it's possible to assign the library to one or more other sites.
- Select the sites you want to assign to the library and click OK.
Modify Site Assignment
You now have four content libraries and three sites, as shown in this table. Site1 and Site2 use private libraries, while Site3 uses the shared Library3. You want Site2 to use the shared Library3.
|
Library
|
Type
|
Site Assignment
|
|---|---|---|
Library1 |
Private |
Site1 |
Library2 |
Private |
Site2 |
Library3 |
Shared |
Site3 |
Library4 |
Shared |
To change the site assignment:
- Open Library3.
- Click Add in the Site Assignment section.
This button only appears if it’s possible to assign the library to one or more other sites.
- Select Site2 and click OK.
Here are the results.
|
Library
|
Type
|
Site Assignment
|
|---|---|---|
Library1 |
Private |
Site1 |
Library2 |
Private |
|
Library3 |
Shared |
Site2 Site3 |
Library4 |
Shared |
Before reassigning libraries, consider your objectives so you don’t inadvertently remove content. In this example, you ask your admin to move the content assets from the private Library2 to the shared Library3. They follow the instructions in Copy Content into a Shared Library.
Create a Folder
Now, you focus on your new promotion. You want to create a folder structure that’s easy to maintain, including folder names like Promo Rules, Banners, and Graphics. All folders can contain content assets.
Here’s how you create a folder within a library.
- In Business Manager, click App Launcher, and select Administration | Sites | Content Libraries.
- Click a library link:
Library4 - In the Library Folder section, click New.
- Enter the name:
Promo Rules - Enter the ID:
promo-rules - Select Online.
- Enter other details such as SEO, sitemap, and presentation settings.
- Click Apply.
- Click the Content Attribute Groups tab, define content attributes for all assets bound to a library folder, for example, define the logo attribute, since these are team jackets.
- Click the Search Refinements tab and specify search refinements.
- Click the Page Meta Tag Rules tab, where you can create and manage page meta tags.
- Click Back to List to return to the Library Folders page.
- To create subfolders:
- Click the ID link: promo-rules
- Click New in the Library Folders section.
- Specify the new folder definition.
- Click Apply.
Configure Site-Specific Content
You use the sitemap settings to keep some of his content assets site-specific while using shared library content across your organization. For example, you want certain brand-related data, such as sizing, only to appear on sites related to that brand. You do this by setting a content asset to Offline, Not Searchable, and Not included in the sitemap for the default site. Then you set the asset to Online, Searchable, and Included in the sitemap, for specific sites.
Manage Content Assets
You can create content assets that include text, images, and links via URLs, but you don’t have to create all your content within Business Manager. You can import image and zip files into your library by selecting Merchant Tools | Sites | Content | Import & Export. You can import folder structures and content through the same import module in XML file format. Start by creating a content asset.
Create a Content Asset
Like with product records, you lock a content asset for editing. The lock remains for 60 minutes. Here’s how to create a content asset.
- In Business Manager, click App Launcher, and select Merchant Tools | Site | Content | Content Assets.
- Click New.
- Select the language.
- Enter the ID:
team-jacket-countdown - Enter the name:
Team Jacket Countdown - Select online and searchable: Yes
- Enter the rendering template. This template determines where the content displays on the page.
- Enter the custom CSS file that loads for the content. This file determines how the content displays on the page.
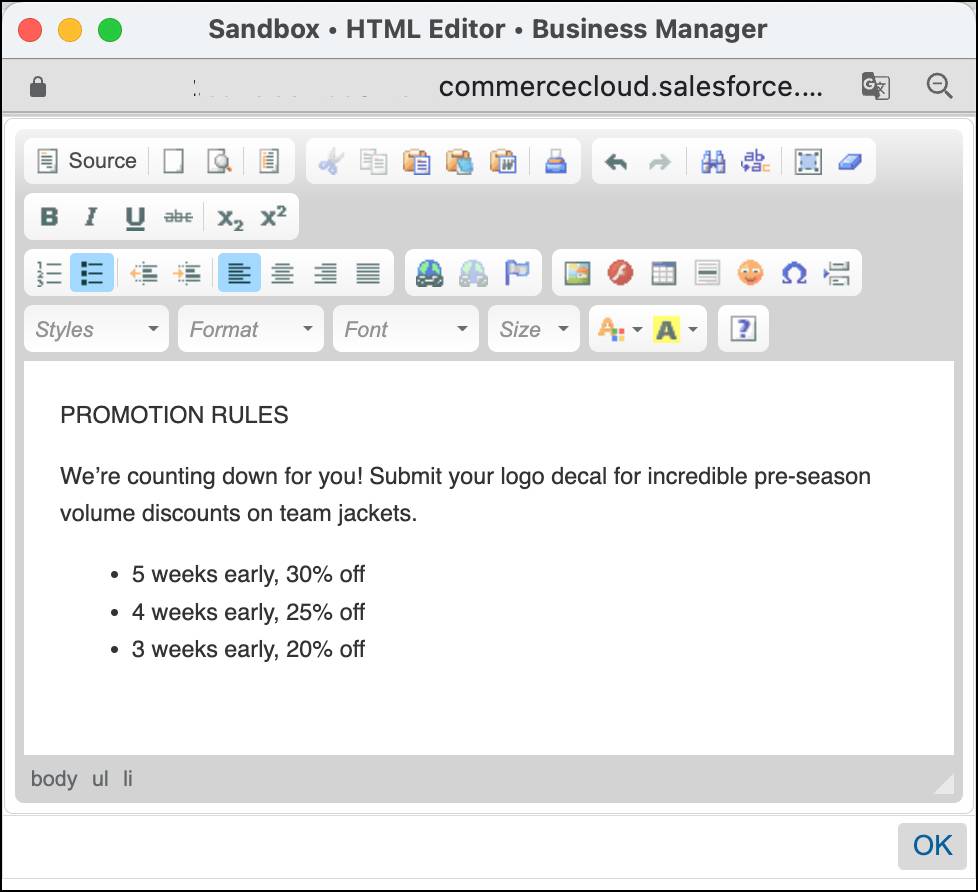
- In the content body, enter this:
PROMOTION RULES
We’re counting down for you! Submit your logo decal for incredible pre-season volume discounts on team jackets.
5 weeks early, 30% off
4 weeks early, 25% off
3 weeks early, 20% off
- Click Apply.
- Click the HTML Editor link and edit text further.
- Assign it to a folder.
- Click the Folders tab.
- Click New.
- Select the promotion-rule-team-jackets folder.
- Click Assign.
- To preview the content asset in the storefront, click the preview icon
Within the HTML editor, you embed links and graphics (emojis, too!) within text. You can customize the graphics via alt text, sizing, and page alignment.
Copy Content
You don’t have to create everything from scratch. Here’s how you copy content.
- Return to the library folder: Promo Rules
- Select one or more content assets that you want to copy.
- Click Copy.
- If you select one content asset, a field appears where you can enter the new content asset ID.
- Enter the ID and click OK.
- If you don't enter an ID, the ID is appended with -1, for example,
about-usbecomesabout-us-1.
- If you select multiple content assets, they are automatically copied and each given an ID appended with -1.
- Click Apply.
Optimize Content for Storefront Search
B2C Commerce search handles content—in addition to products. B2C Commerce indexes content data in the site library, whether it's a private or a shared library. If a site uses a shared library, the data in the private library doesn’t appear in a search index. However, B2C Commerce considers site-specific attribute values for content assets when indexing them.
Use a Content Delivery Network (CDN)
Agentforce Commerce for B2C comes with an embedded CDN that serves content from a location close to the shopper using proxy servers. Contact Salesforce Support if you want to enable the service.
Contact Commerce Cloud Support if you want to activate the embedded CDN for your organization. The eCDN stores static storefront content, persisting files in cache until the Cache-Control header TTL expires, or defaults to 30 days if you set no headers.
You can also use your own CDN with the B2C Commerce embedded CDN to deliver static and dynamic content to your shoppers. Deploy your CDN (or a reserve proxy) in front of B2C Commerce to improve performance and security, or to provide extra functionality using your CDN.
Wrap It Up
In this unit, you learned how private content libraries differ from shared content libraries, and how you can create, import, and manage content assets in B2C Commerce. Next, take the final quiz and earn an amazing badge!
Resources
- Salesforce Help: Content Assets
- Salesforce Help: Roles and Permissions
- Salesforce Help: Site-Specific Product Attributes
- Salesforce Help: Creating Custom Object Types
- Trailhead: Salesforce B2C Commerce Storefront Search
- Trailhead: Salesforce B2C Commerce SEO Meta Tags
- Salesforce Help: Embedded CDN
- Salesforce Help: Configure an External CDN or Third-Party Proxy