Upload and Configure Cartridges
Learning Objectives
After completing this unit, you’ll be able to:
- Explain which tools you can use to upload Storefront Reference Architecture (SFRA).
- Explain the benefit of disabling page caching.
- List three ways to view cartridges on the server.
- Explain why rule-based storefront URLs should be disabled.
Introduction
Vijay starts by uploading standard reference architecture cartridges to the server. For the SFRA-based application, he manually uploads cartridges with the SFRA upload tool.
Now he wants to upload the cartridges he modified so he can finish customizing his storefront. He needs to register his cartridges so the server recognizes the order in which they are stacked. He also wants to disable page caching and site URLs so he can troubleshoot his code.

Upload SFRA Cartridges
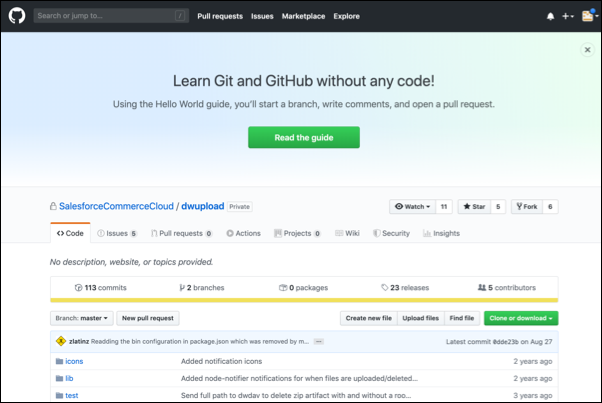
Vijay uses dwupload, a command-line upload tool available in GitHub to upload his code. If you can't access this tool, you can just read along.
dwupload is installed as an npm library. Npm is the default package manager for Node.js, the JavaScript runtime environment. It has a command line client, also called npm, and an online database of public and paid-for private packages, called the npm registry.
The upload tool uses a dw.json file that contains all the information Vijay needs to establish a server connection. It also contains the code version where he uploads his cartridges. In the SFRA repo, you create the dw.json file at the root of your project.
Here’s an example of the host connection details stored in the dw.json file.
{
    "hostname": "sandbox-01-inside-the-realm.cloudkicks.net",
    "username": "vlahiri",
    "password": "yourpwd",
    "code-version": "version1"
}
Here’s how to configure a dw.json file and run the upload tool from the top-level directory of each repository.
- Open a command line.
- Navigate to the cartridge you want to upload.
- Locate or create a dw.json file. It needs to be in the top-level folder of the repository, as a sibling of the cartridges directory.
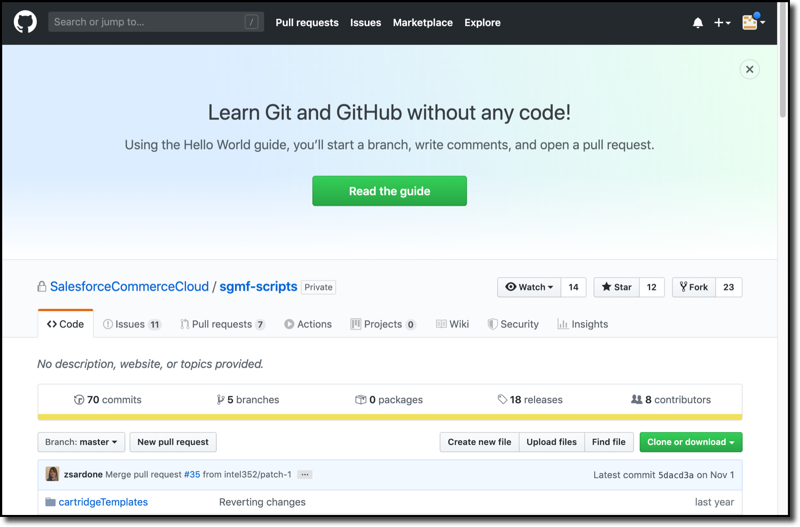
Use sgmf-scripts
Vijay can use the sgmf-scripts createCartridge build tool command to automatically create a dw.json file. The sgmf-scripts repository contains a collection he can use to create SFRA overlay cartridges. He can execute on all of the scripts using the command line interface (CLI).
Add Cartridges to the Cartridge Path
Vijay has successfully uploaded his cartridges to the server, but that’s not all he needs to do. He also has to tell B2C Commerce how to stack his cartridges so they load and run in the right order. Remember, the order is important. That means he needs to register his cartridges in Business Manager.
He also needs to load the Cloud Kicks storefront data, which consists of images, product data, and pricing. Finally, he needs to run his storefront from Business Manager to test it. You can take a look at the Tools & Resources for Salesforce B2C Commerce Cloud Developers Trailhead module to learn how he makes this happen.
The next step is to disable page caching.
Disable Page Caching
Automatic page caching means that some of the page data stays on the page and doesn’t reload from the server. Shoppers see what they are searching for immediately. The B2C Commerce web server automatically caches HTML pages that are generated from ISML templates configured for caching. The product details page structure, for example, is cached because it’s the same for every product. The data on that page, however, isn’t cached because it changes with each product. You configure page caching per site.
The time to live (TTL) for page data is the same as the TTL for static content on the site. That means if there’s a TTL, Vijay has to wait to see his changes. That’s great for live production sites, but Vjay wants to see the effect of his changes immediately. So, he disables page caching for sites under development.
Here are the steps to take to disable page caching.
- In Business Manager, click App Launcher, and select Administration | Sites | Manage Sites. (If you are developing a Business Manager extension instead of a new site, select Administration | Sites | Manage Sites | Business Manager.
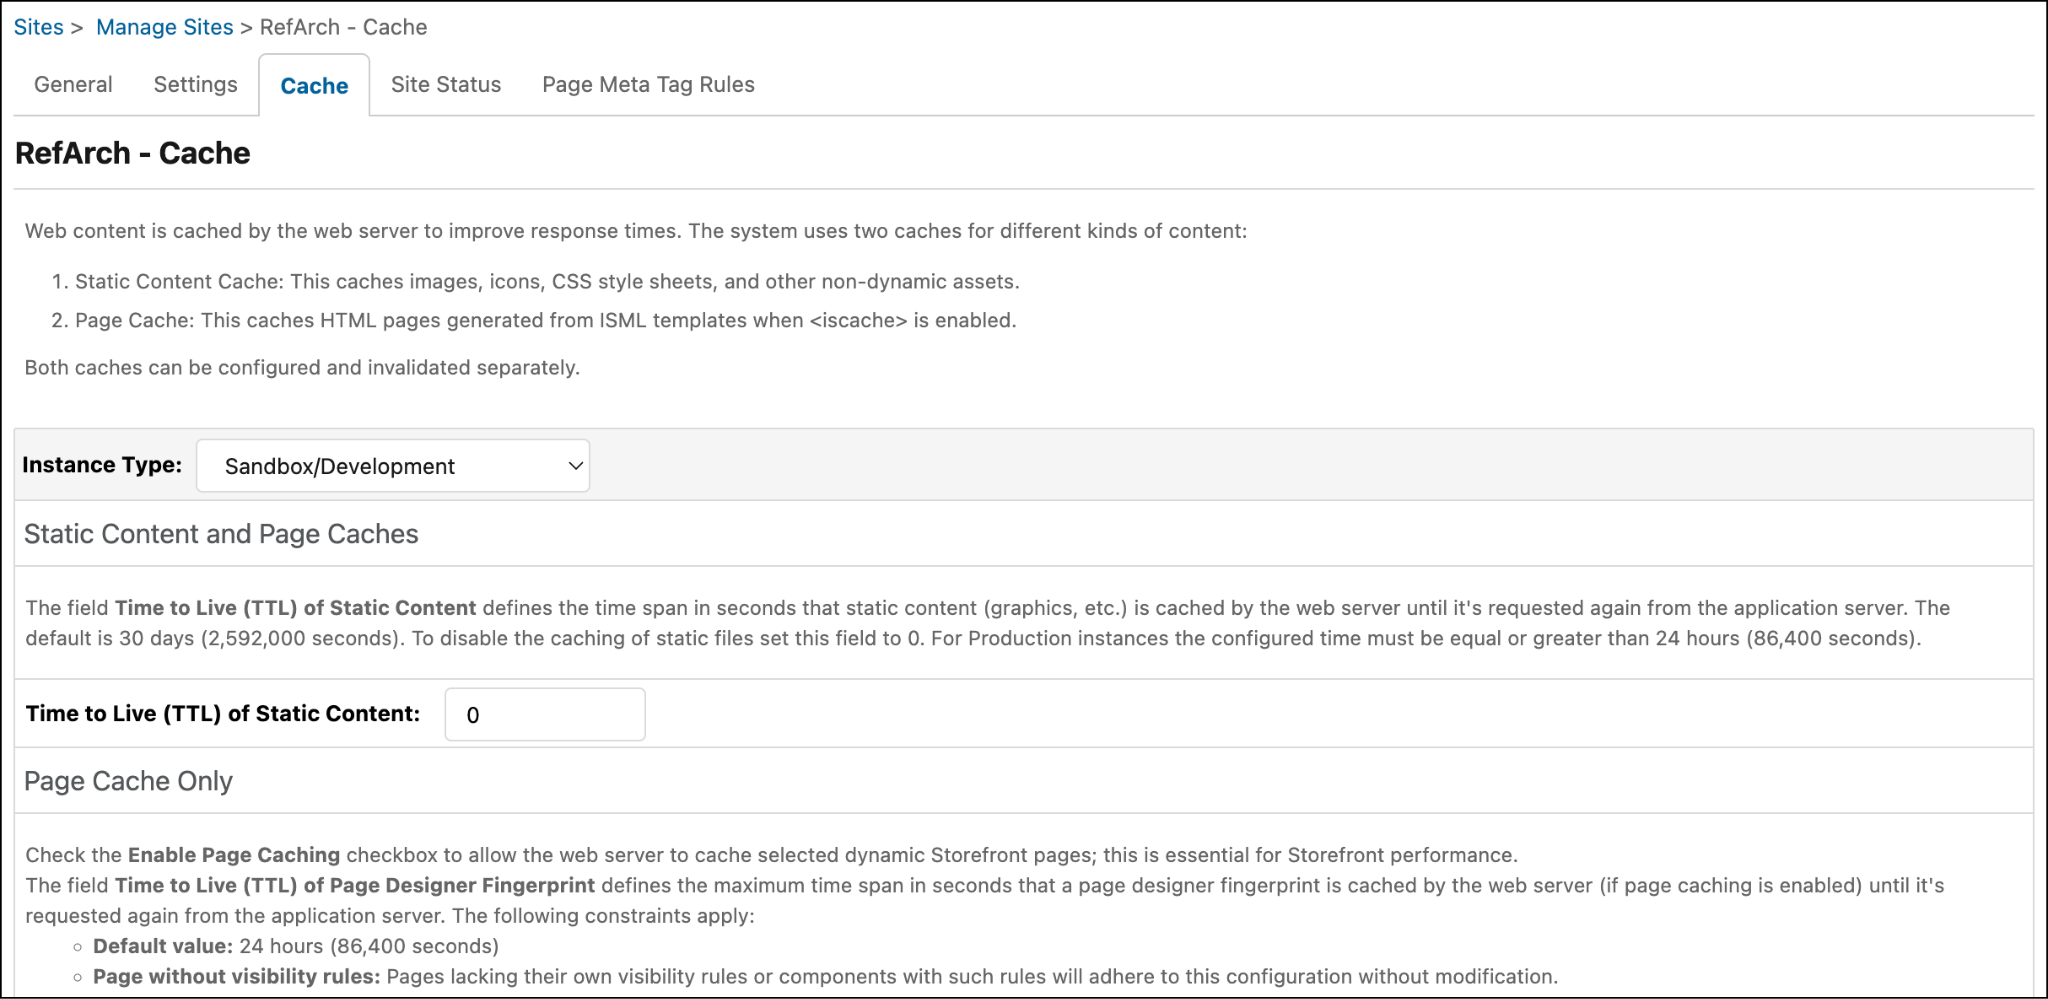
- Select a site.
- Click the Cache tab.
- Select Sandbox/Development on the General tab.
- Specify time to live (TTL) of static content: 0
- Deselect Enable page caching.
- Click Apply.
Disable Site URLs
Now Vijay wants to disable site URLs so that he can test a new controller. He wants to be able to enter a URL like this directly into the browser.
https://localhost/on/cloudkicks.store/Sites-app-Site/default/New-Controller
However, this conflicts with automatically generated (rule-based) storefront URLs that are intended to boost search engine optimization (SEO), and drive shoppers to the storefront. In this situation, he’s not considering SEO. He just wants to test his controller.
Here’s how to disable rule-based storefront URLs.
- In Business Manager, click App Launcher, and select Merchant Tools | Site | Site Preferences | Storefront URL.
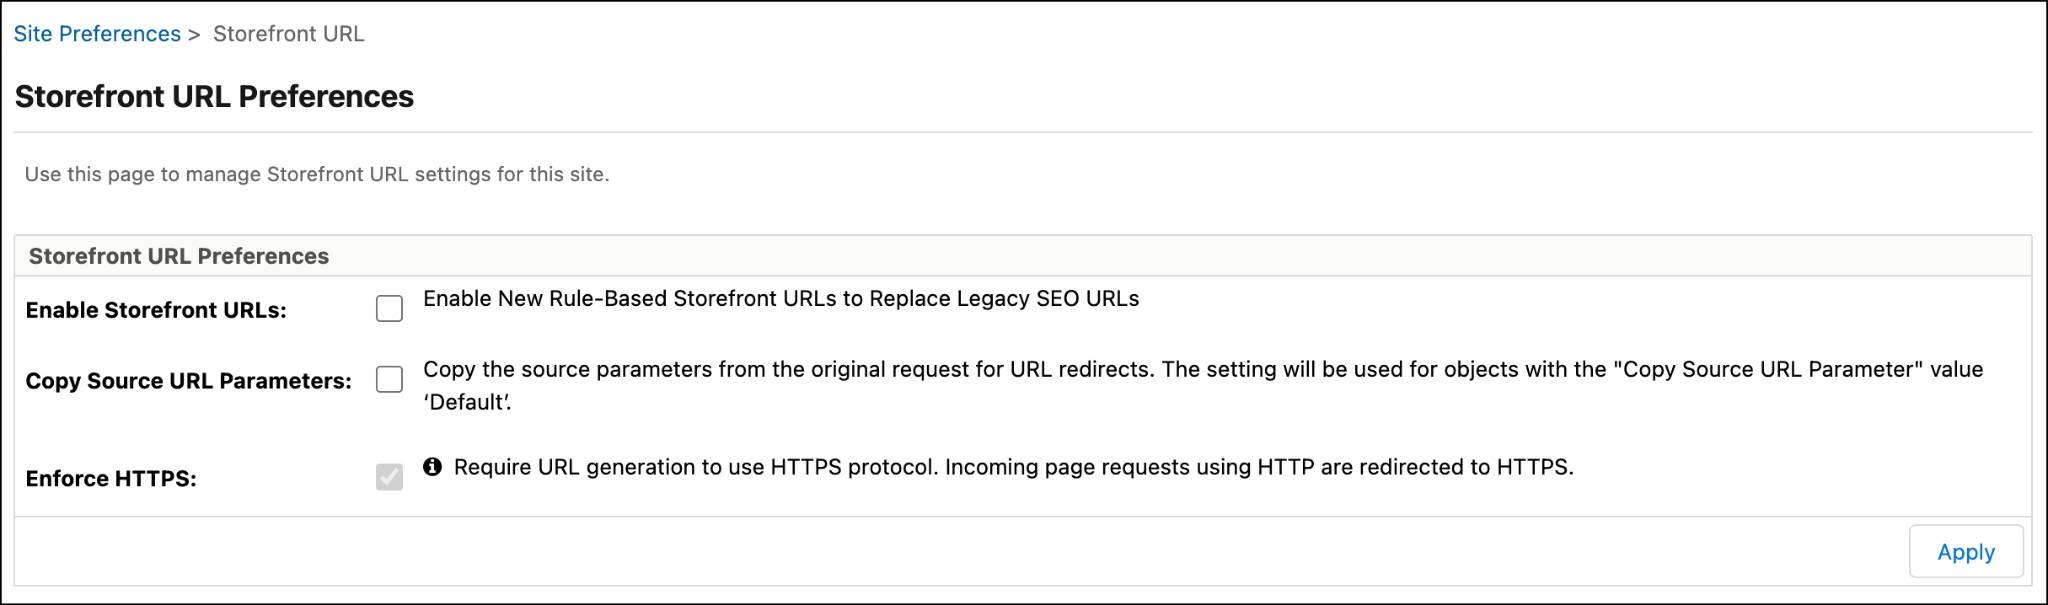
- Disable the Enable Storefront URLs option.
View Cartridges on the Server
Vijay needs to troubleshoot and verify that the correct code was uploaded. He can access cartridges on the server in multiple ways: Business Manager, a URL on the browser, or WebDAV.
Here are the steps to take in Business Manager to access cartridges on the server.
- In Business Manager, click App Launcher, and select Administration | Sites | Manage Sites.
- Select the site you want to view: cloudkicks
- Click the Settings tab.
- Drill down into your cartridge path.
Sometimes Vijay accesses his cartridges via WebDAV. He simply logs into WebDav with his Business Manager username and password. He makes sure, however, that the cartridge directory name contains no more than 50 characters. This is a WebDav restriction. He’s also aware that WebDAV can have problems with disabled server connections and the server’s inability to access a cartridge.
When accessing cartridges via WebDav, this is the URL where the currently selected code version is typically stored.
https://<hostname>/on/demandware.servlet/webdav/<organization>/Cartridges/.version
Next Steps
In this unit, you learned how to upload cartridges to the server and how to create new cartridges for each reference architecture. You also learned how to disable page caching and site URLs, and how to view cartridges on the server for troubleshooting. Next, you learn how to customize cartridges.
Resources
- Trailhead: Tools & Resources for the Salesforce B2C Commerce Cloud Developer
- External link: dwupload
- External link: sgmf scripts