Review B2B Commerce Store Setup
Learning Objectives
After completing this unit, you’ll be able to:
- Describe the benefits of the Commerce Setup Assistant and automated store configuration features.
- Explain what you can do with insights from the Commerce dashboards.
- Describe the Commerce search engine optimization (SEO) tools and how they benefit your SEO strategy.
Tools and Features
B2B Commerce offers a powerful suite of tools and features to help you optimize your B2B business operations and simplify your store setup.
Launching and running an e-commerce store is a lot of work. It can take long hours just to get the basics up and running.
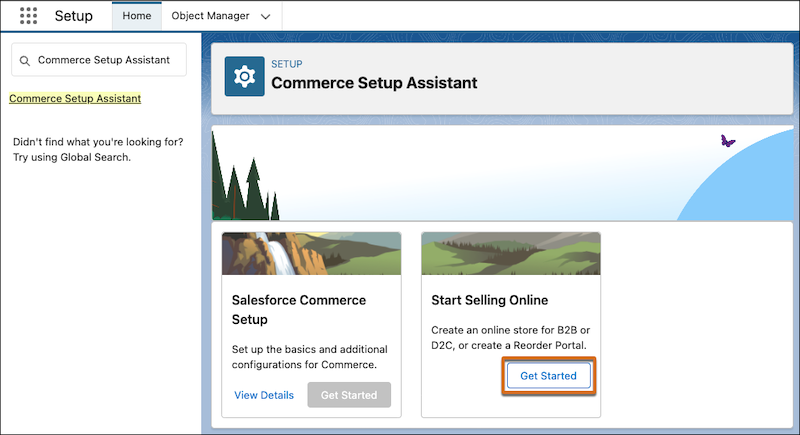
Commerce Setup Assistant
The Commerce Setup Assistant eliminates all those tedious setup tasks that keep you up at night. The quick setup features help you get your basic store up and ready for content in about 30 minutes! Let’s explore the revolutionary quick setup features.
Feature |
Description |
|---|---|
Quick Store Setup |
Experience fast setup and activation with the Commerce app. The easy-to-follow guided setup tasks are tailored to your specific selling channel, which makes the initial setup process effortless. You can preview your store before activating it to ensure everything is just right. |
Commerce Assistant |
Get a one-click automated setup of Payments, Order Management, Reports and Dashboards, and Omnichannel Inventory. |
Smart Defaults |
Rely on smart defaults to set up guest access and self-registration user settings. |
Store Preview |
Activate your commerce store to preview it, or share it with colleagues before setting up your custom domain. When you’re ready to go live, configure the CDN and custom domain to provide optimal performance, scalability, and security. |
With just a few clicks you can go from no store to previewing your store! But that’s not all. Mixed in with these features are other helpful tools like asynchronous data import, preconfigured permissions, and analytics dashboards, that make adding content, setting up buyers, and tracking your selling success a breeze.
Import Data Asynchronously
Of course, your store needs data–product data, buyer data, price book data, entitlement data, and other operational support data. B2B Commerce allows you to initiate a data import from inside the app. Data imports initiated from the app are asynchronous–you can set up an import session and move on to complete other jobs without impacting system performance.
Using the import option, you can import products, product variations, product images, price book data, and entitlement data directly into your store. You can also import data for a particular store or globally so that any store can access it. To help you get started, the app has a link to an import CSV file template that you can download and customize to your needs.
Manage Profiles and Permissions
Like other Salesforce apps, B2B Commerce uses permissions and profiles to control access to the app and define who can do what inside the app. A typical B2B Commerce implementation involves several task-based user personas, including commerce administrator, merchandiser, and developer.
B2B Commerce comes with preconfigured permissions and profiles. They’re a handy way to quickly give users access and complete your initial setup. Of course, when you're ready, you can customize permissions and profiles to fit your business needs.
Preconfigured Feature |
Description |
|---|---|
Easy User Profile Management |
Assign preconfigured profiles and permission sets for each store user persona. To do this, assign a user to a profile and assign the appropriate permission. |
Buyer Profile Management |
Assign the provided preconfigured permission sets for buyers and buyer managers. The preconfigured buyer permission set allows access to the store. Buyer users can see products and categories of products, and add products to wishlists. A preconfigured buyer manager permission set includes all buyer capabilities and also allows access to manage carts and orders related to the buyer manager’s account. Buyer manager users can manage contacts and reports. |
Success by Numbers with Commerce Dashboards
B2B Commerce offers payment, promotion, and finance metrics through the Commerce Dashboards. Like the basic B2B store, the dashboards are easy to set up. It’s a single click, and it’s part of the quick store setup process.
Your commerce teams can use the dashboards to make informed decisions about how to optimize their online storefronts, increase sales, and enhance customer satisfaction. With real-time data at their fingertips, users can identify trends, spot opportunities, and address any potential issues promptly.
Here’s a quick look at what the dashboards offer.
Dashboard |
Description |
|---|---|
Commerce Payments Dashboard |
Get insight into the health and performance of your store’s payment transactions with a comprehensive view of your online payments. Analyze this information to make data-driven decisions that streamline your transaction processes. |
Commerce Promotions Dashboard |
Get a comprehensive analysis of your promotions, coupon offerings, and discount campaigns. Use the information to create data-driven strategies and optimize your promotions, ultimately improving customer acquisition, engagement, and retention. |
Commerce Finance Dashboard |
Get a comprehensive view of your store’s financial health with the Commerce Finance Dashboard. Monitor your sales, taxes, and shipping charges within a selected date range all in a single dashboard. |
Search Engine Optimization
As an ecommerce professional you know the critical role that effective search engine optimization (SEO) plays in the success of your B2B Store. The better visibility your pages have in search results, the more likely you are to garner attention and attract prospective and existing customers to your B2B site. SEO focuses on increasing nonpaid search engine traffic for your site. When SEO is successful, it’s like having access to free internet ads. The Salesforce Commerce SEO tools help you deploy an effective SEO strategy that uses both creative and technical elements to increase nonpaid search engine traffic.
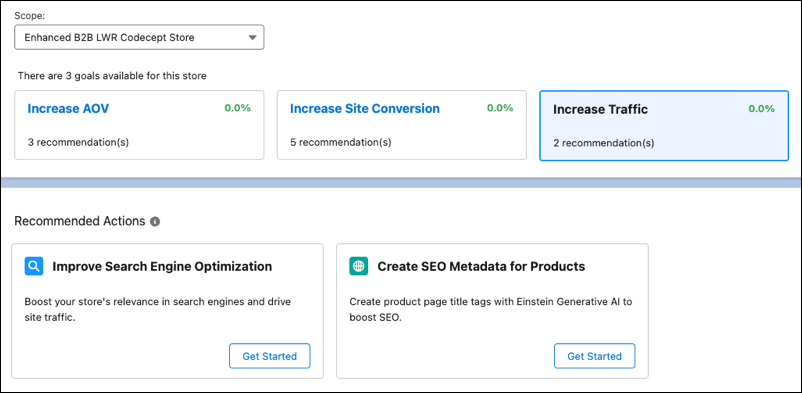
The Commerce app SEO services are designed to enhance the visibility and searchability of your B2B store, ensuring that it’s easily discoverable by search engines and potential customers.
Take a look at the following SEO services.
SEO Service |
Settings and Configurations |
|---|---|
Meta Tag Configuration |
Add meta tags to the store pages for improved search engine ranking. Customize titles, descriptions, and headings for enhanced SEO performance. |
Canonical URL Management |
Select and set canonical URLs to unify multiple URLs for a single page or similar content across different pages. Create custom fields for dynamic data record pages to store canonical URLs. |
Sitemap Generation and Management |
Use the automatic weekly refresh of sitemaps for efficient search engine indexing. Refresh sitemaps manually every 24 hours. |
Content Snapshots |
Generate SEO-optimized HTML snapshots for web crawlers and content-sharing platforms. These snapshots include:
|
Next Steps
In this unit, you learned how with the Commerce app you can quickly, with guided tasks tailored to specific selling channels, set up and activate a functional B2B store. You also learned about asynchronous data import, commerce dashboards, and SEO features that support your B2B business. Next, learn about the tools and features that help you engage buyers and close sales.
Resources
- Salesforce Help: Prepare Your Org for Commerce
- Salesforce Help: Start Selling Online
- Salesforce Help: Import and Export Commerce Data
- Salesforce Help: Access to Commerce Stores
- Salesforce Help: Commerce Analytics
- Salesforce Help: Search Engine Optimization (SEO) for Commerce
- Salesforce Help: Goals and Actions