Set Up Action Plans for Lightning Experience
Learning Objectives
After completing this module, you’ll be able to:
- Add the Action Plan Templates and Action Plans tabs to apps in your org.
- Add the Action Plans List Lightning component to client record pages.
Add Action Plan Templates and Action Plans to the Navigation Bar
Matt’s next task is adding tabs for Action Plan Templates and Action Plans to the navigation bar of the Wealth Management app. This makes it easy for wealth manager Ryan, and client associate Srilakshmi, to access action plan templates and action plans directly from the app.
Here’s how Matt does that.
- Click
 and then Setup.
- In the Quick Find box, enter
app manager, and then select App Manager.
- For Wealth Management app, click
 and then select Edit.
- Under App Settings, select Navigation Items.
- Under Available Items, select Action Plan Templates and Action Plans, and use
 to move them to Selected Items.
- Click Save.
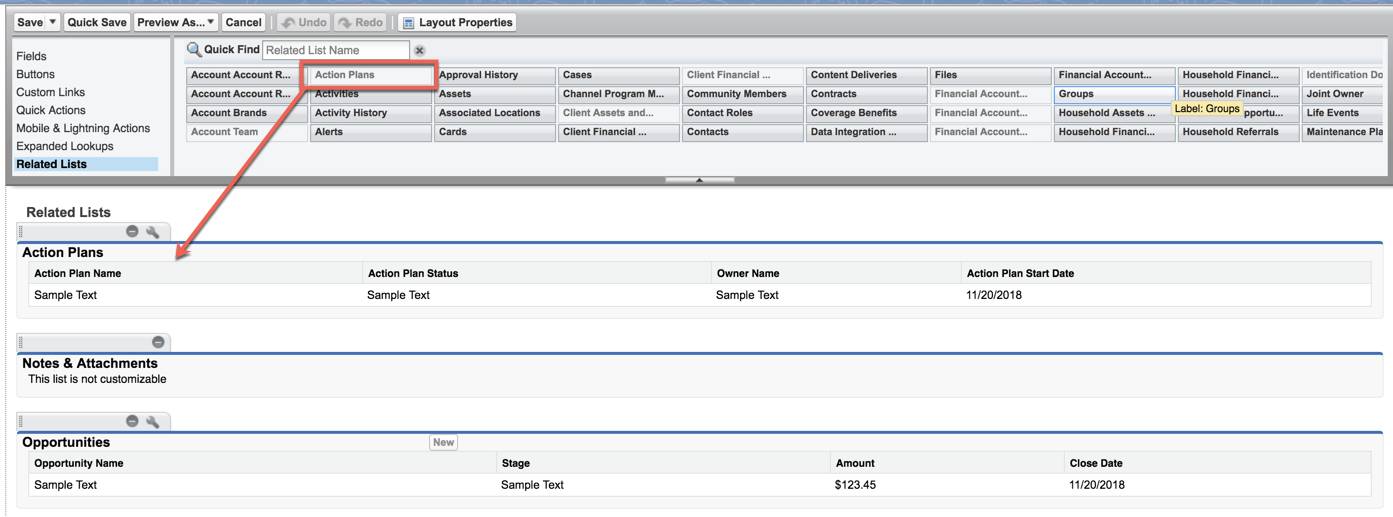
Srilakshmi wonders if it’s possible to create action plans from an account. Because that’s exactly what a real-world workflow would look like. Matt tells her that this is indeed possible! To create action plans for accounts, the Action Plans list must be first available on the Account object page layouts.
Here’s how Matt sets it up.
- Click
 | Setup | Object Manager tab.
- Click Account, and then Page Layouts.
- Select a page layout that you want to add the Action Plans list to. Matt selects Account (Individual) Layout.
- In the palette, select Related Lists.
- Drag and drop Action Plan on to the Related Lists section.
- Click Save.
- In the confirmation window that appears, click Yes.
Customize Record Pages
To start using action plans on account records, Ryan would like to have the Action Plans List Lightning component on the Wealth Record Client page.
Here’s how Matt sets it up.
- Open Rachel Adams account record.
- Click
 and then Edit Page.
- On Lightning App Builder, from the Components sidebar, drag the Action Plans List component onto the page.

- Click Save.
- Click Activate, and then click Assign as Org Default.
- In the Assign form factor dialog, select Desktop and phone, click Next, and then Save.
What's Next
With action plan templates added to the navigation bar and action plans to record pages, Matt is almost done. He must now ensure accurate deadline calculation and role assignment. Matt takes care of this in the next unit by configuring business hours, working days, and roles. Onward and upward!
Resources
- Salesforce Help: Add Action Plans to the Related List
- Salesforce Help: Add Action Plans to Record Pages